Table Of Contents
- Introduction
- Add Custom Access Role
- Search User Access Role
- Access List
- Edit Custom Access Role
- Delete Custom Access Role
Introduction
The Custom Roles feature allows administrators to create and manage user roles with specific access permissions. Instead of assigning permissions to each user individually, admins can create roles based on job responsibilities and assign the required permissions to each role.
When a user is assigned to a role, they automatically receive all the permissions associated with that role. This simplifies user management, ensures consistent access control, and helps maintain security across the system.
To access the Custom Roles feature:
- Click the Menu button, or move your cursor to the left side of the screen to expand the Menu Bar.
- Select Manage from the menu.
- Click Custom Roles.
The Custom Roles page will open, as shown below.
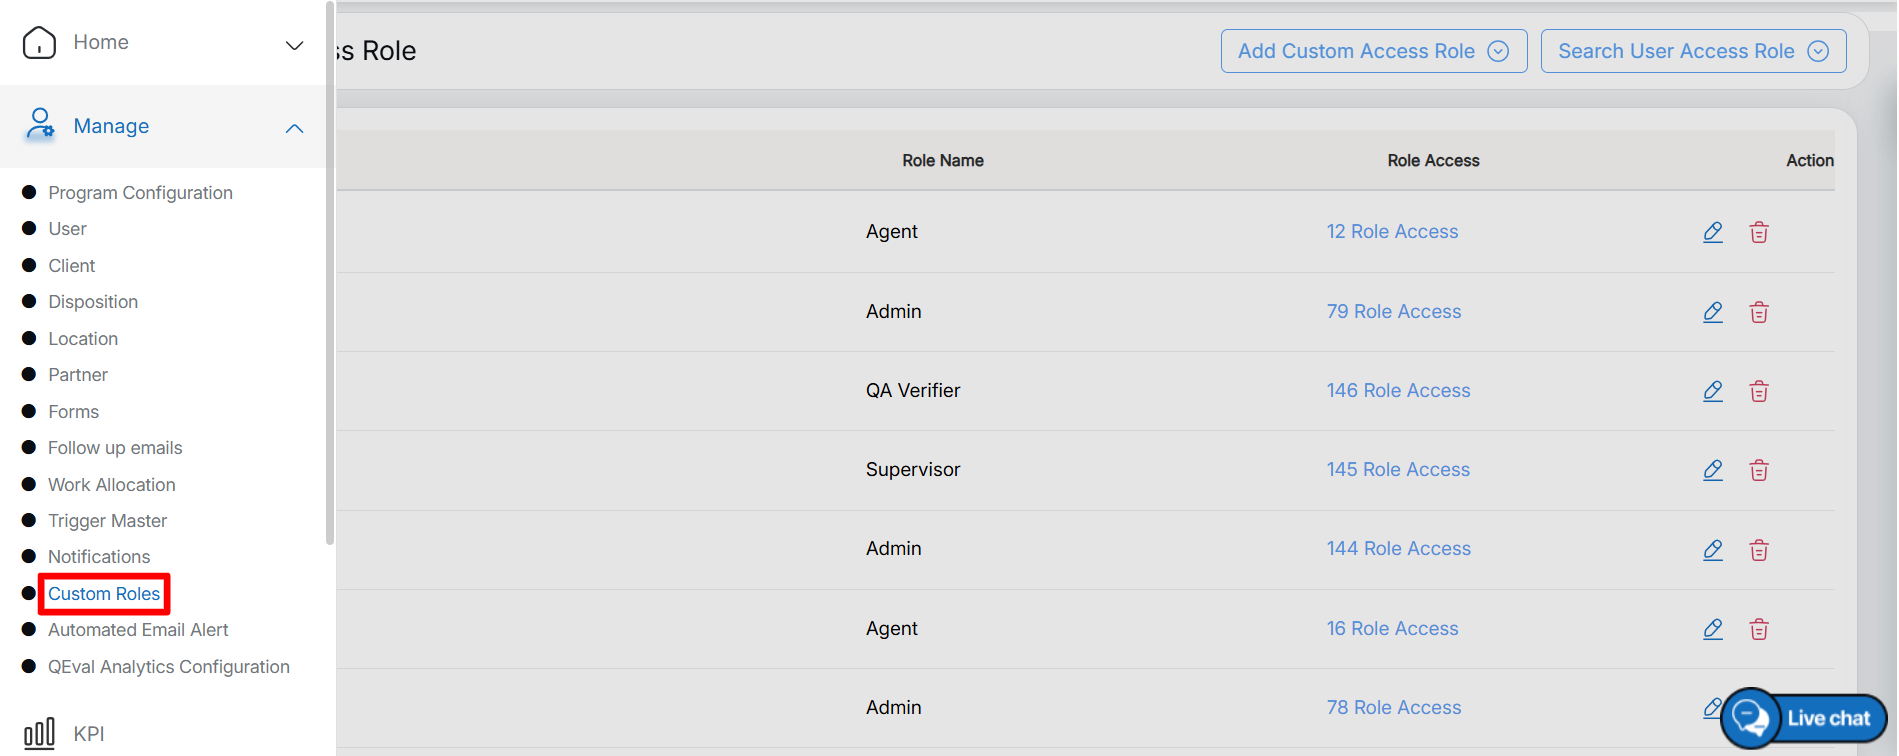
Manage >> Custom Roles
Add Custom Access Role
The Add Custom Access Role feature allows administrators to create new roles and assign specific access permissions to them. This helps ensure that users have access only to the modules and features required for their job responsibilities.
To add a custom access role:
- Navigate to Manage > Custom Roles.
- On the Custom Roles page, click Add Custom Access Role.
The Add Custom Access Role screen will be displayed, as shown below.
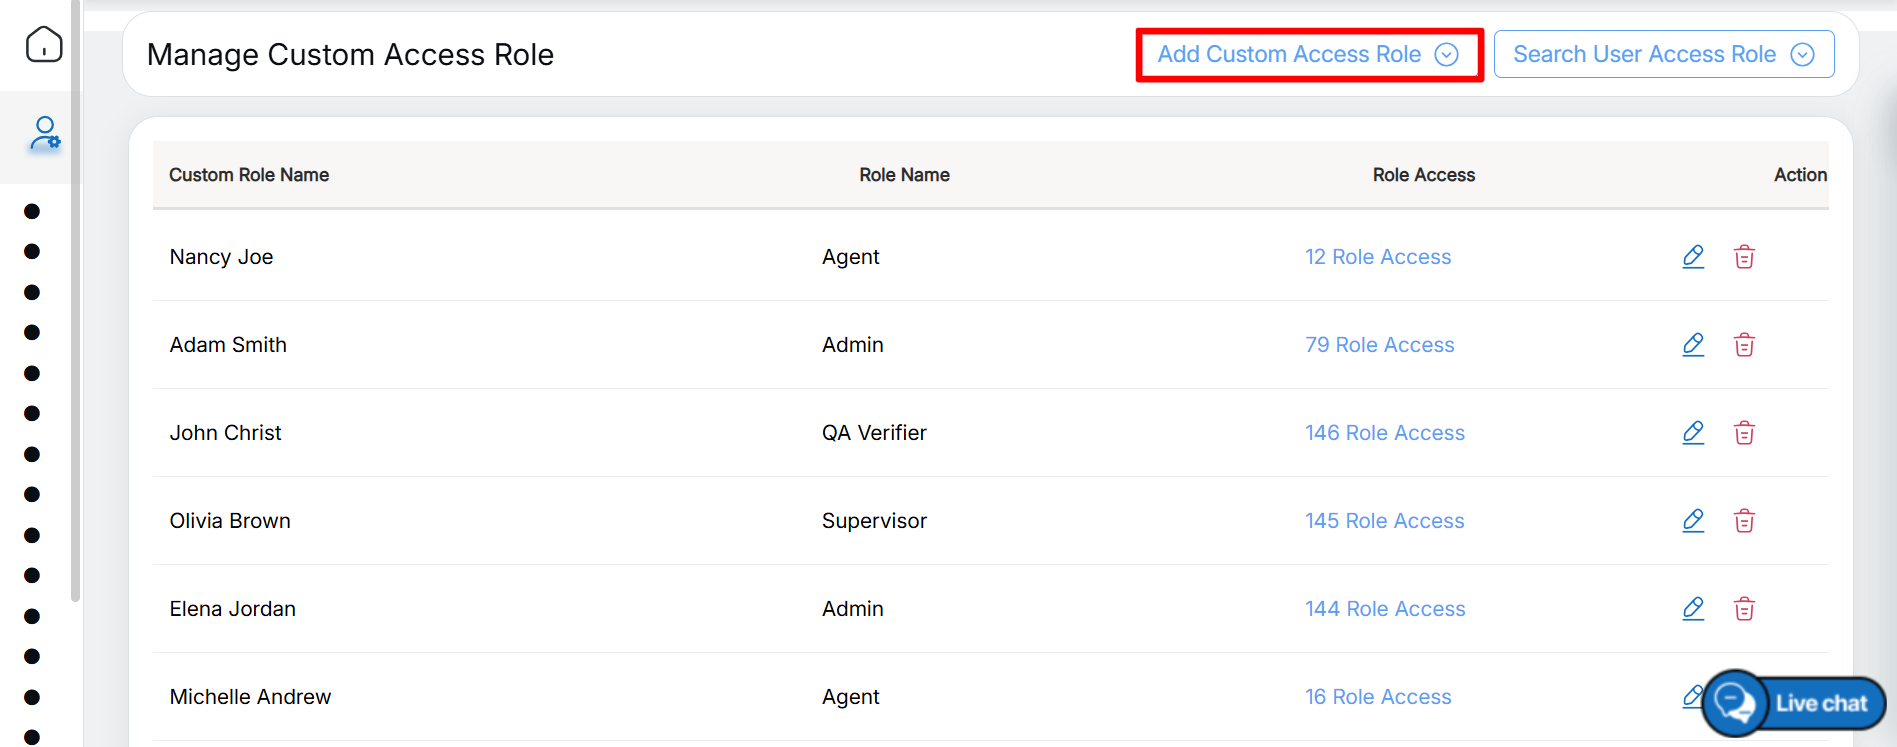
Add Custom Access Role
Upon clicking the admin will be redirected to the Add Custom Access Role pop up as displayed in the screen below-
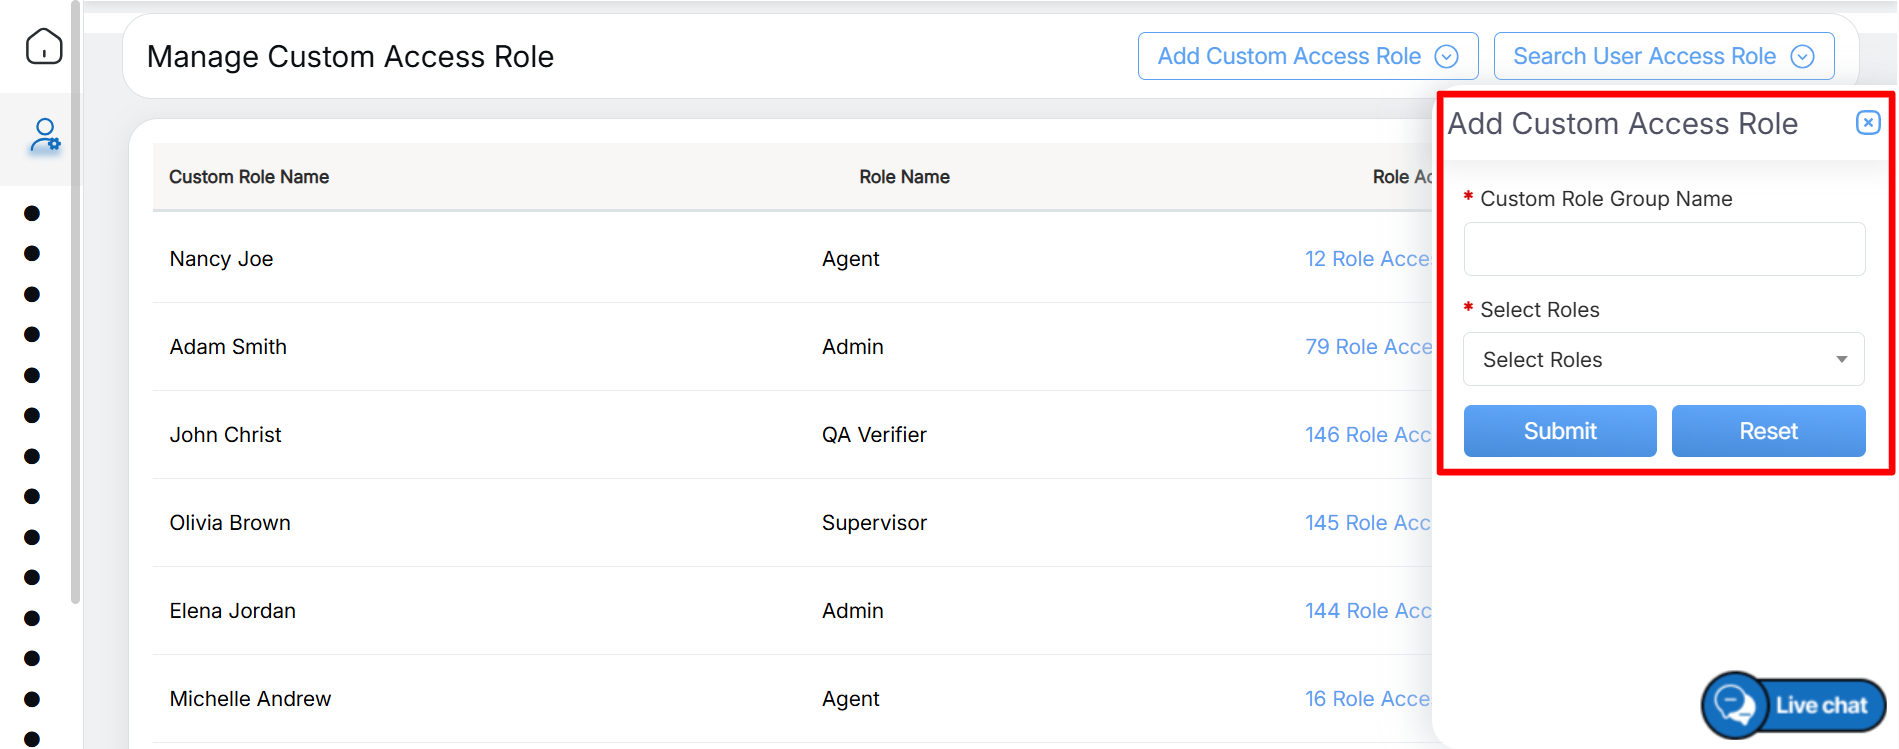
Add Custom Access Role Details
The elements of the Add Custom Access Role page are as follows-
|
Screen Elements |
Description |
|---|---|
|
Custom Role Group Name |
Enter a unique name for the custom role group to categorize users with similar access permissions. |
|
Select Roles |
Choose specific roles from the predefined list to include in the custom role group. |
|
Assign Role Access |
Configure access levels for selected roles by selecting the appropriate checkboxes to grant permissions for various modules and functionalities within the system. |
After entering all the required details, click Submit to create and save the custom role.
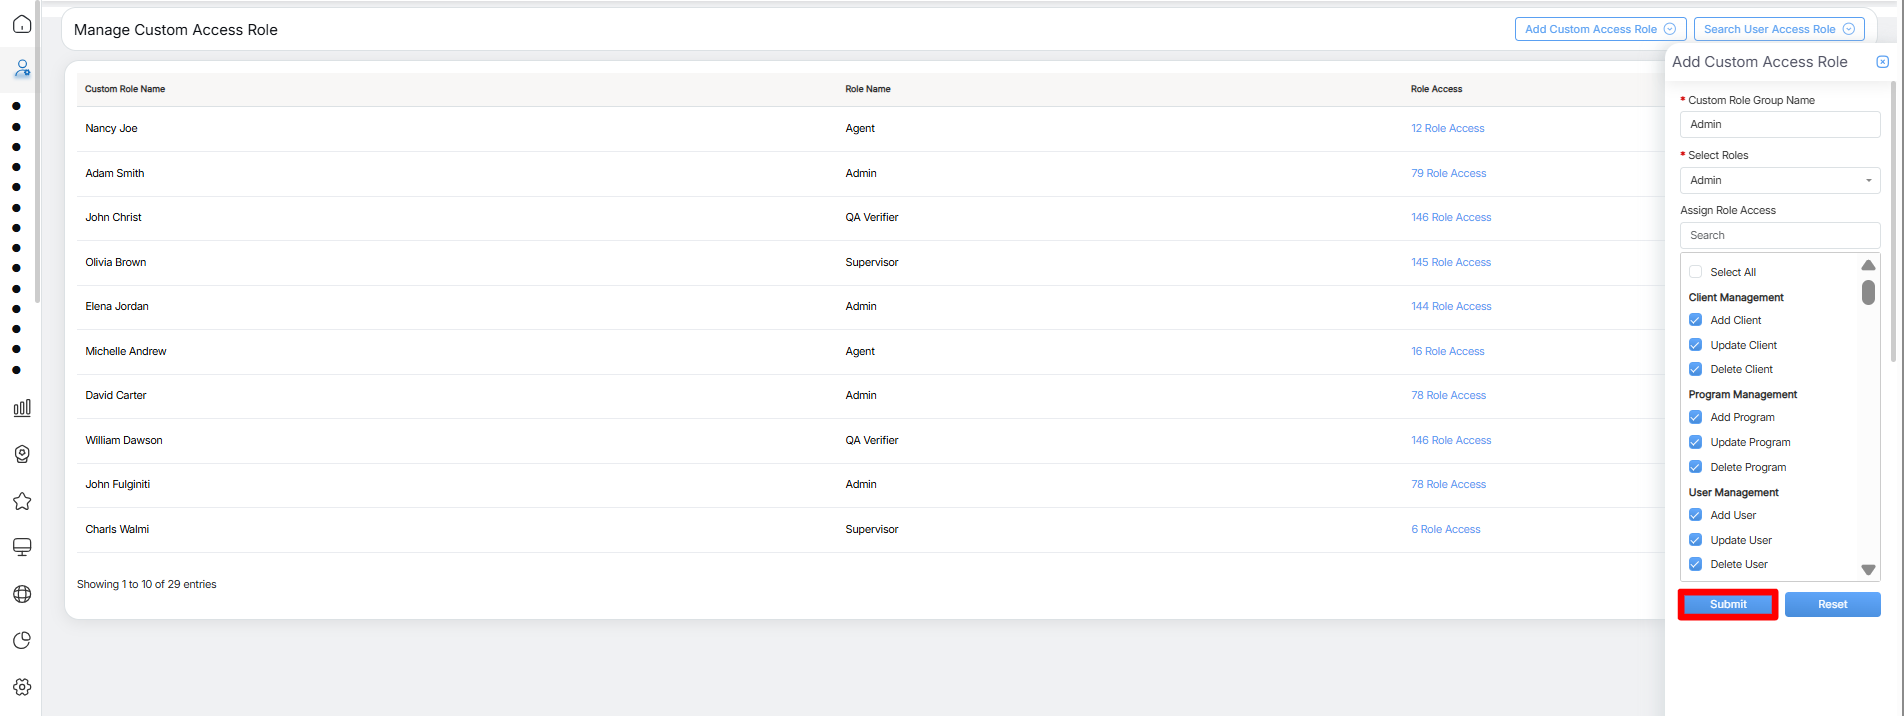
Submit
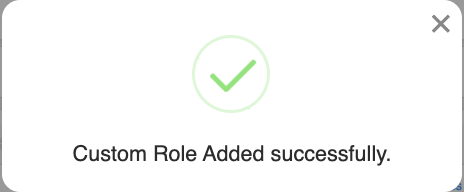
Confirmation Message
A confirmation message will be displayed, indicating that the custom role has been created successfully. The new role will then be available in the Custom Roles list.
Search User Access Role
The Search User Access Role feature allows administrators to quickly find custom access roles within the QEval system. You can narrow down the search by selecting the appropriate search criteria.
To search for a custom access role:
- Navigate to Manage > Custom Roles.
- On the Custom Roles page, click Search User Access Role, as highlighted in the screen below.
The Search User Access Role panel will open, allowing you to enter the required search criteria.
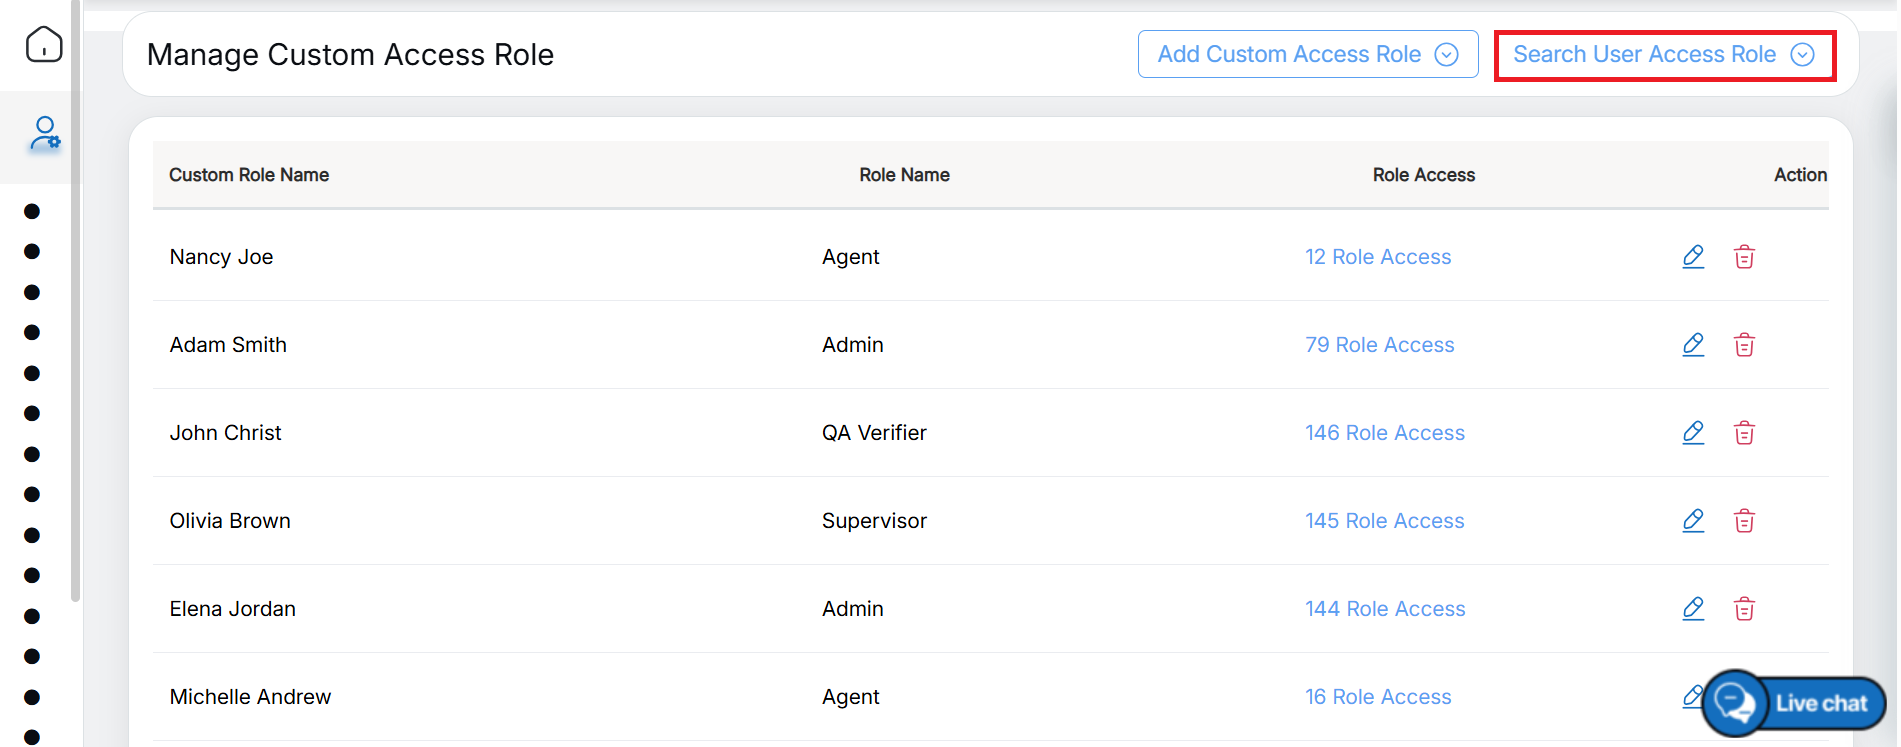
Search User Access Role
The Search Custom Access Role panel will open on the same page. Enter the required search criteria to filter the custom access roles. The available search fields are highlighted in the screen below.
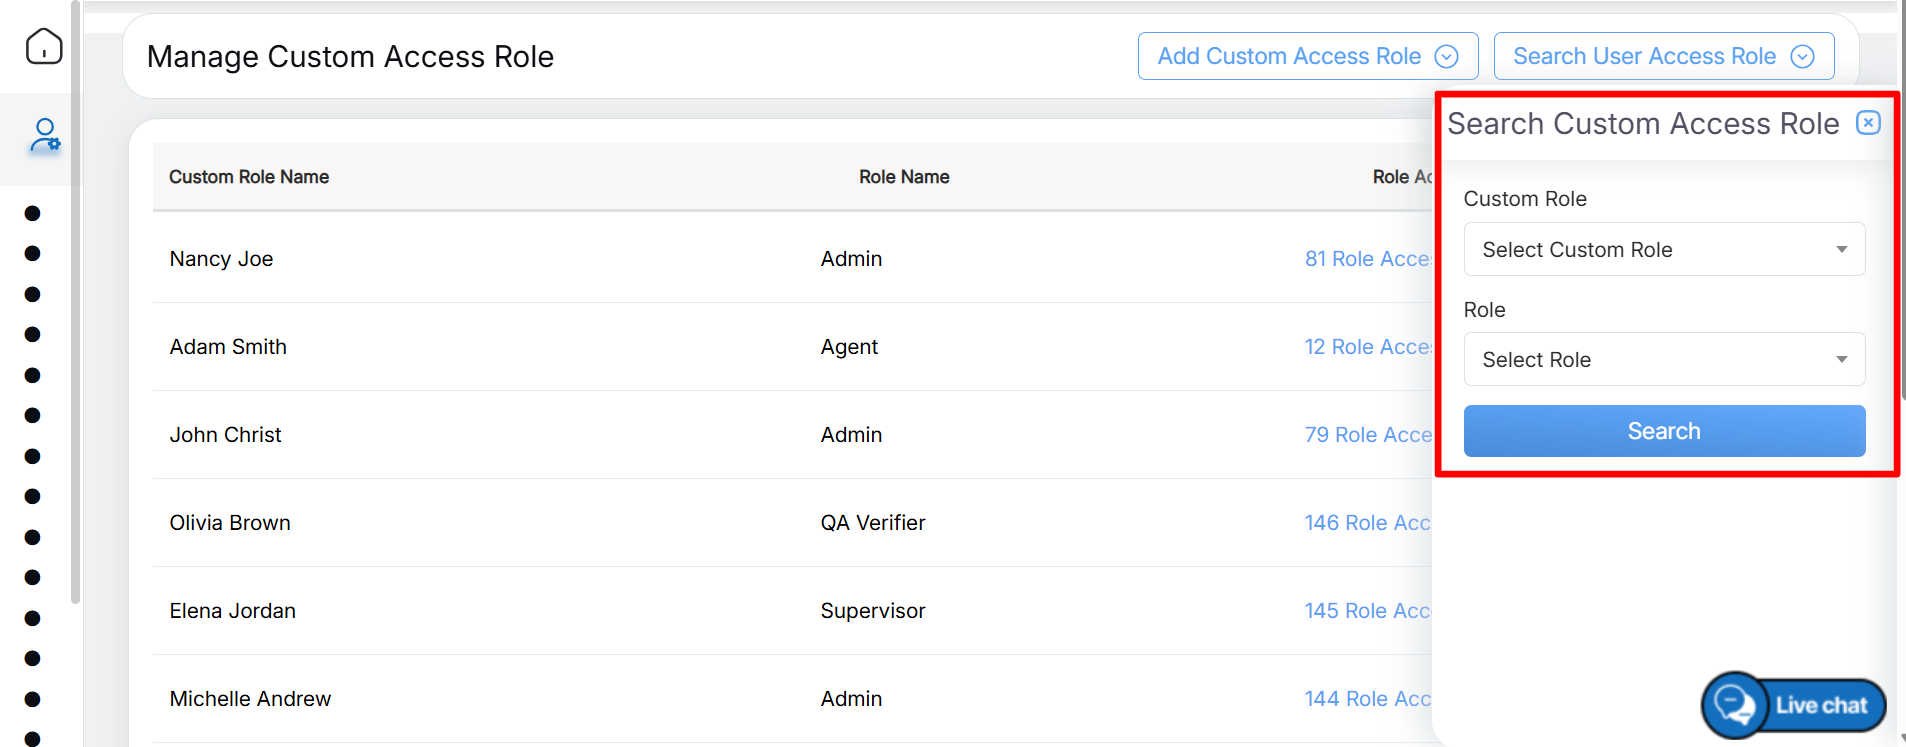
Search Custom Access Role Details
The Custom Role can be searched by following mentioned below steps:
|
Screen Elements |
Description |
|---|---|
|
Custom Role |
Choose a specific custom role (e.g., Admin, Supervisor, QA Verifier) from the drop-down menu to filter roles based on designation. |
|
Role |
Select the appropriate role (e.g., Admin, Supervisor, QA Verifier) from the drop-down menu to refine the selection of custom roles by designation. |
After entering the required search criteria, click Search.
The system will display all custom access roles that match the selected criteria in the results table, as shown below.
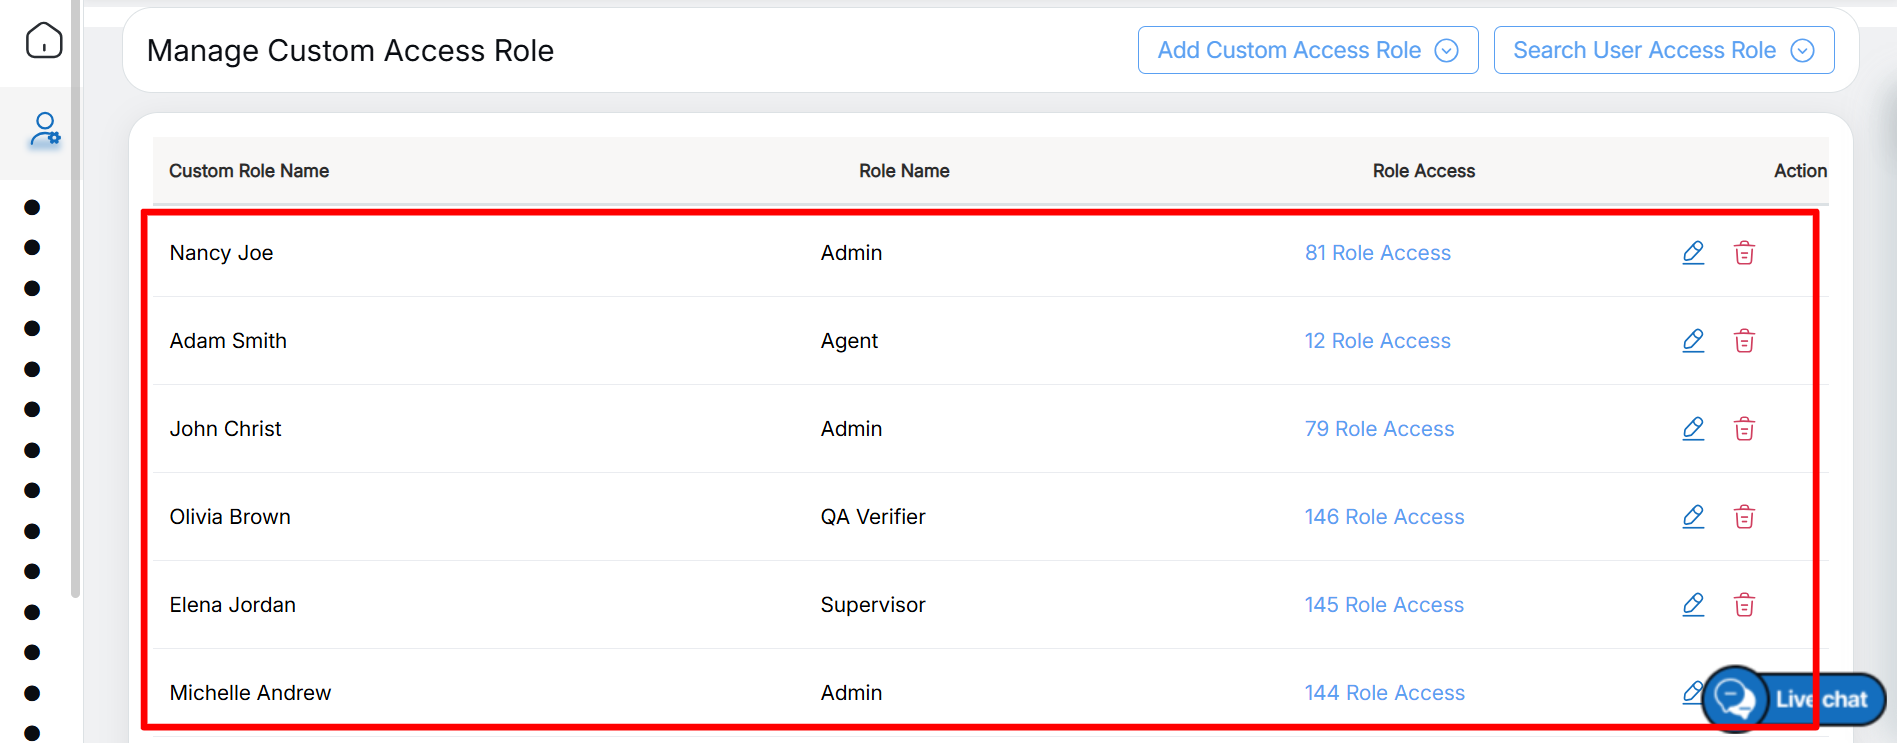
Search Results
The data grid will be as follows –
|
Screen Elements |
Description |
|---|---|
|
Custom Roles Name |
Displays the name of the custom roles. |
|
Role Name |
Displays the name of the roles. |
|
Role Access |
Displays the details of role access. |
|
Action |
|
Authorized users can sort the custom access roles by clicking any column header in the results table. Clicking a column header once sorts the data in ascending order, and clicking it again sorts the data in descending order.
For example, click the Custom Role Name column header, as highlighted in the screen below.
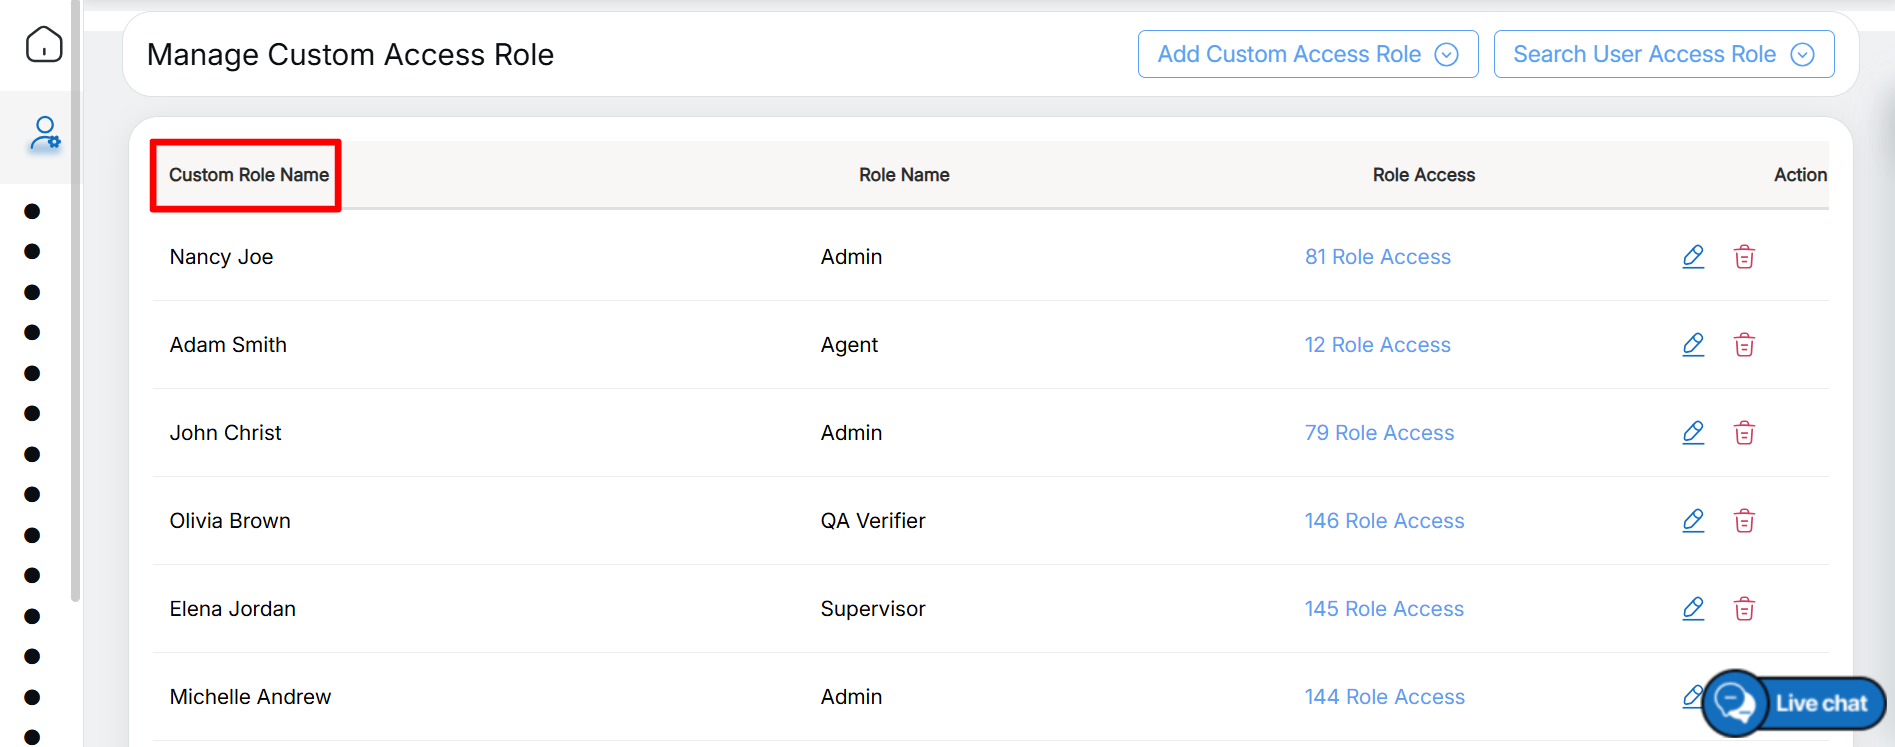
Custom Role Name
Note: Click a column header to sort the table in ascending order (A–Z, 0–9, or earliest to latest). Click the header again to sort in descending order (Z–A, 9–0, or latest to earliest).
Access List
To view the permissions assigned to a custom role, click the Role Access option for the required role in the list, as shown in the screen below.
The system displays all access permissions associated with the selected custom role.
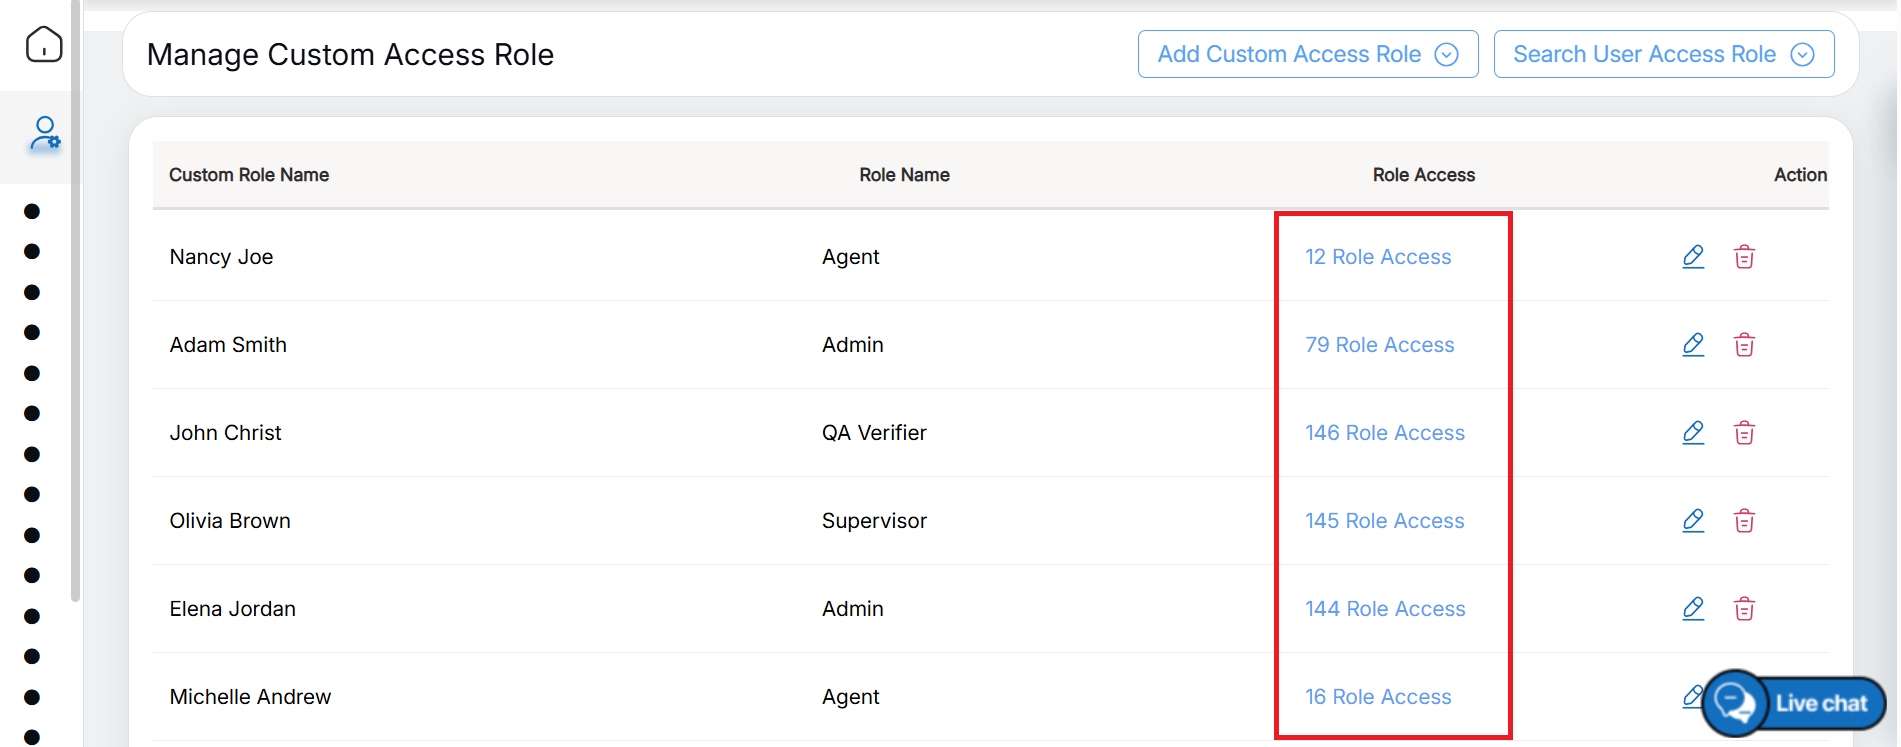
Role Access

Access List
Clicking Role Access opens the Access List, which displays all the permissions assigned to the selected custom role, as shown in the screen below.
Edit Custom Access Role
Authorized administrators can edit the details of an existing active custom role.
To edit a custom role:
- Navigate to Manage > Custom Roles.
- In the Action column, click the Edit icon for the custom role you want to modify, as highlighted in the screen below.
The Edit Custom Access Role window will open, allowing you to update the role details and permissions.
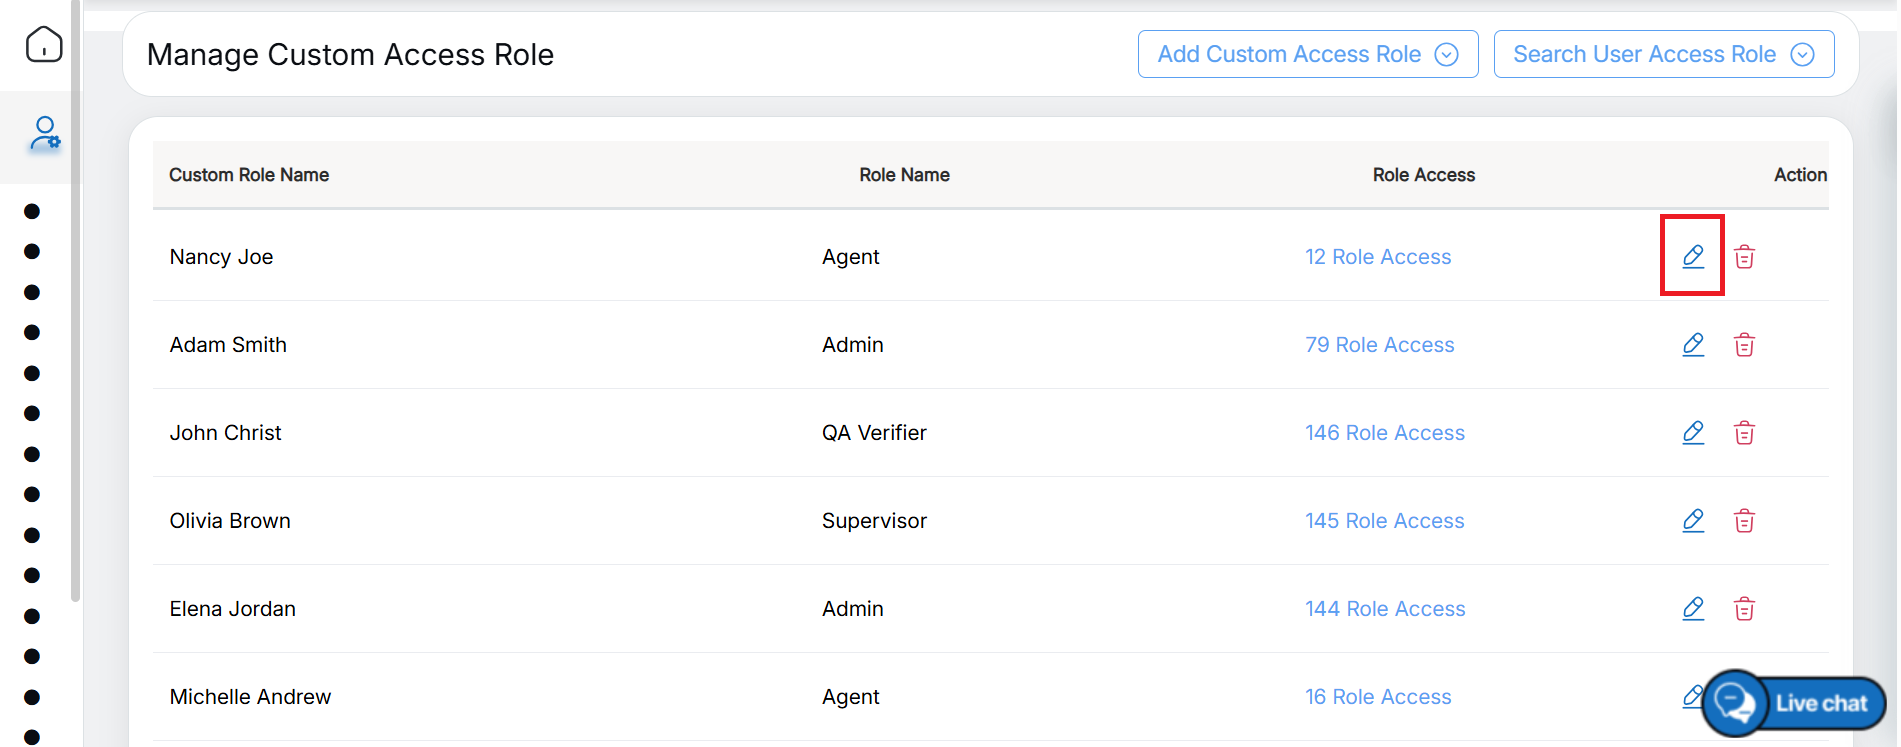
Edit
The Edit Custom Role window opens on the same page. From here, administrators can update the role name, modify the assigned permissions, or make any other necessary changes to the selected custom role.
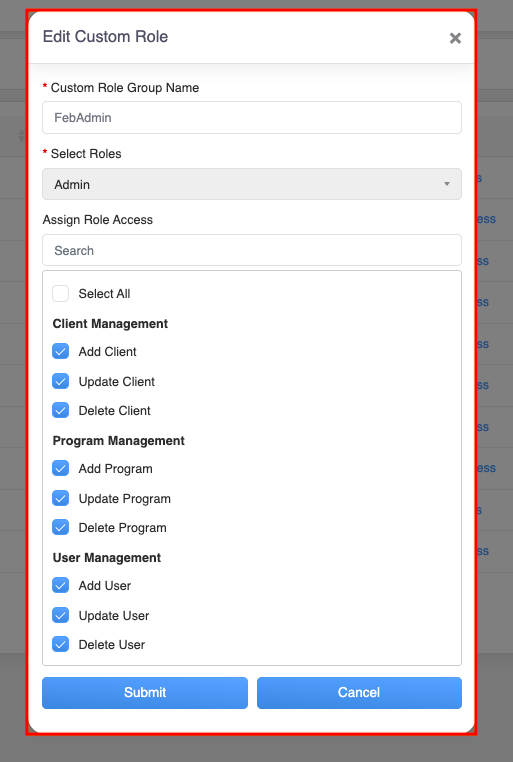
Edit Custom Role
After making the required changes to the custom role, click Submit to save the updates. To discard the changes without saving, click Cancel.
Once the custom role is updated successfully, a confirmation message will be displayed, as shown below.
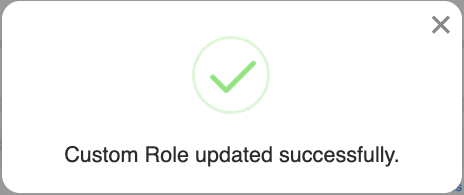
Confirmation Message
Delete Custom Access Role
The Delete Custom Role feature allows authorized administrators to permanently remove a custom role from the QEval system.
To delete a custom role:
- Navigate to Manage > Custom Roles.
- In the Action column, click the Delete icon for the custom role you want to remove, as highlighted in the screen below.
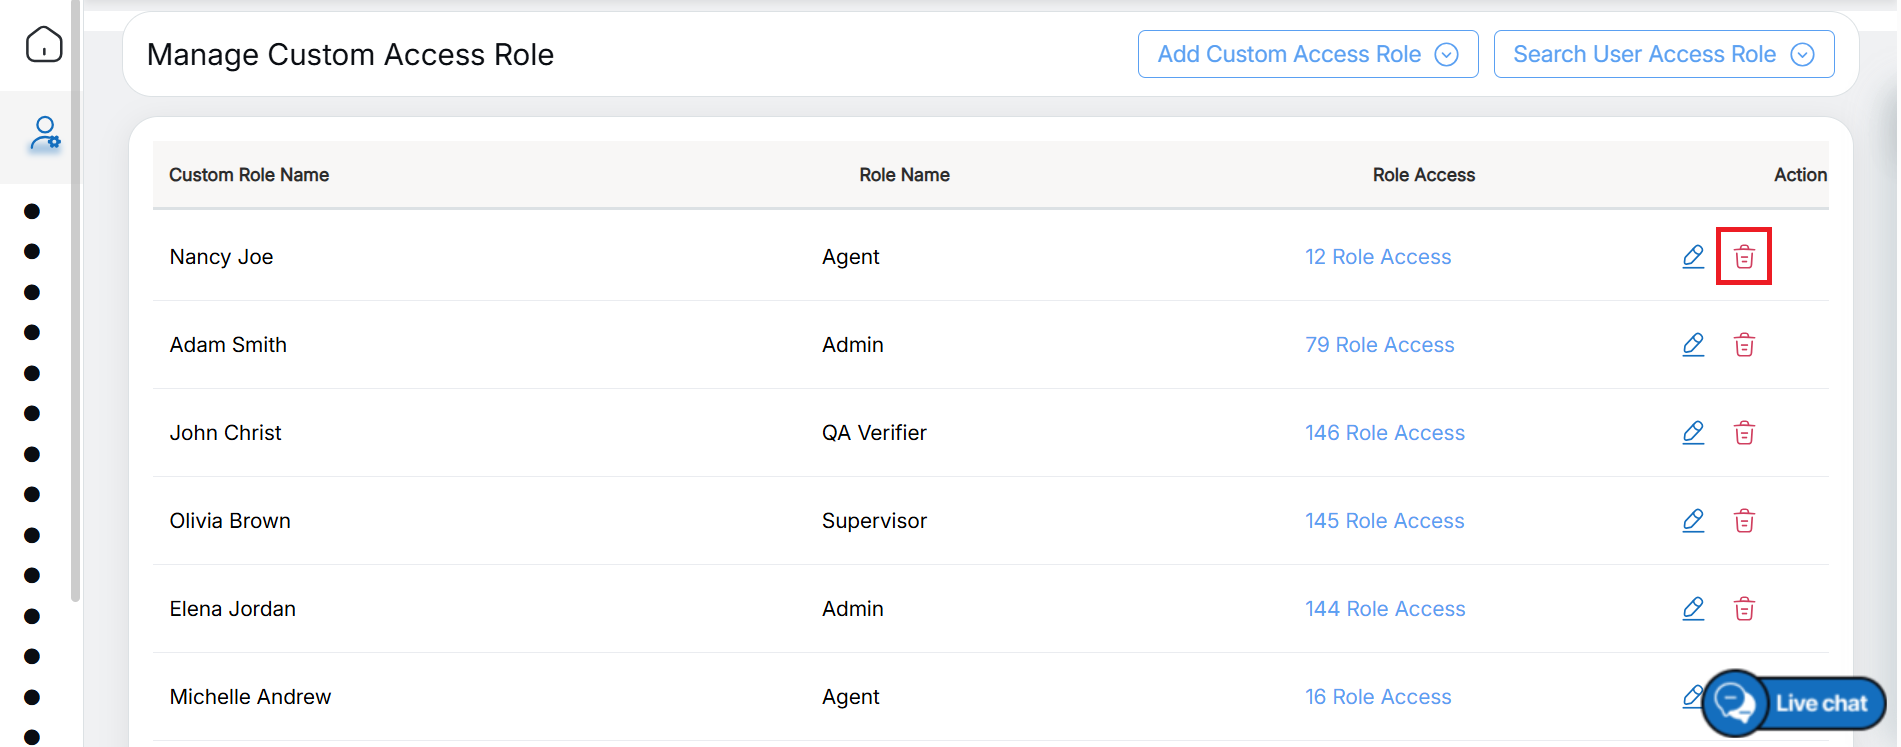
Delete
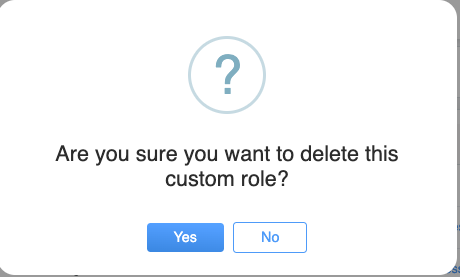
Confirmation Dialog Box
A confirmation message will be displayed. Click Yes to permanently delete the selected custom role, or click No to cancel the deletion and retain the role.
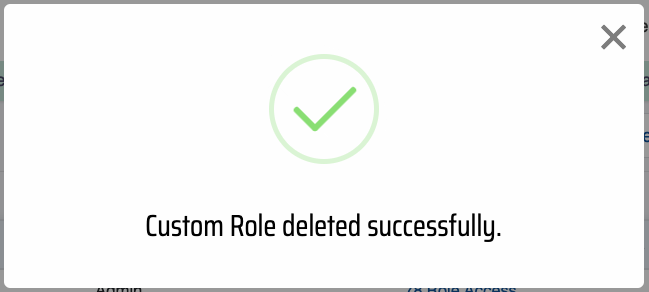
Confirmation Message
After the custom role is deleted successfully, a confirmation message will be displayed. The selected custom role will be permanently removed from the QEval system.
Note: Custom role functionality in QEval provide controlled access, enhancing security, efficiency, and compliance.
Video