Table of Contents
Add Work Allocation
To add a new work allocation for a work allocation group, follow the steps given below:
- Click the Add Work Allocation button.
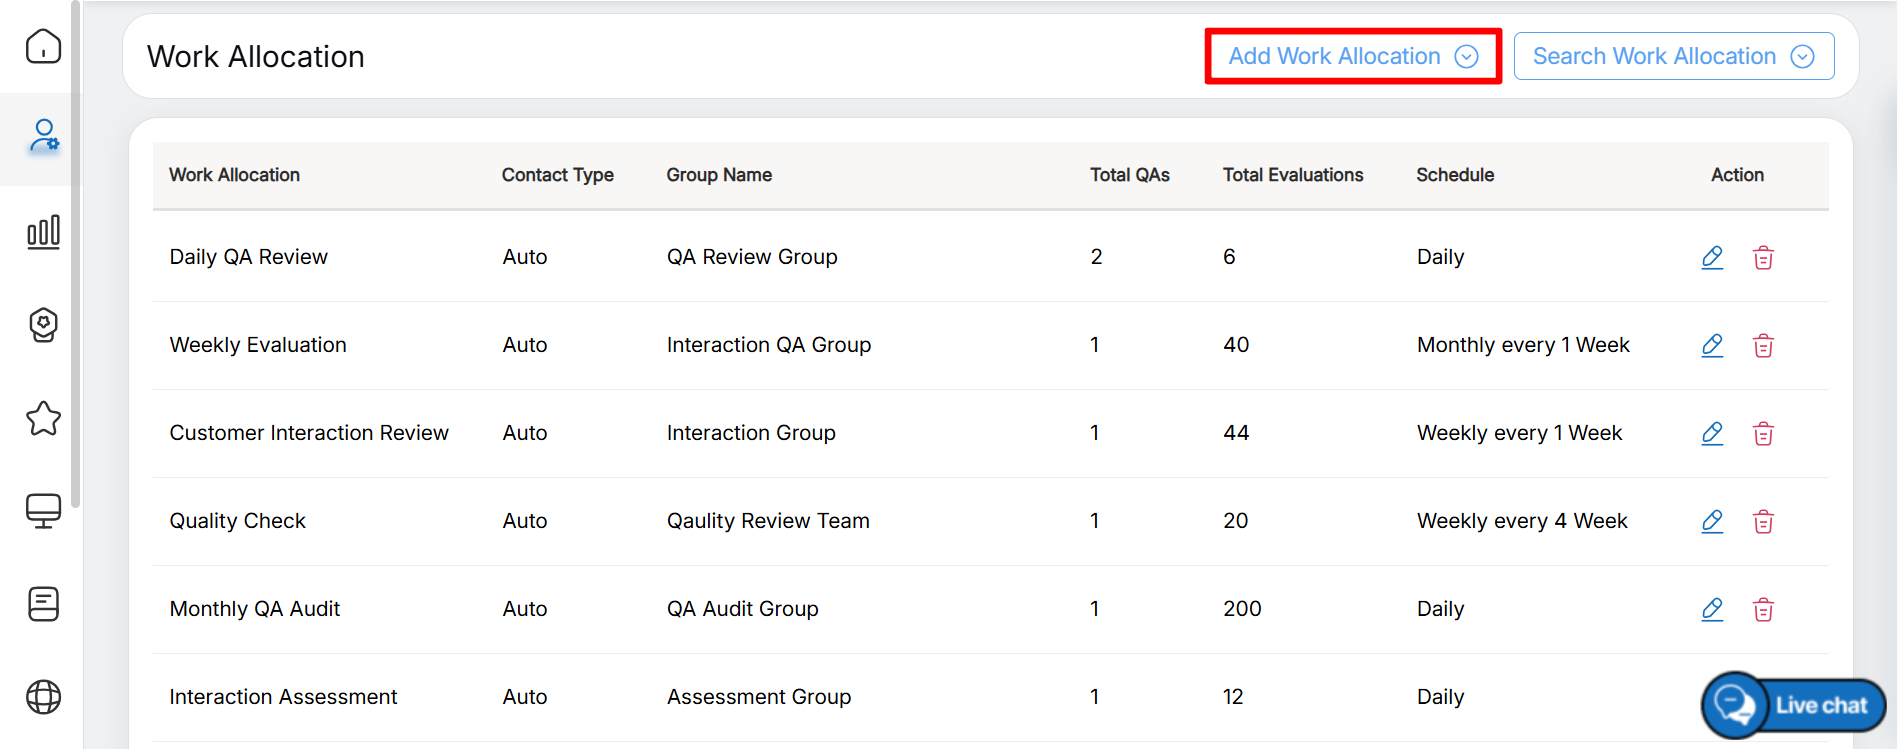
Add Work Allocation
2. The Add Work Allocation page is displayed.
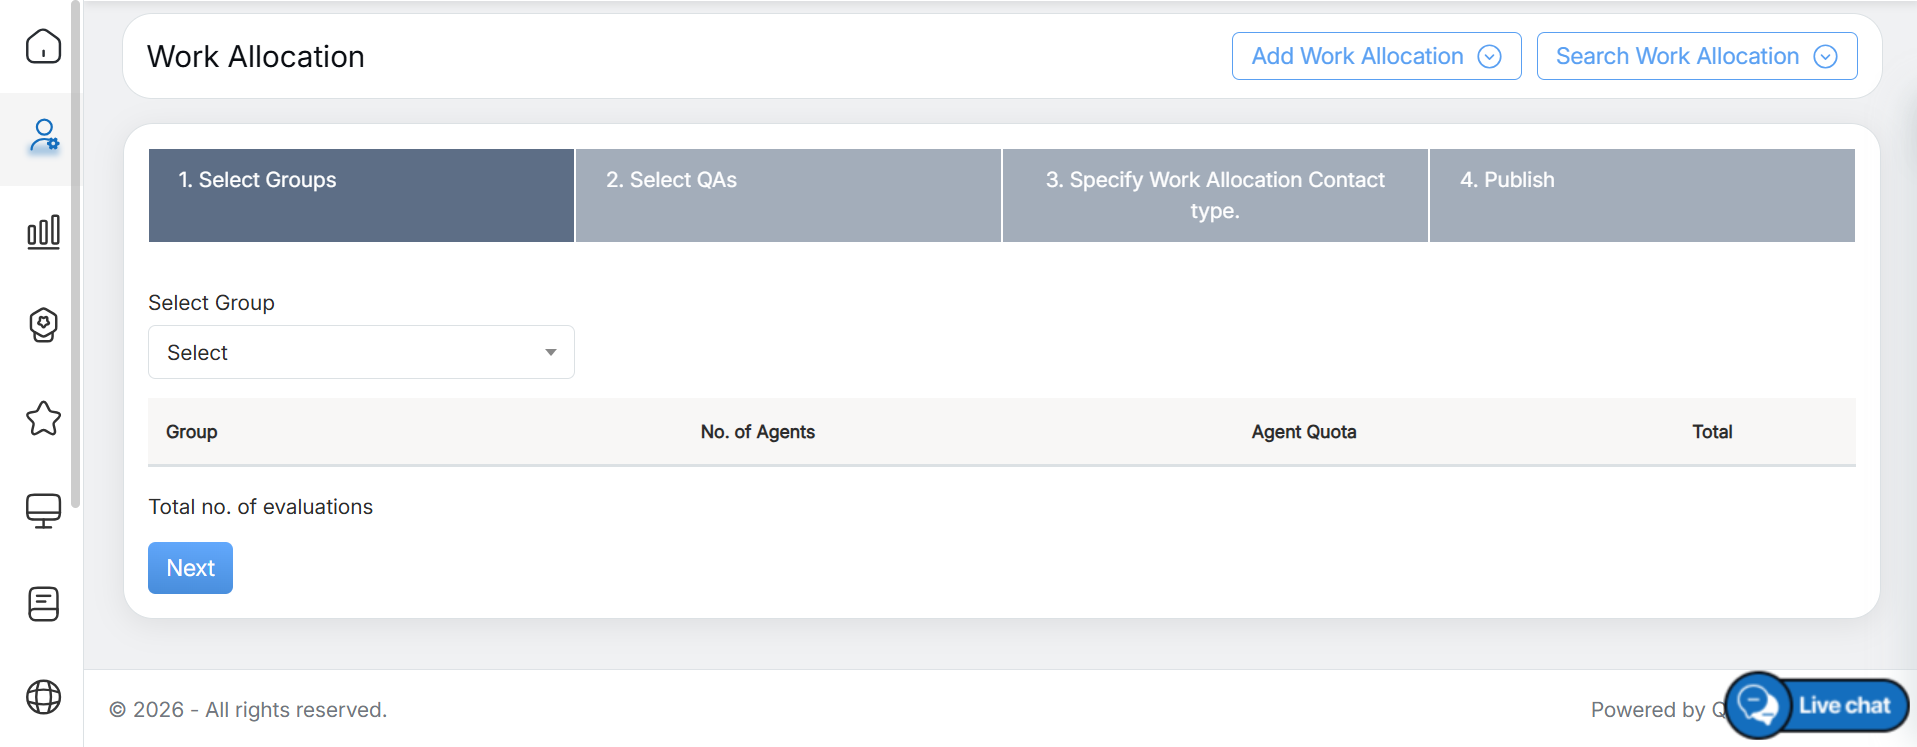
Add Work Allocation Page
On this page, configure the required details in each of the steps displayed.
- Select Groups
- Select QAs
- Specify Work Allocation Contact Type
- Publish
3. Under Select Groups, configure the required details.
- Select Group – Select the required Work Allocation Group from the dropdown list. The dropdown displays all groups created on the Work Allocation Group page. To learn how to add a Work Allocation Group, refer to Add Work Allocation Group. This is as shown in the screen below.
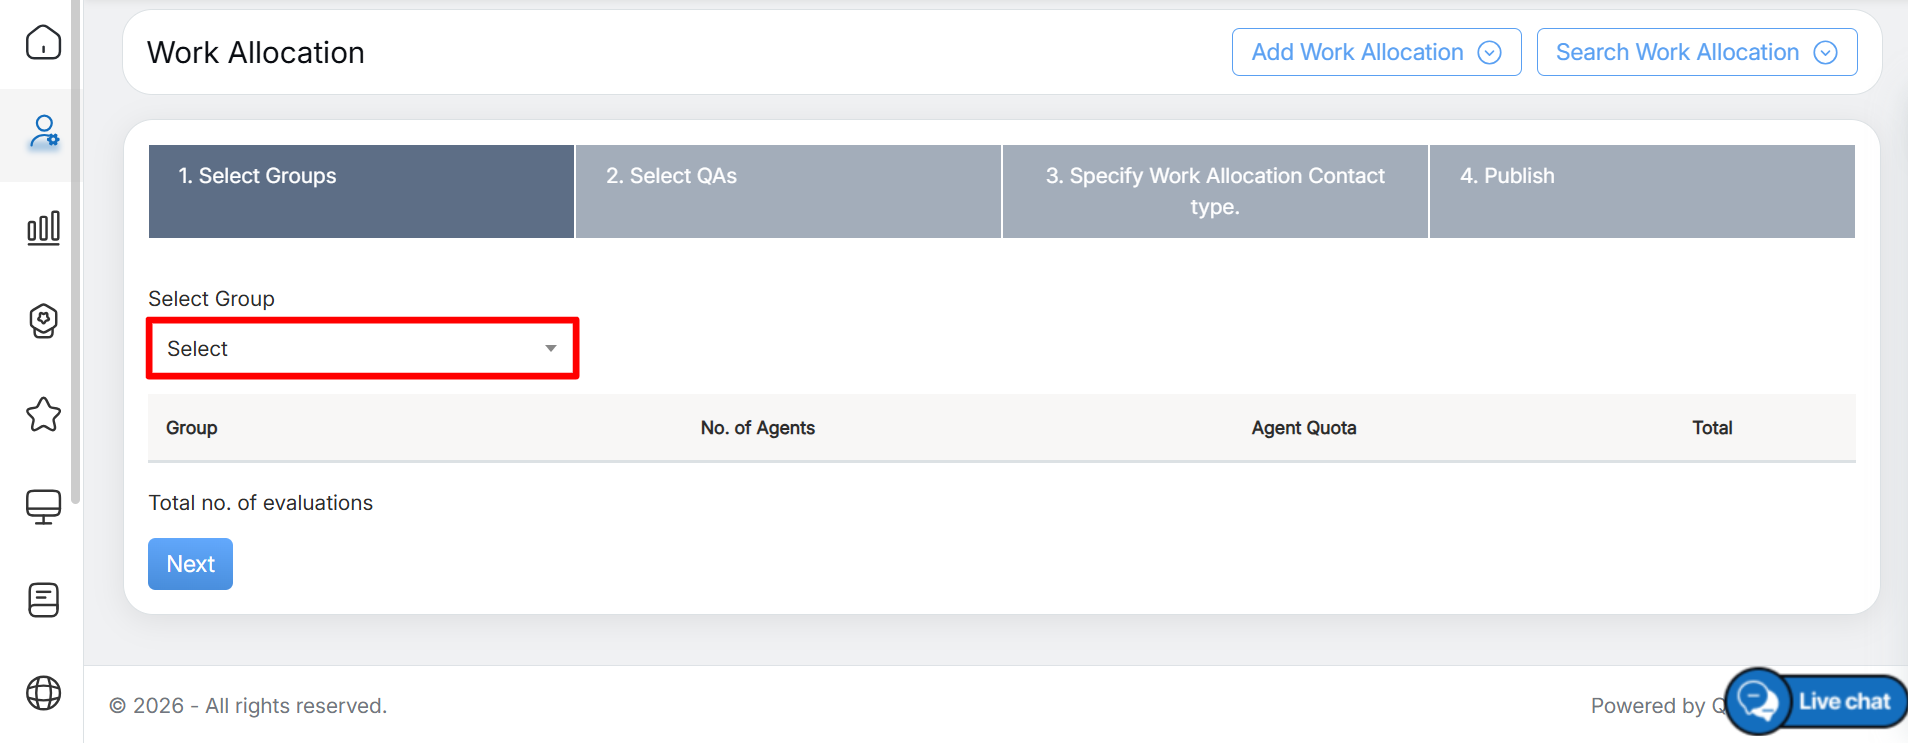
Select Group
- You can also search for the required group by entering relevant keywords in the search box displayed in the dropdown list. The groups matching the entered keywords are displayed, as shown below:
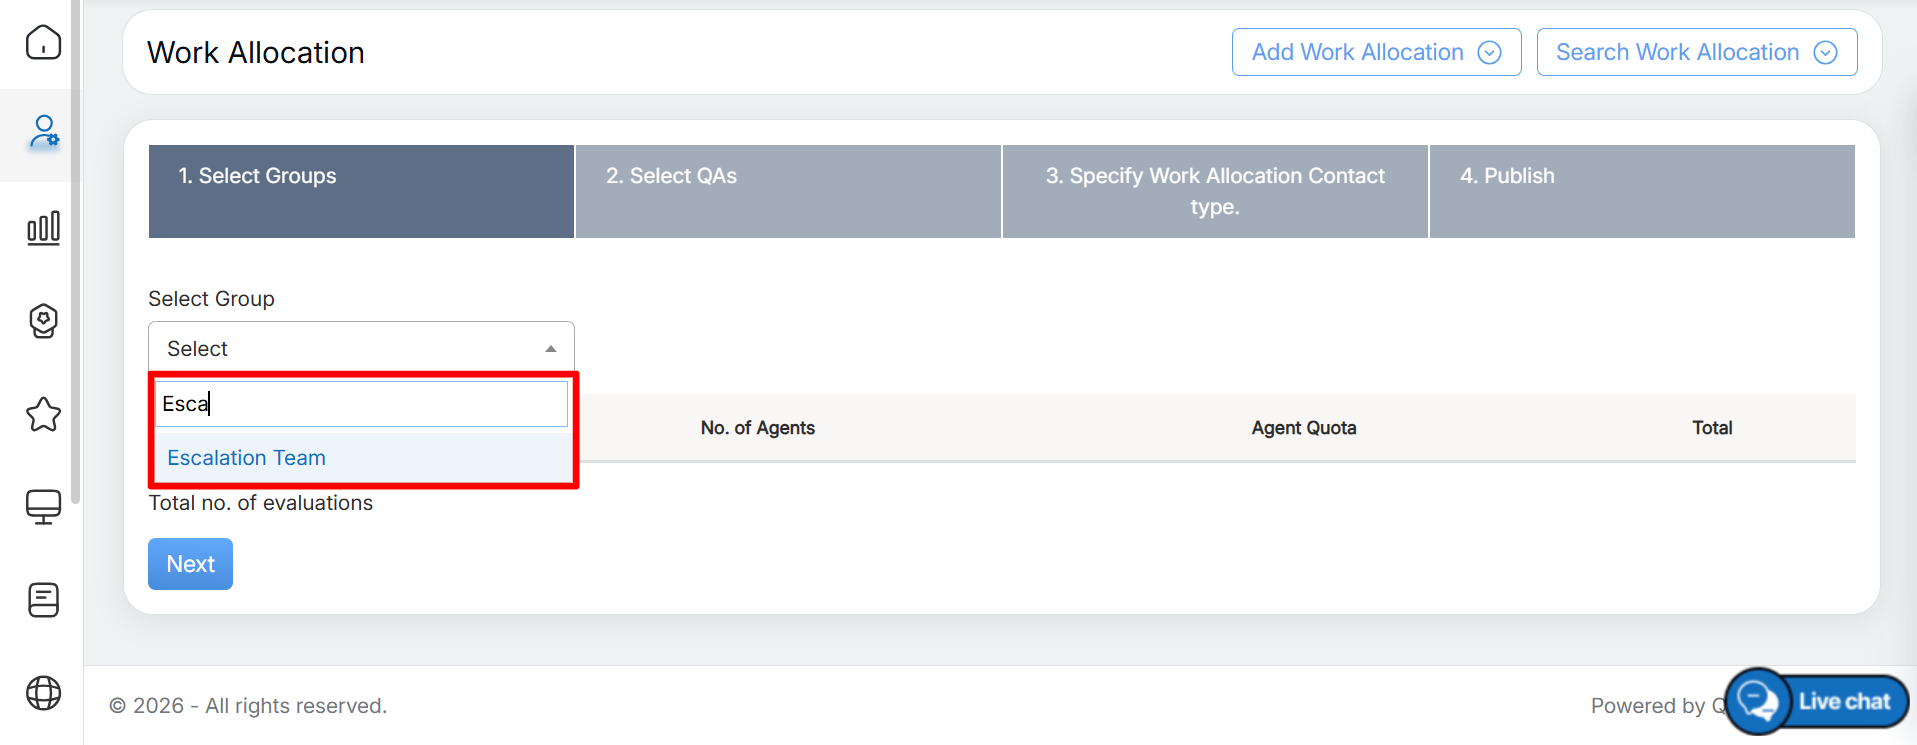
Search by Keywords
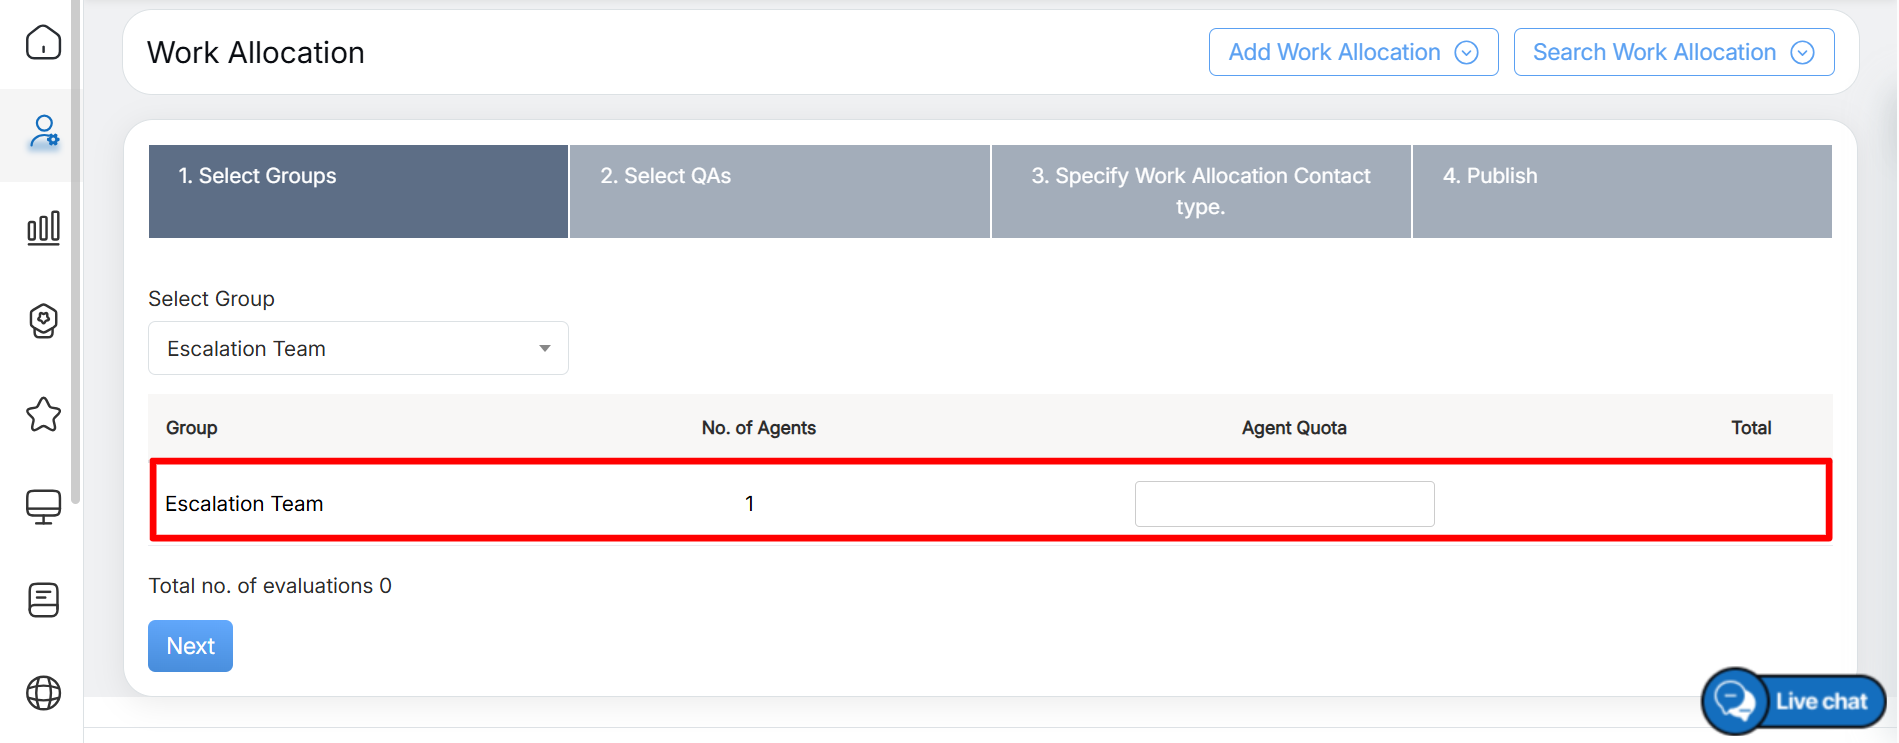
- Once the group is selected, it is displayed in the grid, as shown below:
Search Results
The following columns are displayed in the grid:
- Group – Displays the name of the selected Work Allocation Group.
- No. of Agents – Displays the number of agents included in the selected Work Allocation Group.
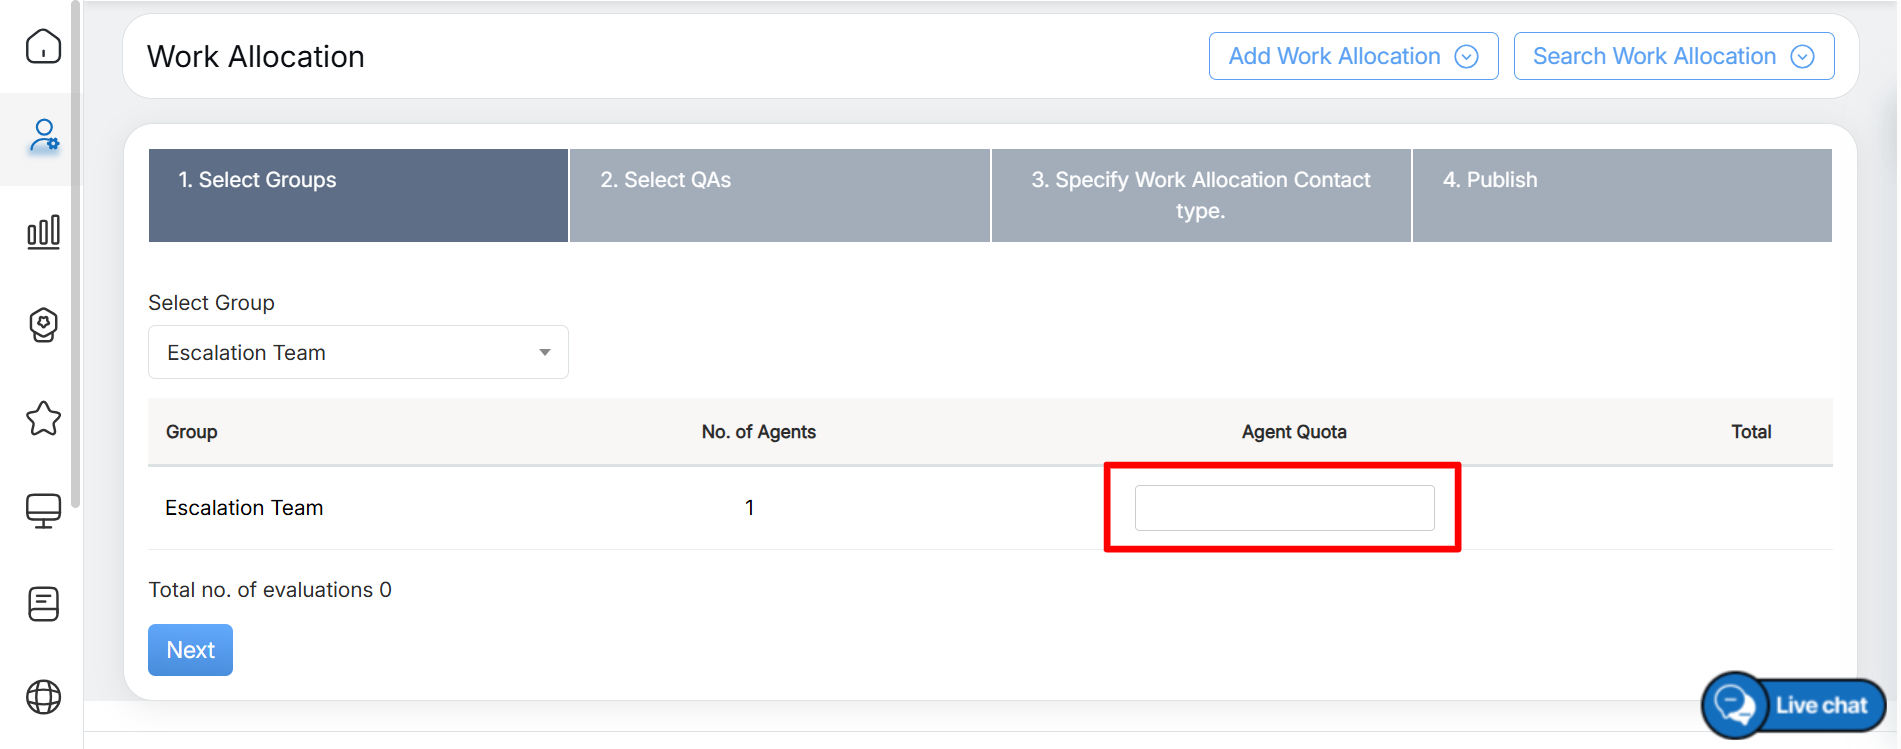
- Agent Quota – Enter the number of evaluations to be performed for each agent in the selected Work Allocation Group by the assigned QAs. Enter the required number in the text box provided under this column.
Agent Quota
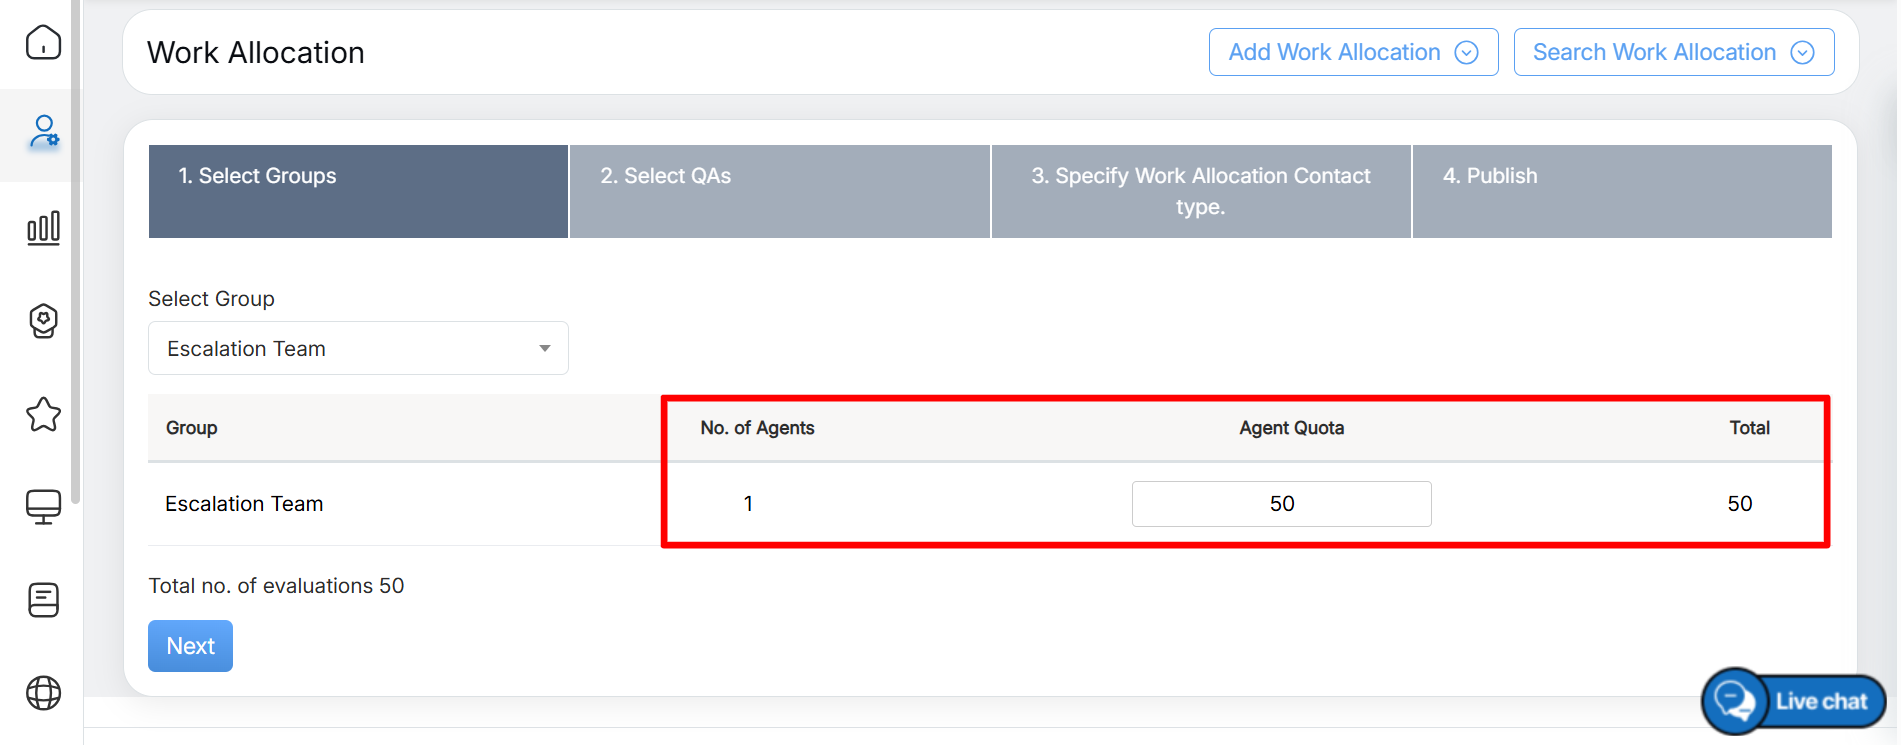
- Total – Displays the total number of evaluations to be performed for the selected Work Allocation Group. The total is calculated by multiplying the No. of Agents by the Agent Quota. For example, if No. of Agents = 5 and Agent Quota = 10, the Total will be 50.
Total Number of Evaluations
Note: Here, the Agent Quota can be provided only to a single Work Allocation Group.
- To proceed to the next step, click the Next button.
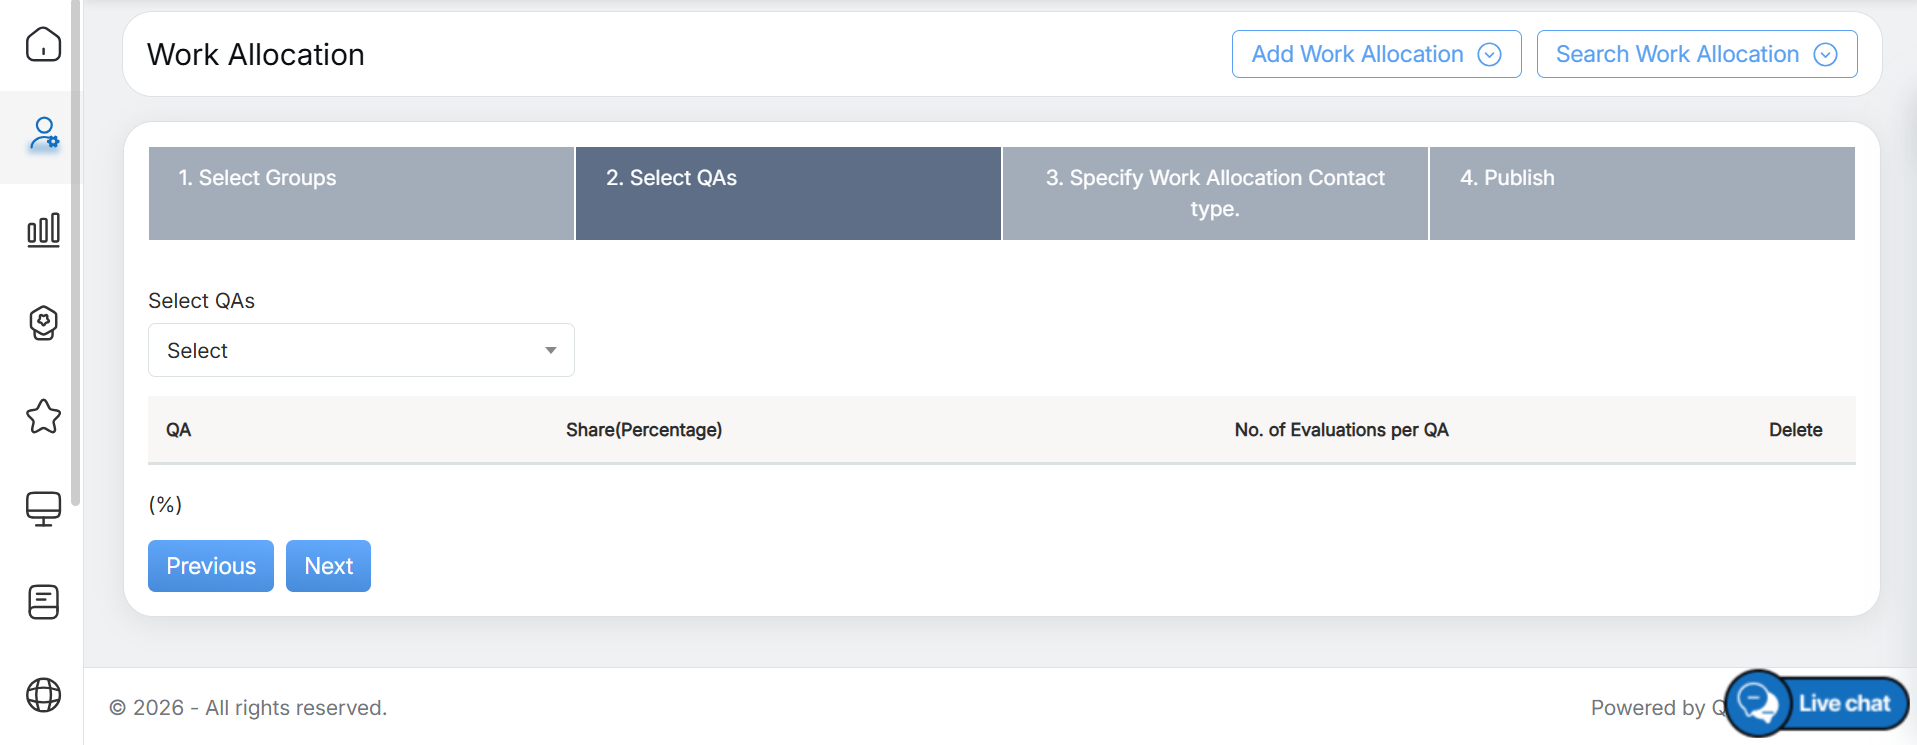
- The second step, Select QAs, is then displayed.
Select QA Page
4. Under Select QAs section, configure the required details:
- Select QAs: Select the required QA from the dropdown list, as shown in the screen below:
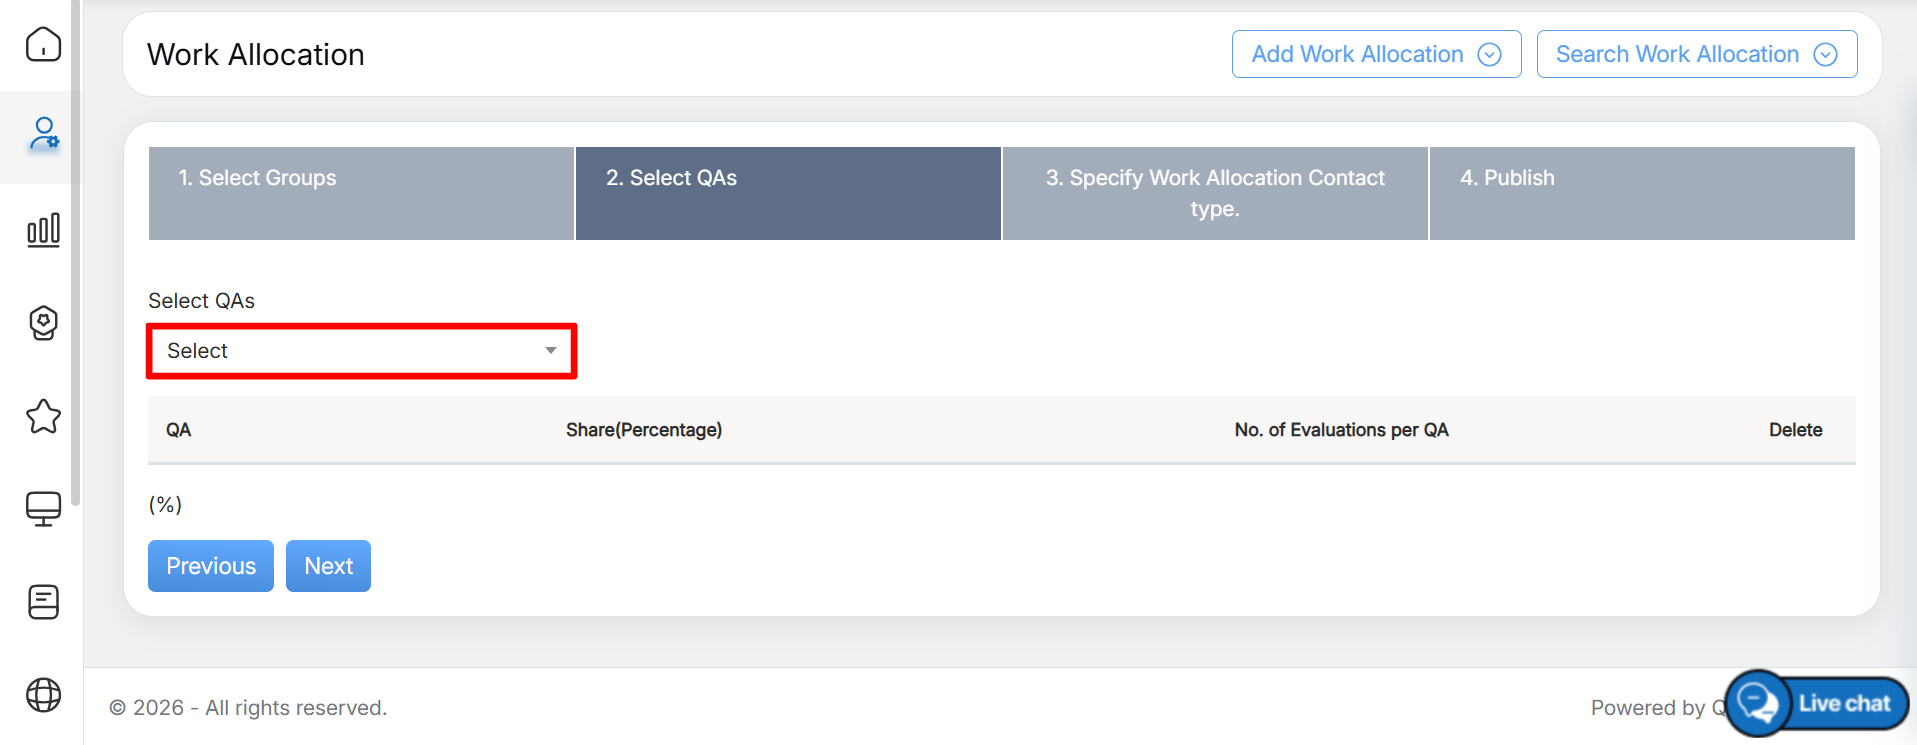
Select QA
- The required QA can also be searched by entering relevant keywords in the search box displayed in the dropdown list. The QAs matching the entered keywords are displayed, as shown below:
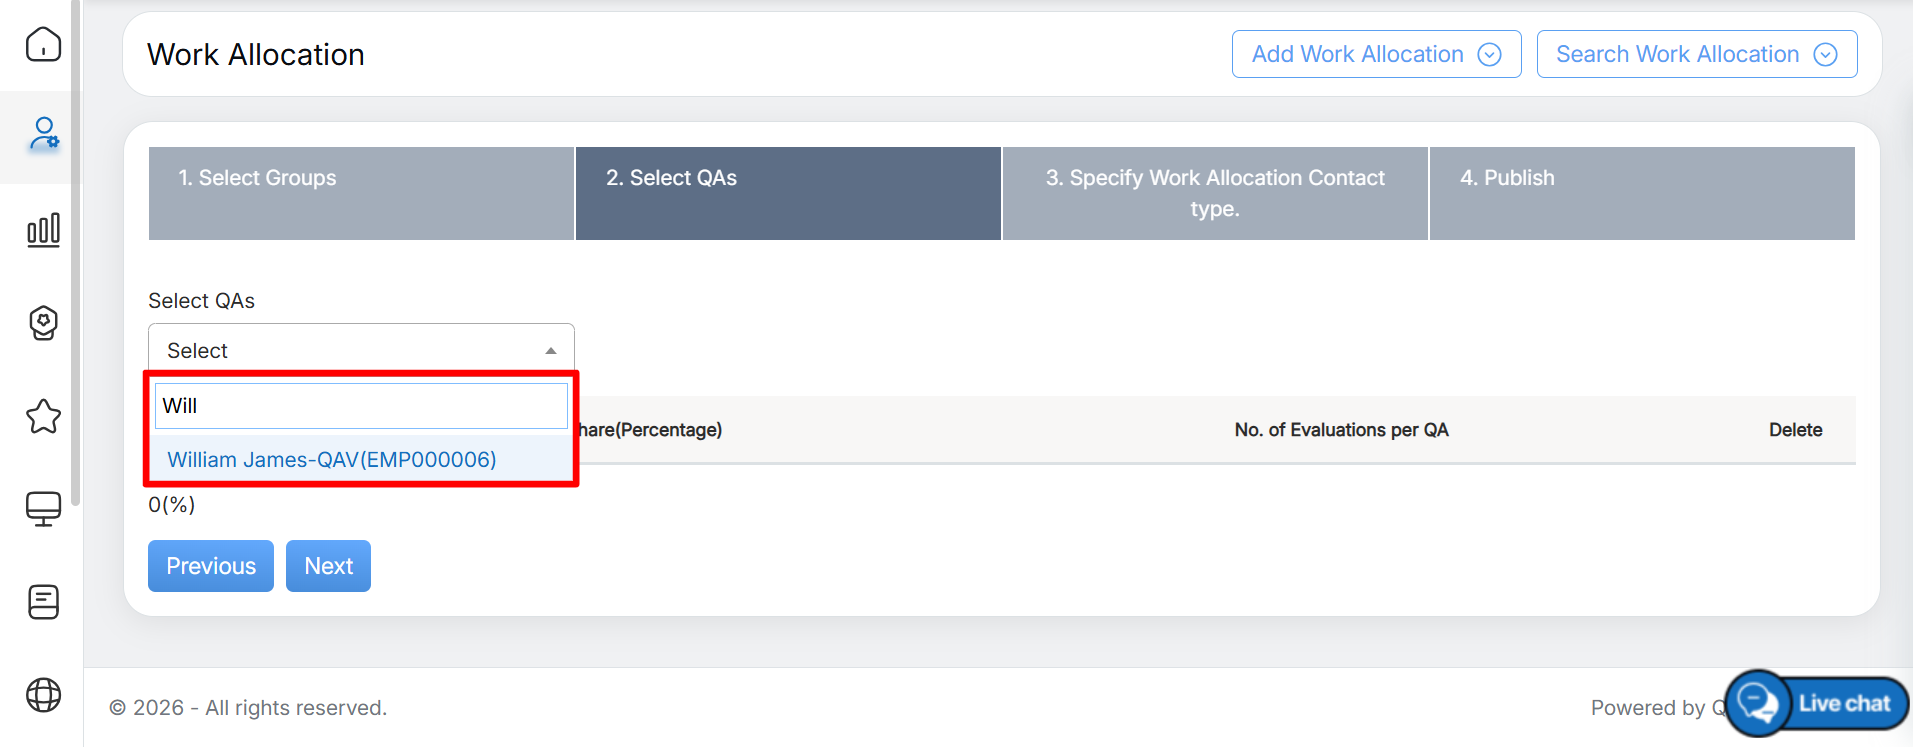
Search by Keywords
- Once the QA is selected, the selected QA is displayed in the grid, as shown below:
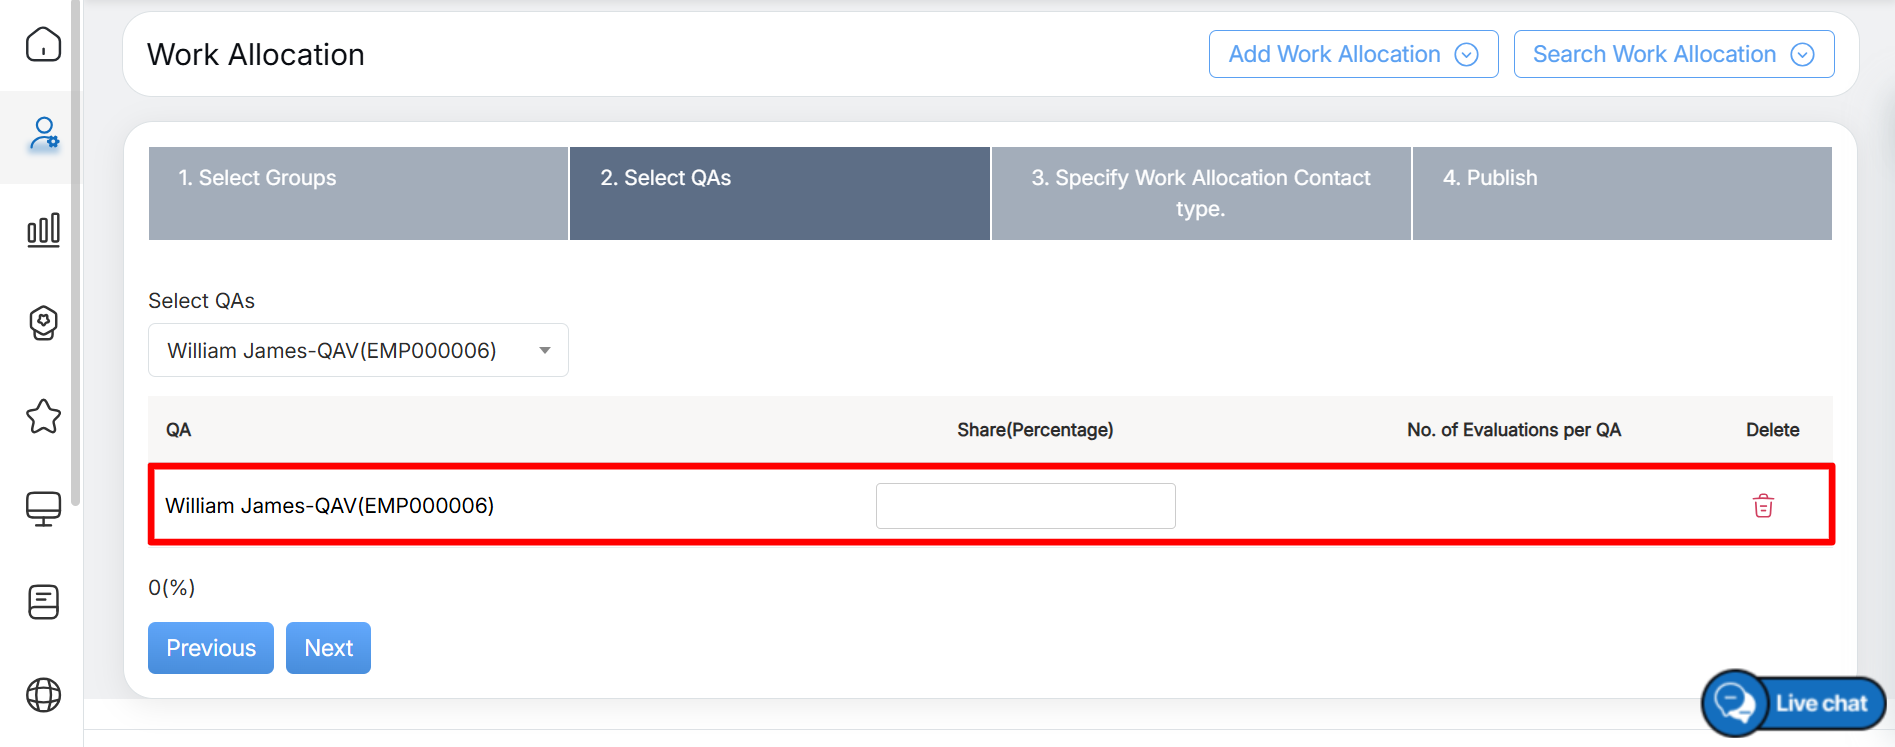
Search Results
The following columns are displayed in the grid:
- QA – Displays the name of the selected QA.
- Share (Percentage) – Enter the percentage of evaluations to be performed by the selected QA in the text box provided under this column.
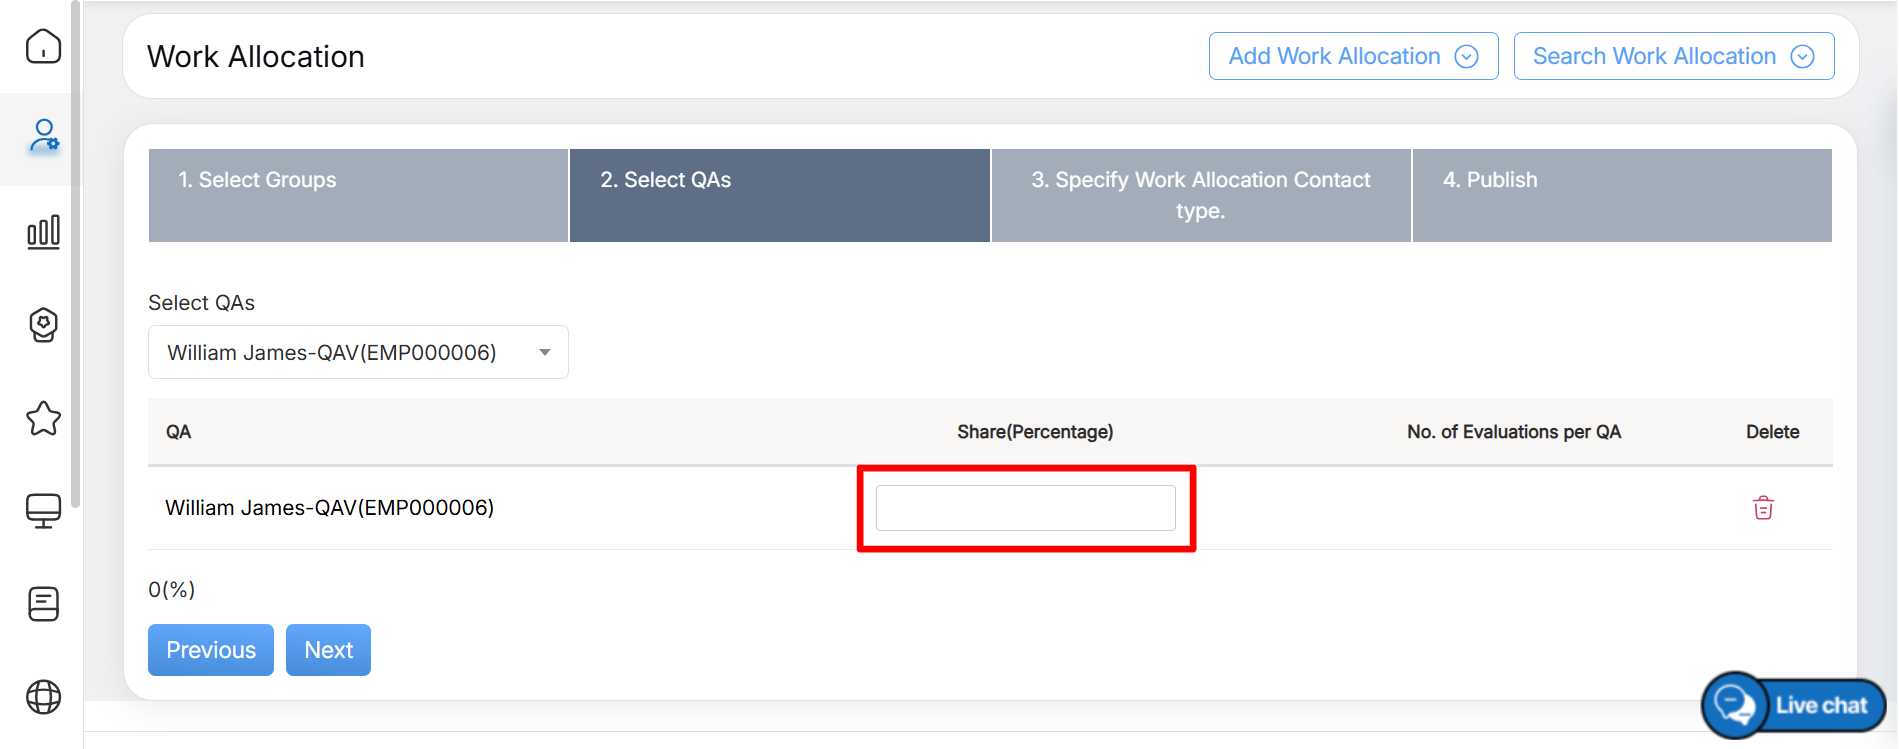
Share (Percentage)
- No. of Evaluations per QA – Displays the total number of evaluations to be performed by the selected QA based on the assigned share percentage. For example, if the group has 190 evaluations in total and Jordan’s Share (Percentage) = 50%, then the No. of Evaluations per QA for Jordan will be equal to 25.
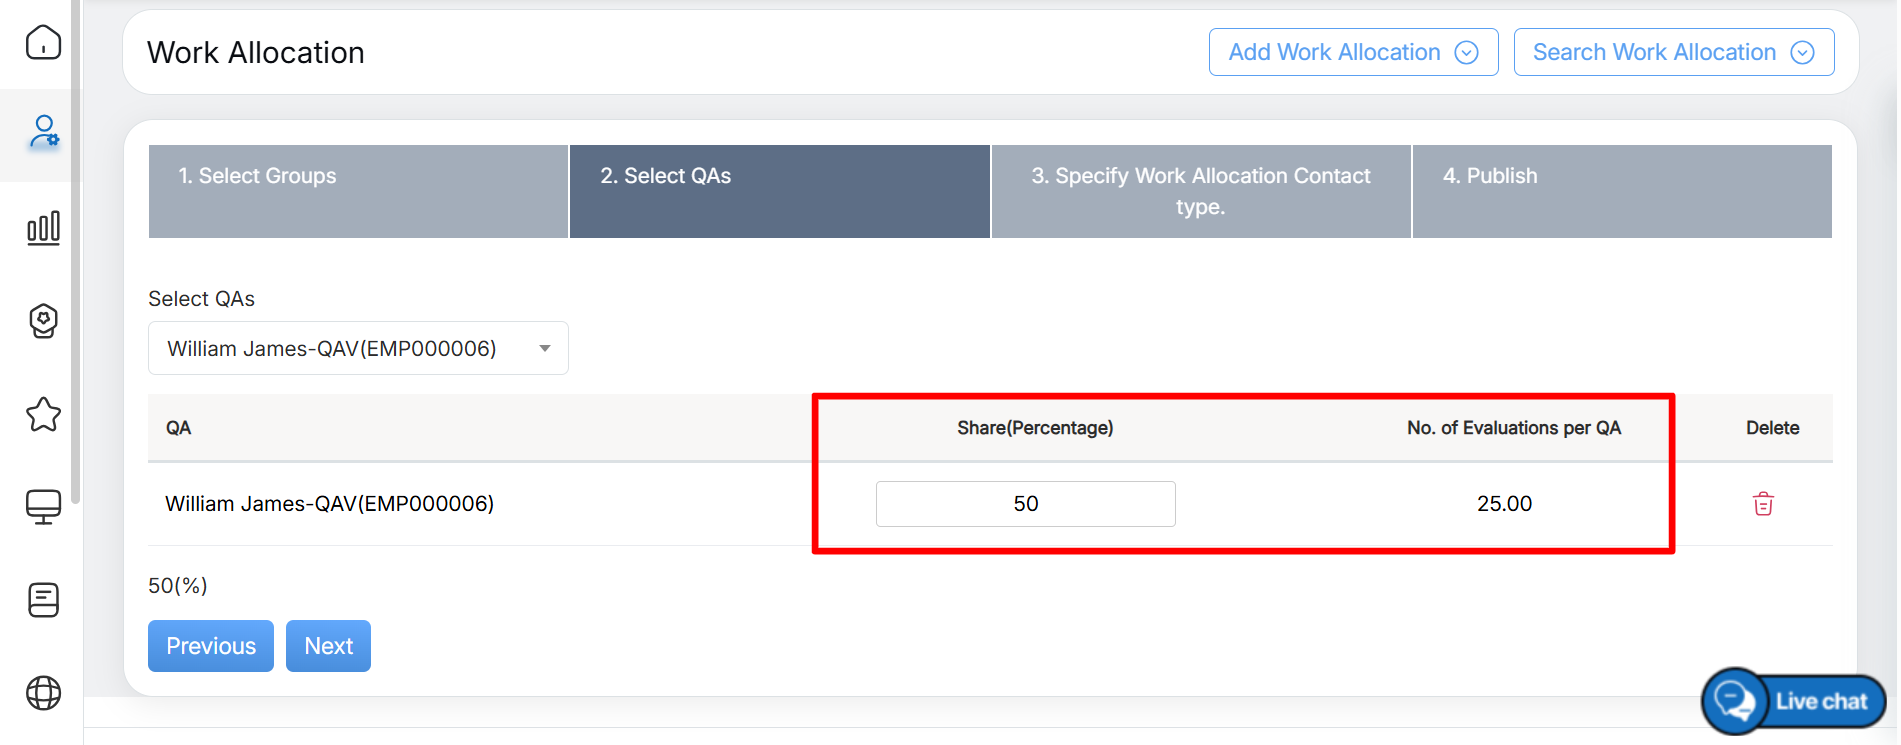
Number of Evaluations per QA
- Similarly, you can select multiple QAs and configure the individual share of evaluations to be performed by each QA.
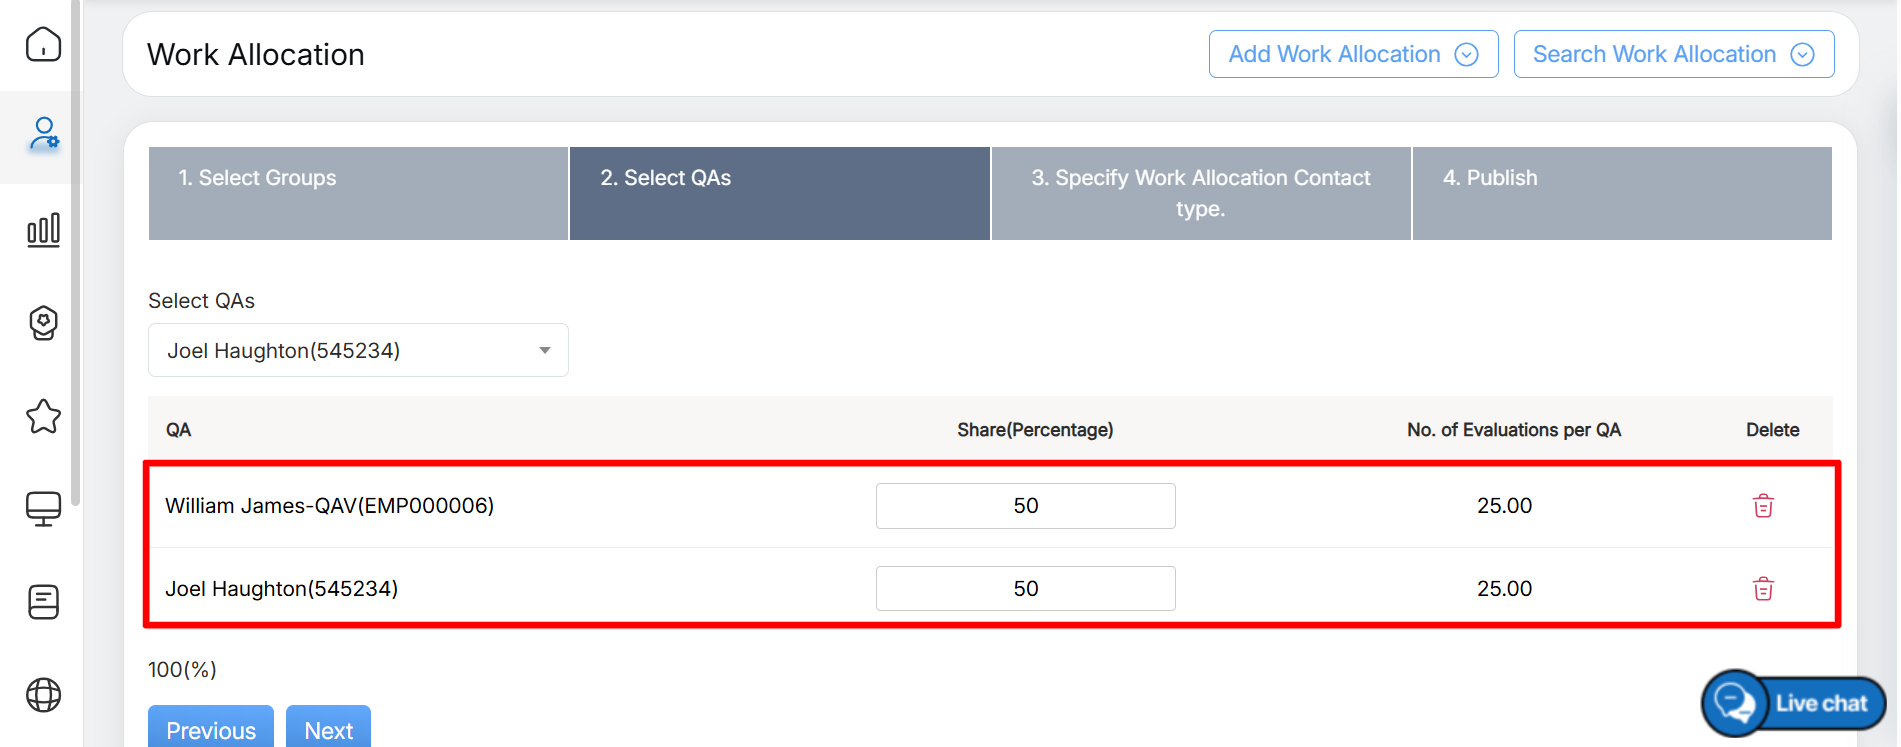
Configuring multiple QAs
Notes:
- Make sure to enter a value in Share (Percentage) that results in a whole number in No. of Evaluations per QA. The No. of Evaluations per QA value cannot be a decimal.
- Evaluation allocation should not exceed 100%.
- Based on the evaluation allocation for each QA, the total percentage of allocated evaluations is displayed, as highlighted in the screen below:
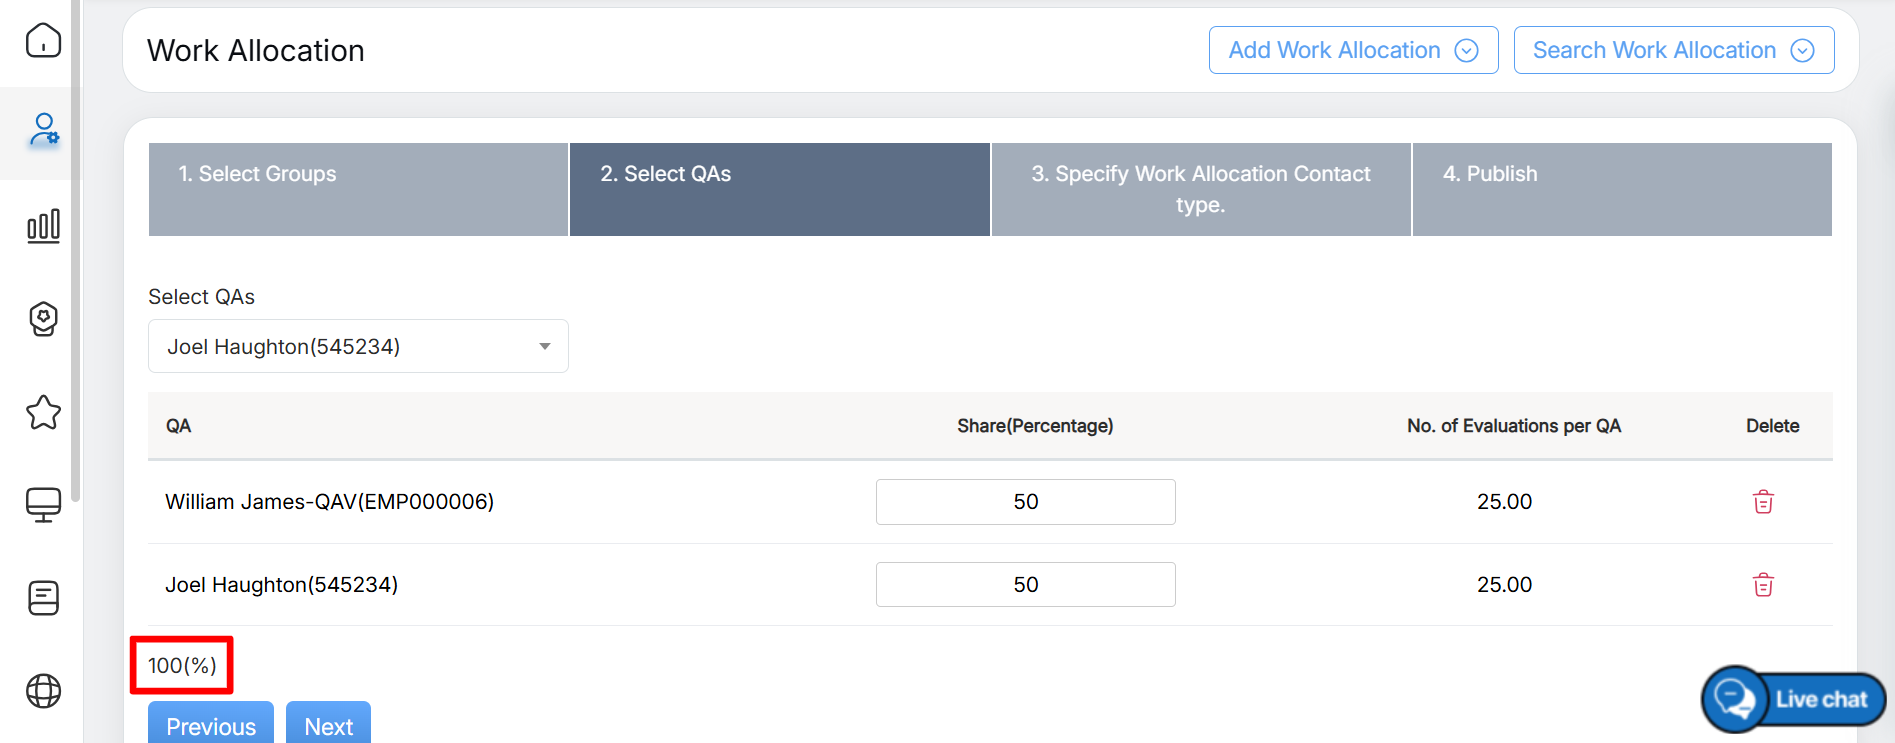
Total Percentage
Note: It is mandatory to allocate 100% of the evaluations.
- Delete – To remove a QA from the grid, click the Delete icon associated under the Delete column.
- A confirmation message is displayed in a pop-up. Click OK to confirm the deletion, as shown below:
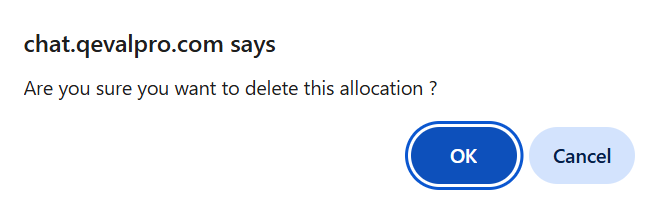
Delete Dialog Box
- To return to the previous step, click the Previous button.
- To proceed to the next step, click the Next button, as highlighted in the screen below:
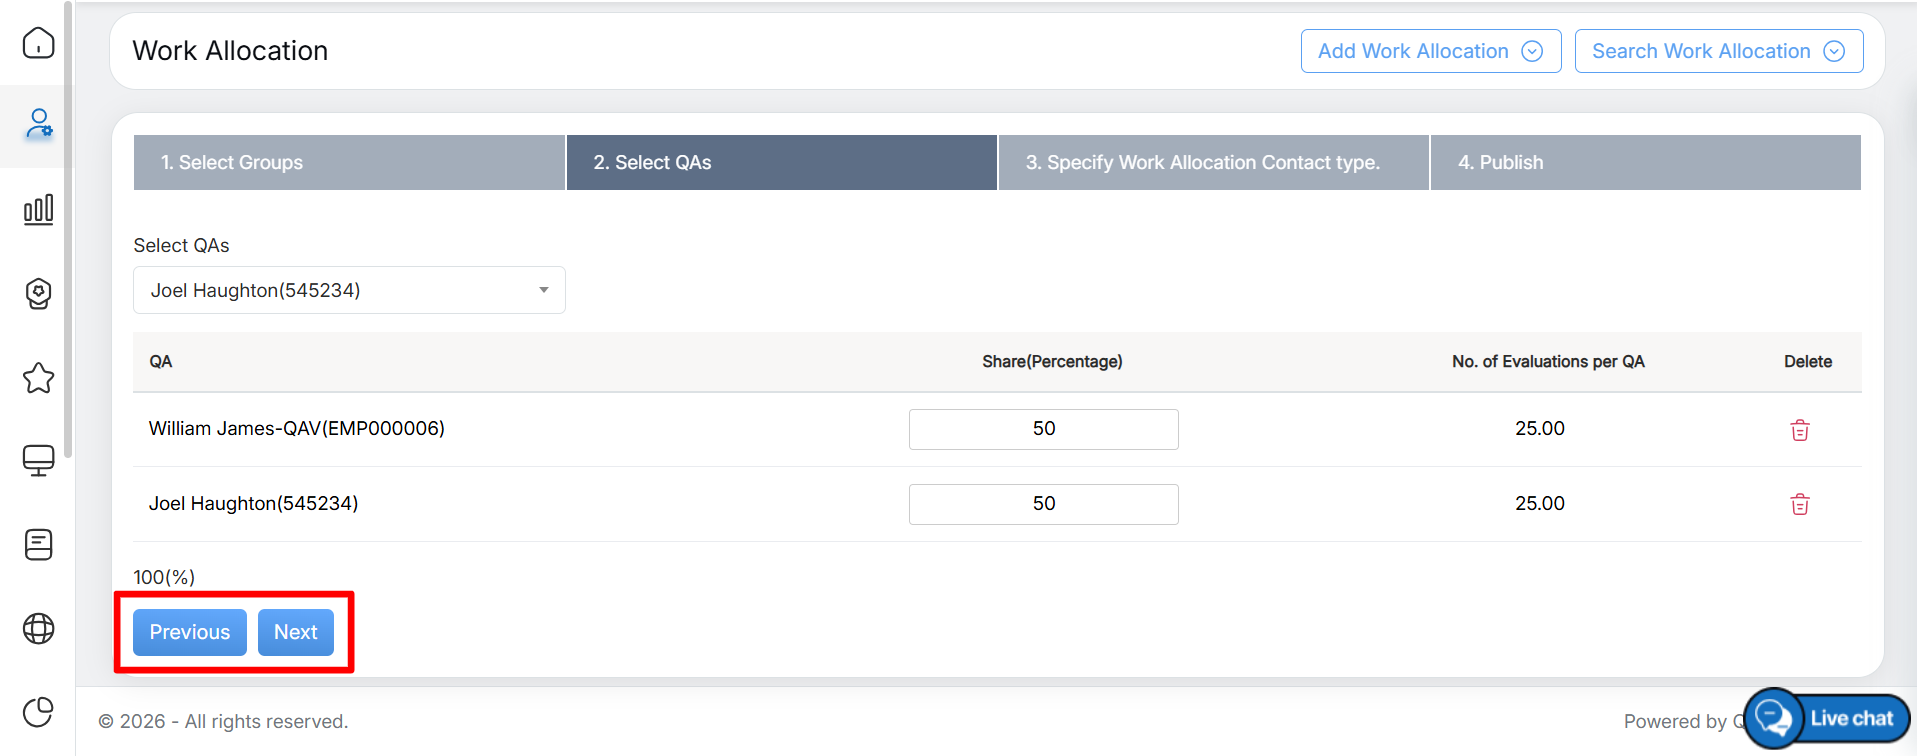
Navigation
- The next step, Specify Work Allocation Contact Type, is displayed.
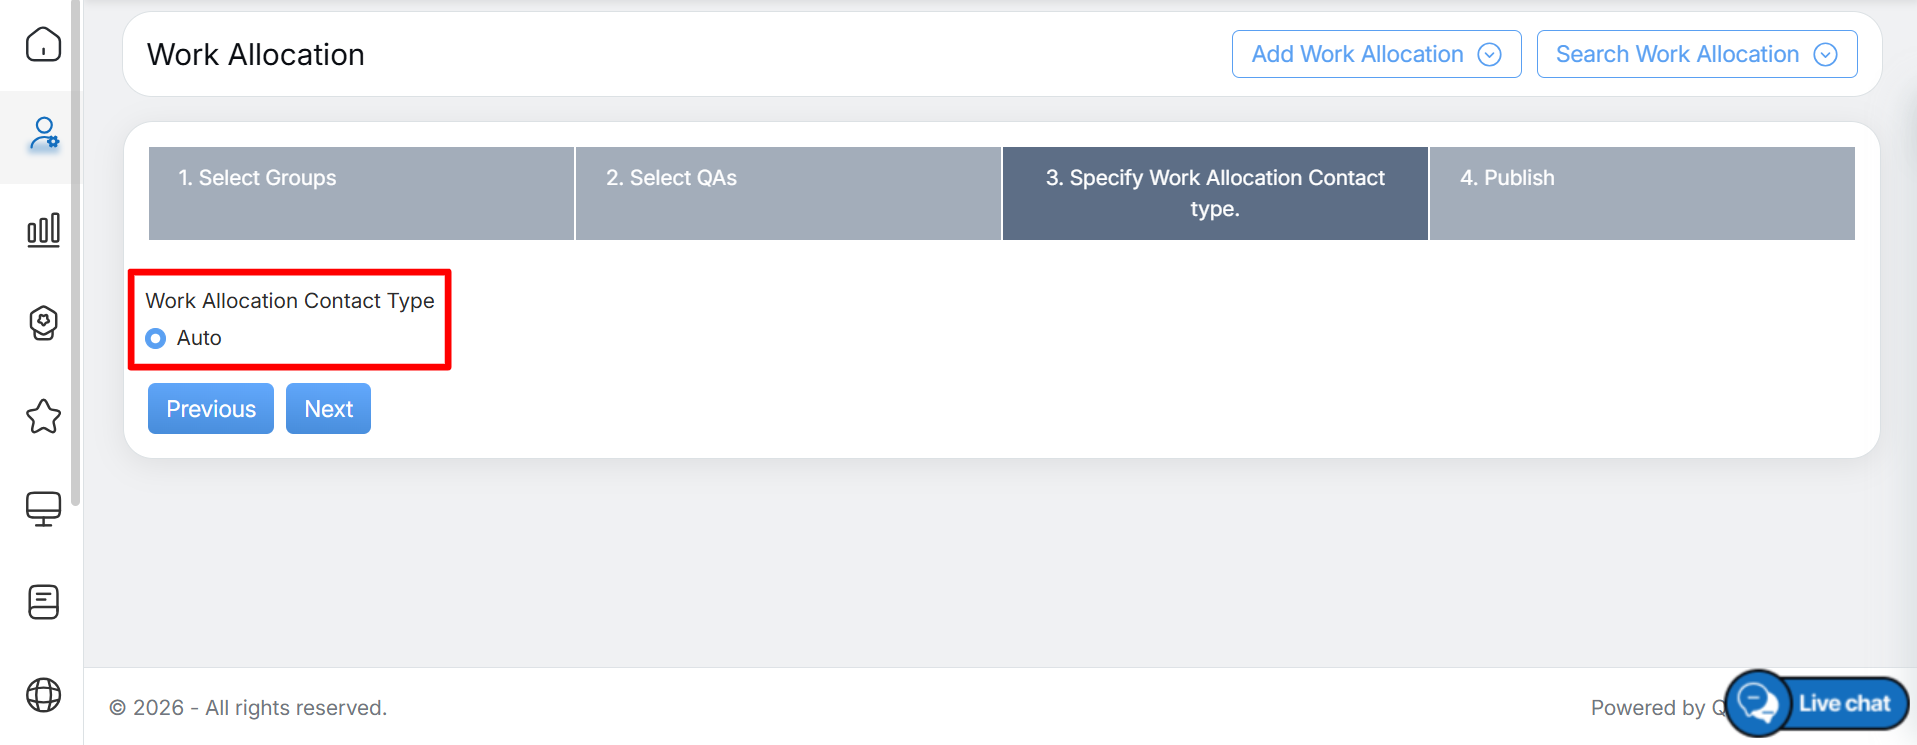
Work Allocation Contact Type
5. Under Specify Work Allocation Content Type, configure the required fields.
- Work Allocation Contact Type – The Manual radio button is selected by default as the contact type.
- Manual – Select this option to manually assign the required client and program to the QAs for evaluation.
- Click the Next button to proceed to the next step.
- The final step, Publish, is displayed as shown below:
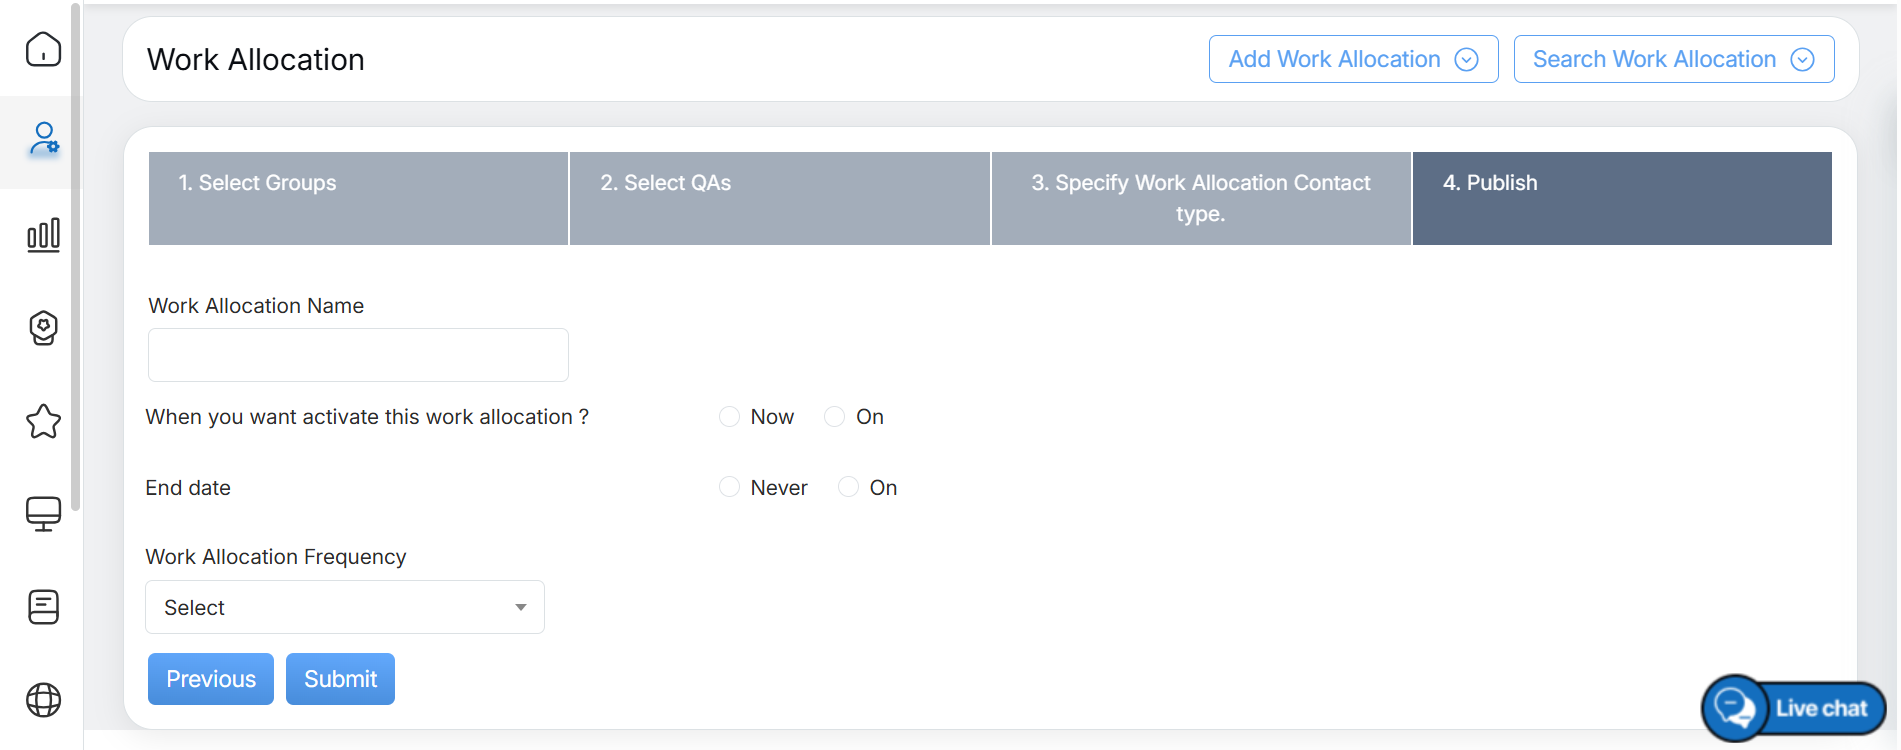
Publish
6. Under Publish, configure the following fields.
- Work Allocation Name – Enter the name of the work allocation to be assigned to the QAs in the text box.
- When you want activate this work allocation – Select when the work allocation assignment process should begin after the work allocation is published. Select one of the following options:
- Now – Select this option to start the work allocation assignment cycle as soon as the work allocation is published.
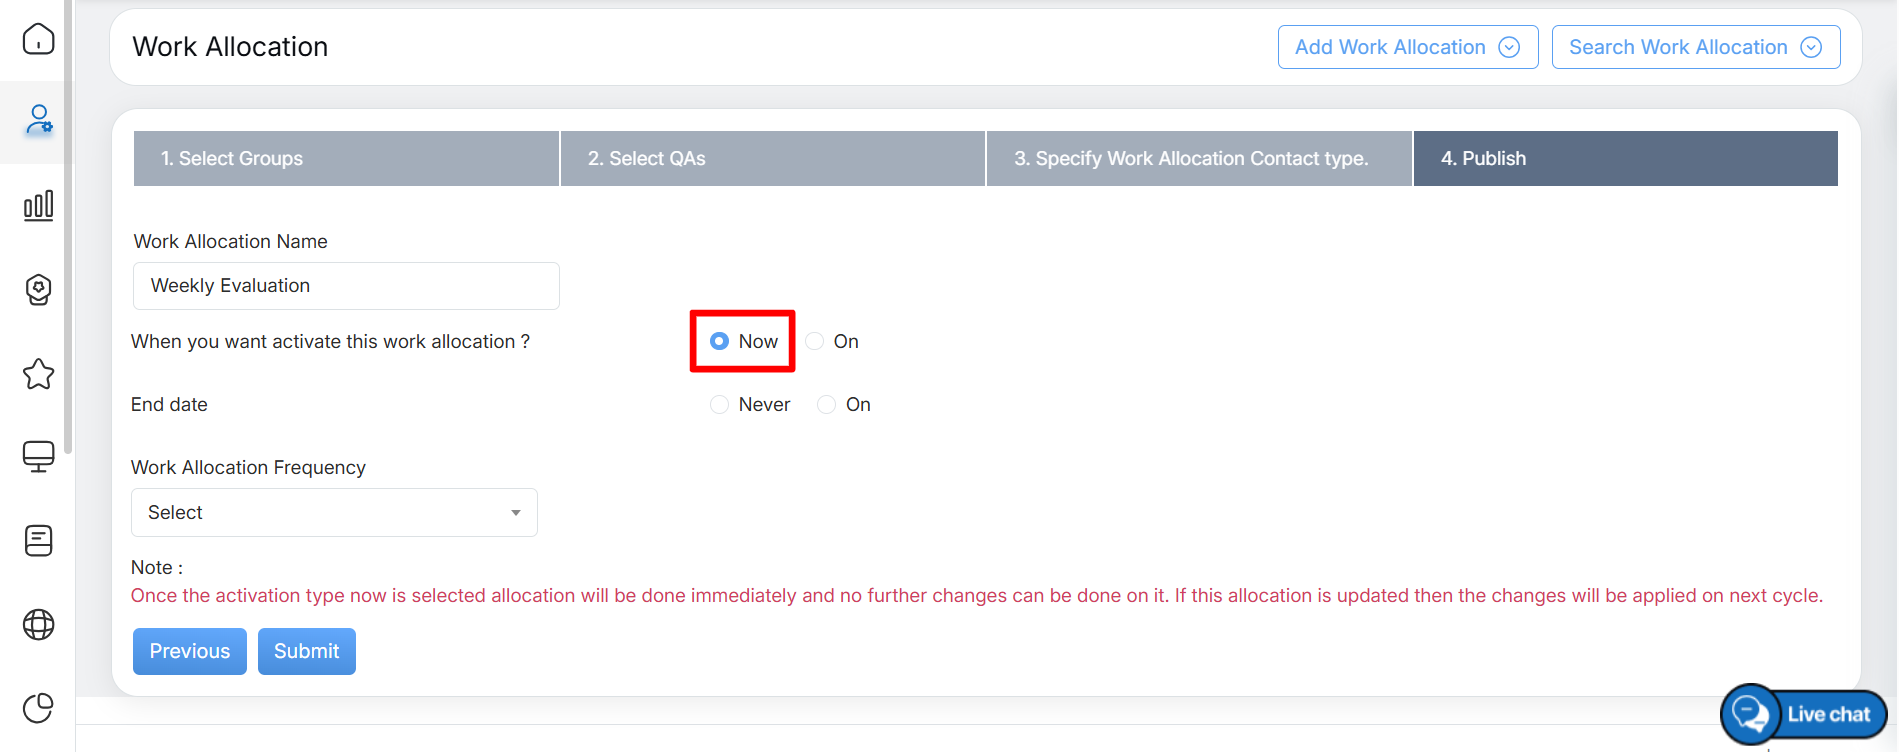
Activate Allocation: Now
Note: Once the Now activation option is selected, the allocation is processed immediately after publishing, and no further changes can be made to the current allocation cycle. If the work allocation is updated later, the changes will be applied from the next cycle.
-
- On – Select this option to schedule the date and time when the work allocation assignment cycle should begin. When selected, configure the following fields:
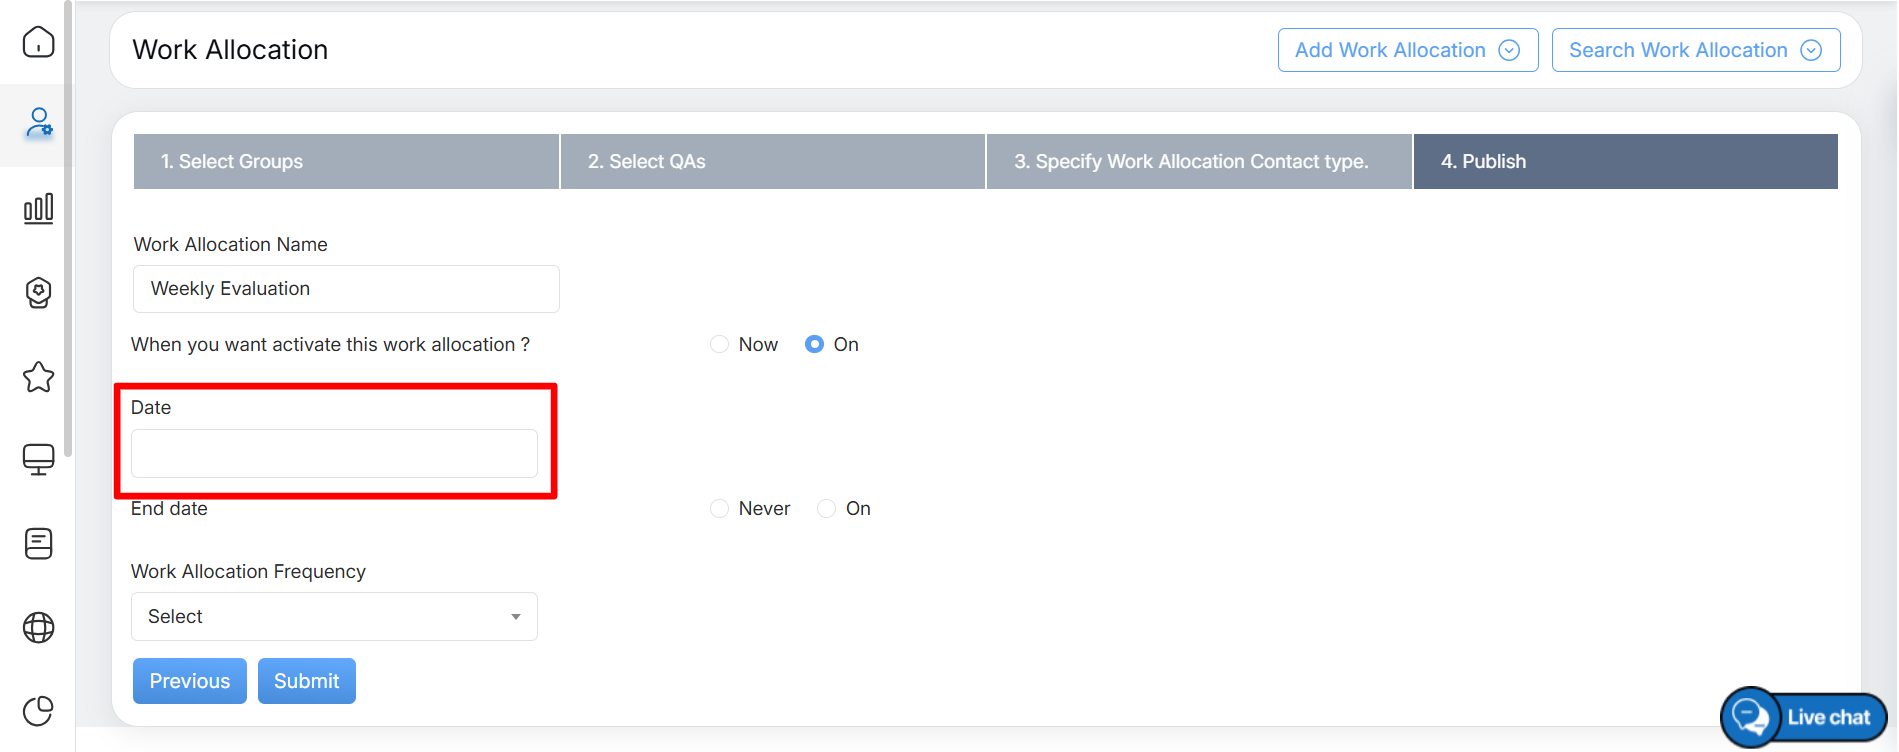
Date
-
- Date – Select the required date from the date picker to schedule when the work allocation assignment cycle should begin.
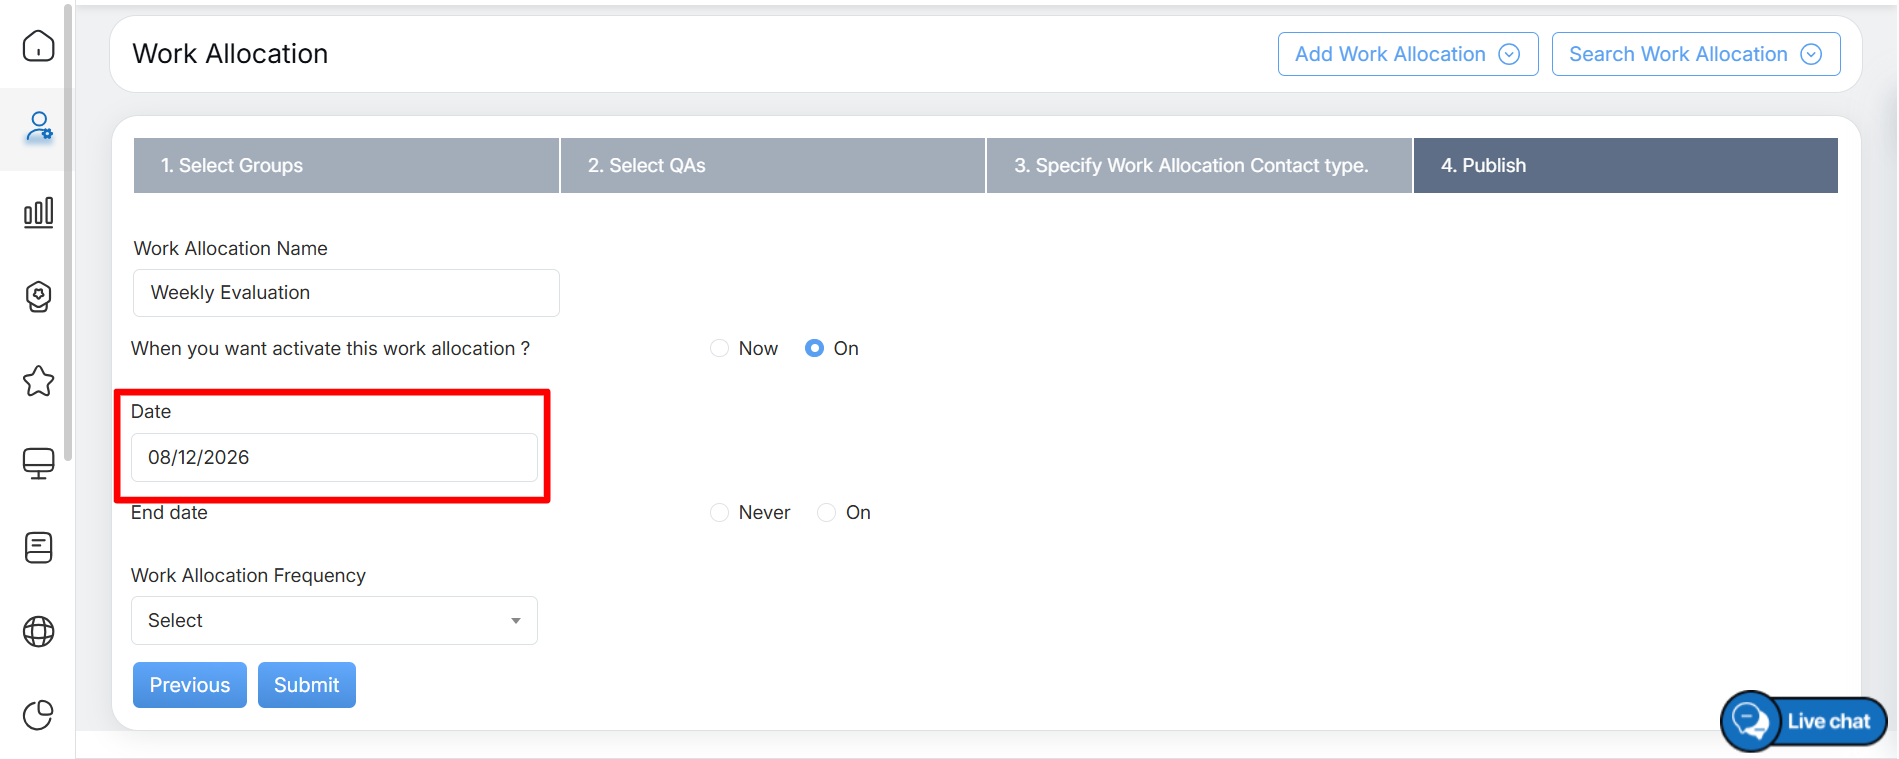
Selected Date
- End Date – Select when the work allocation assignment process should be deactivated after it is published. Select one of the following options:
- Never – Select this option to continue the work allocation assignment process indefinitely until it is manually stopped or modified.
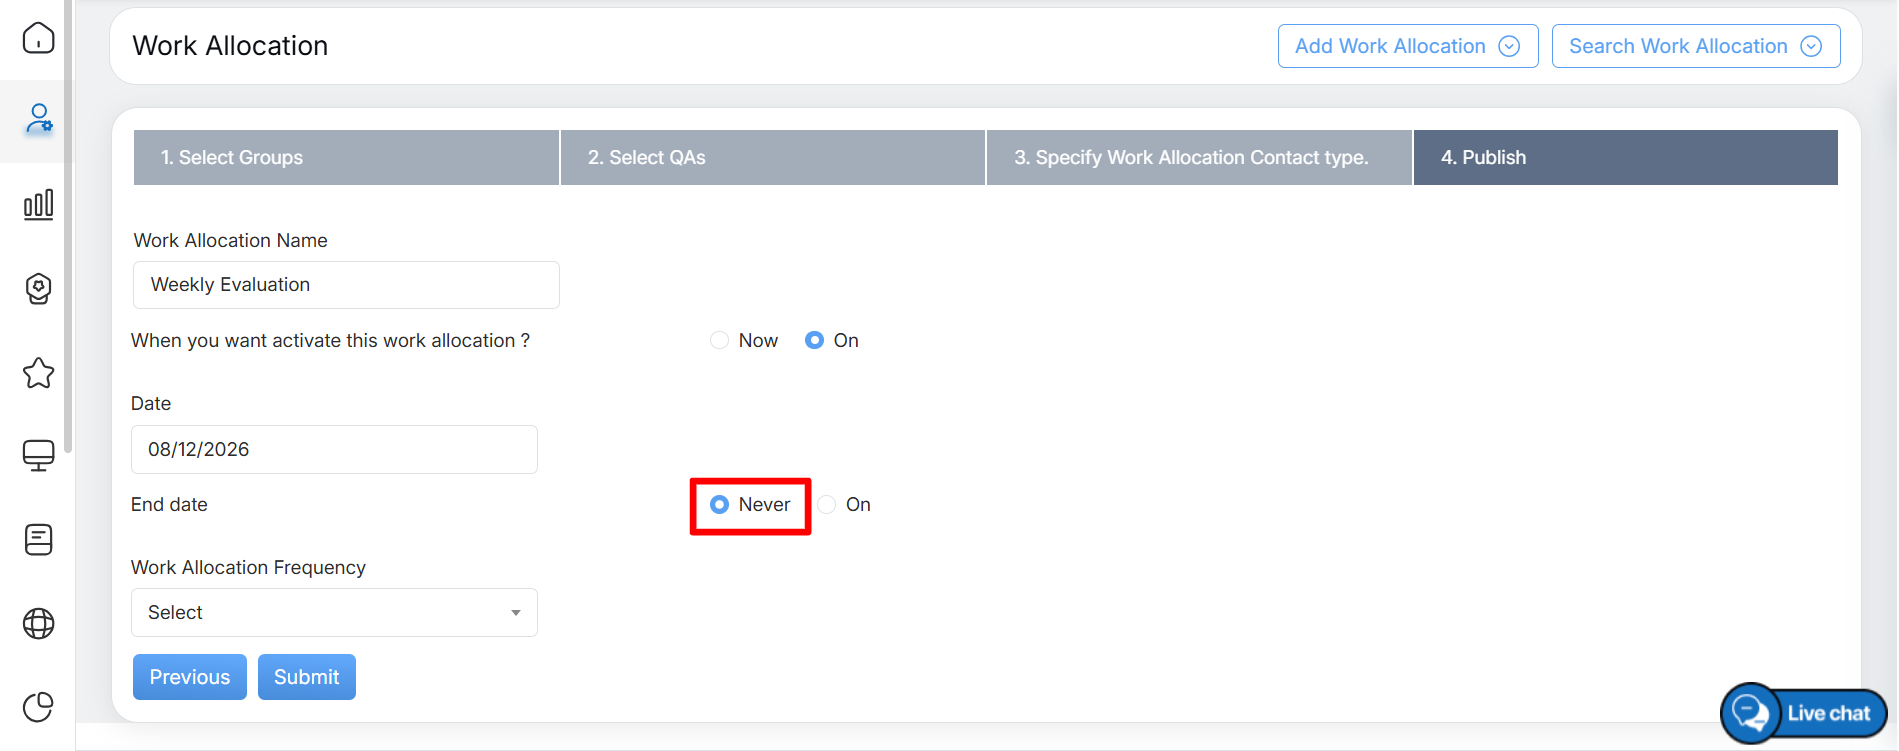
End Date: Never
-
- On – Select this option to schedule when the work allocation assignment cycle should stop. When selected, configure the required fields to specify the date at which the assignment cycle should end.
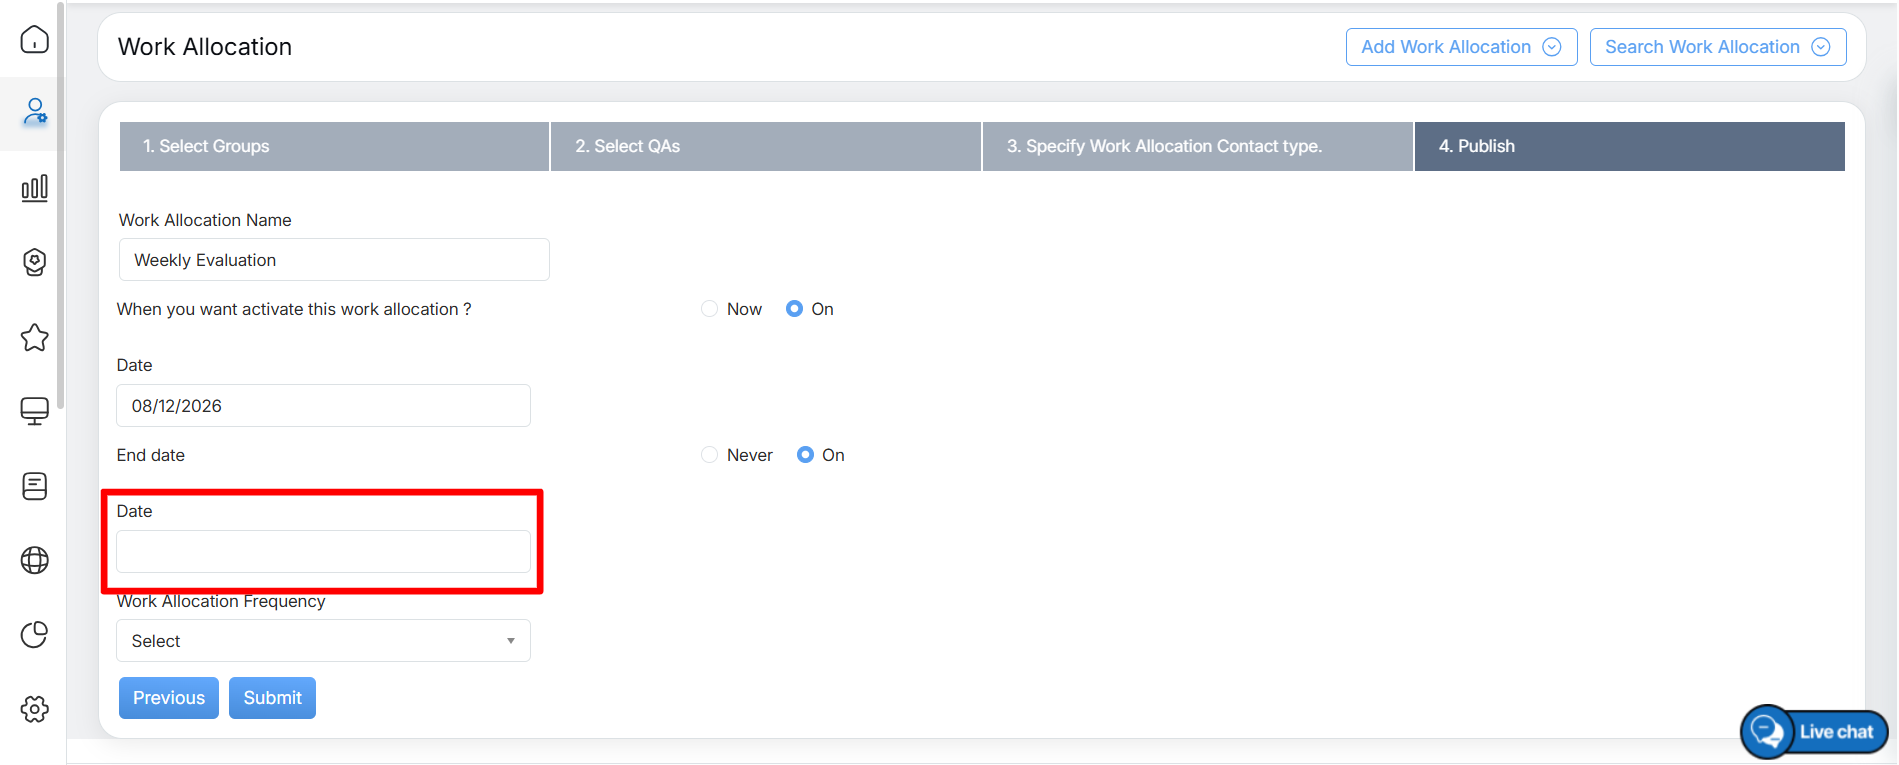
End Date
- Work Allocation Frequency – Select the required frequency for the work allocation from the dropdown list: Daily, Weekly, or Monthly.
- If Weekly or Monthly is selected, select the required frequency value from the Occurs Every dropdown list.
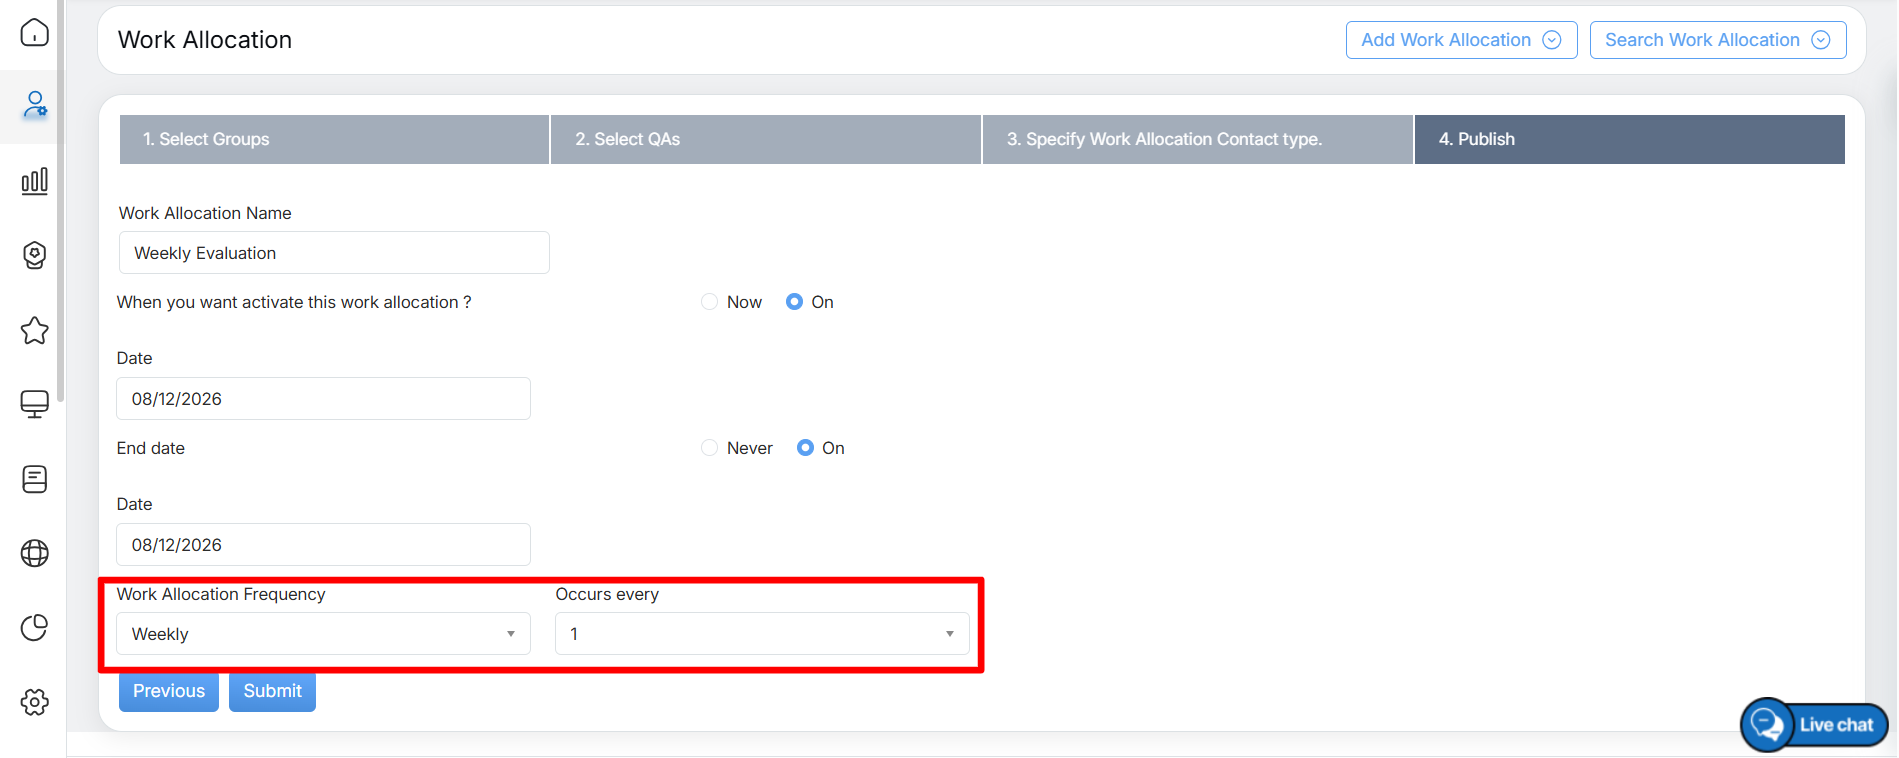
Work Allocation Frequency
- Once all four steps for adding a new work allocation are configured, click the Submit button.
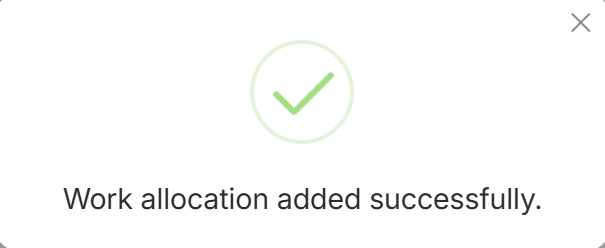
Acknowledgement Message
The newly added work allocation is displayed on the Work Allocation page, as shown below:
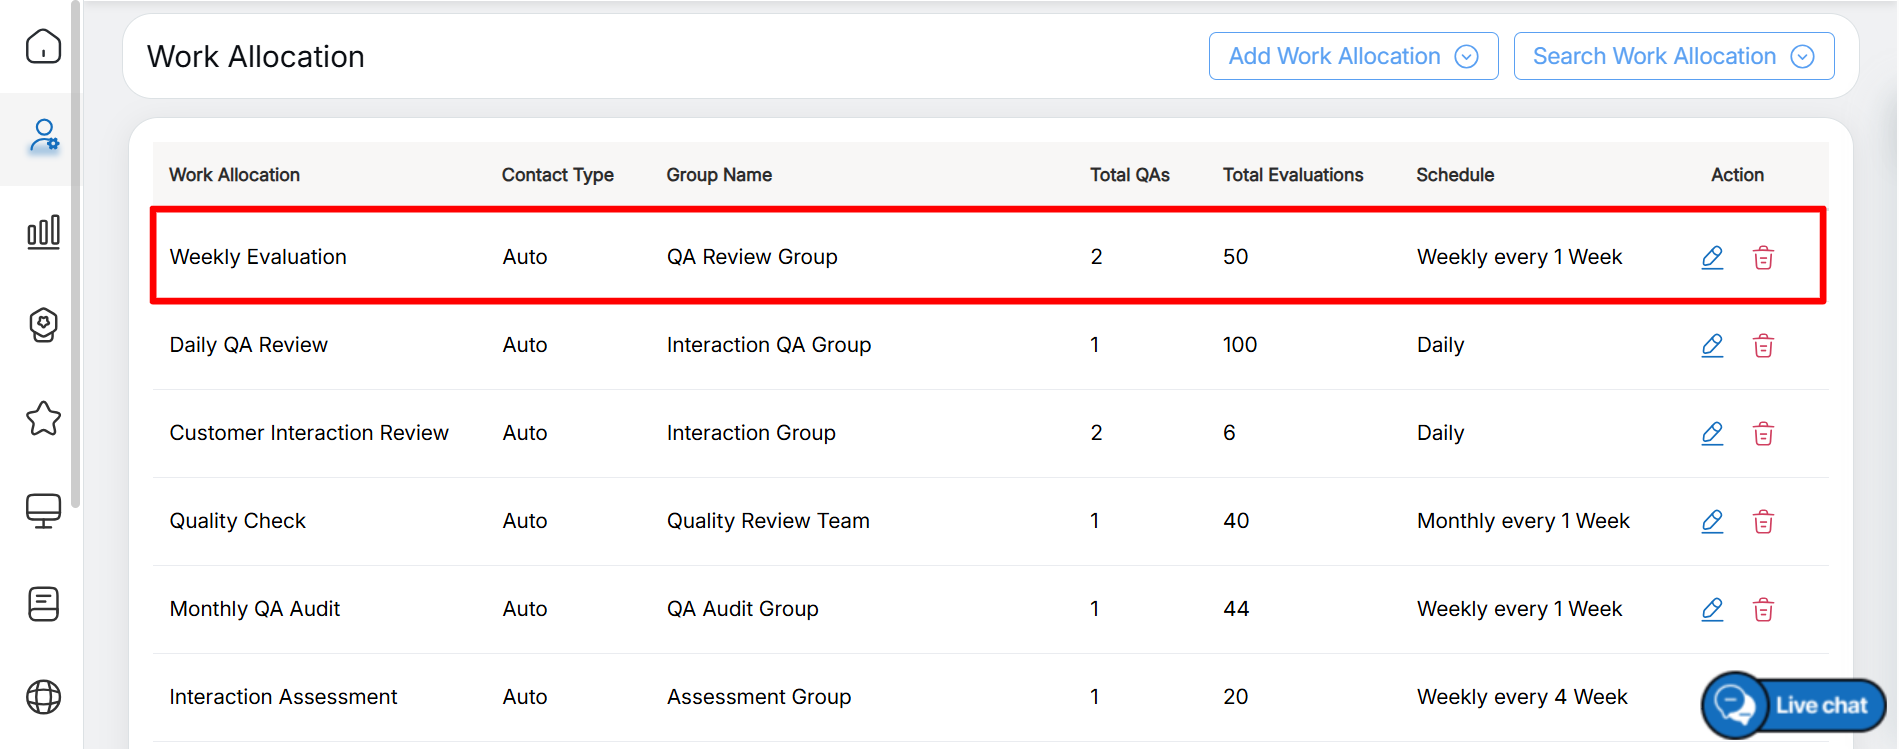
Newly added Work Allocation
Note:
- Supervisors and Admins can view the evaluations assigned to QAs from Evaluation/ATA in their respective consoles.
- To allow QAs to view the assigned evaluations in their consoles, Supervisors and Admins must first change the evaluation status from Not Evaluated to In Progress in Evaluation/ATA.
Video