Table of Contents
Edit Work Allocation Group
After a work allocation group is created, users can manage it by editing its details or deleting it.
To edit an existing work allocation group, click the Edit icon in the Action column corresponding to the required group on the Work Allocation Group page.
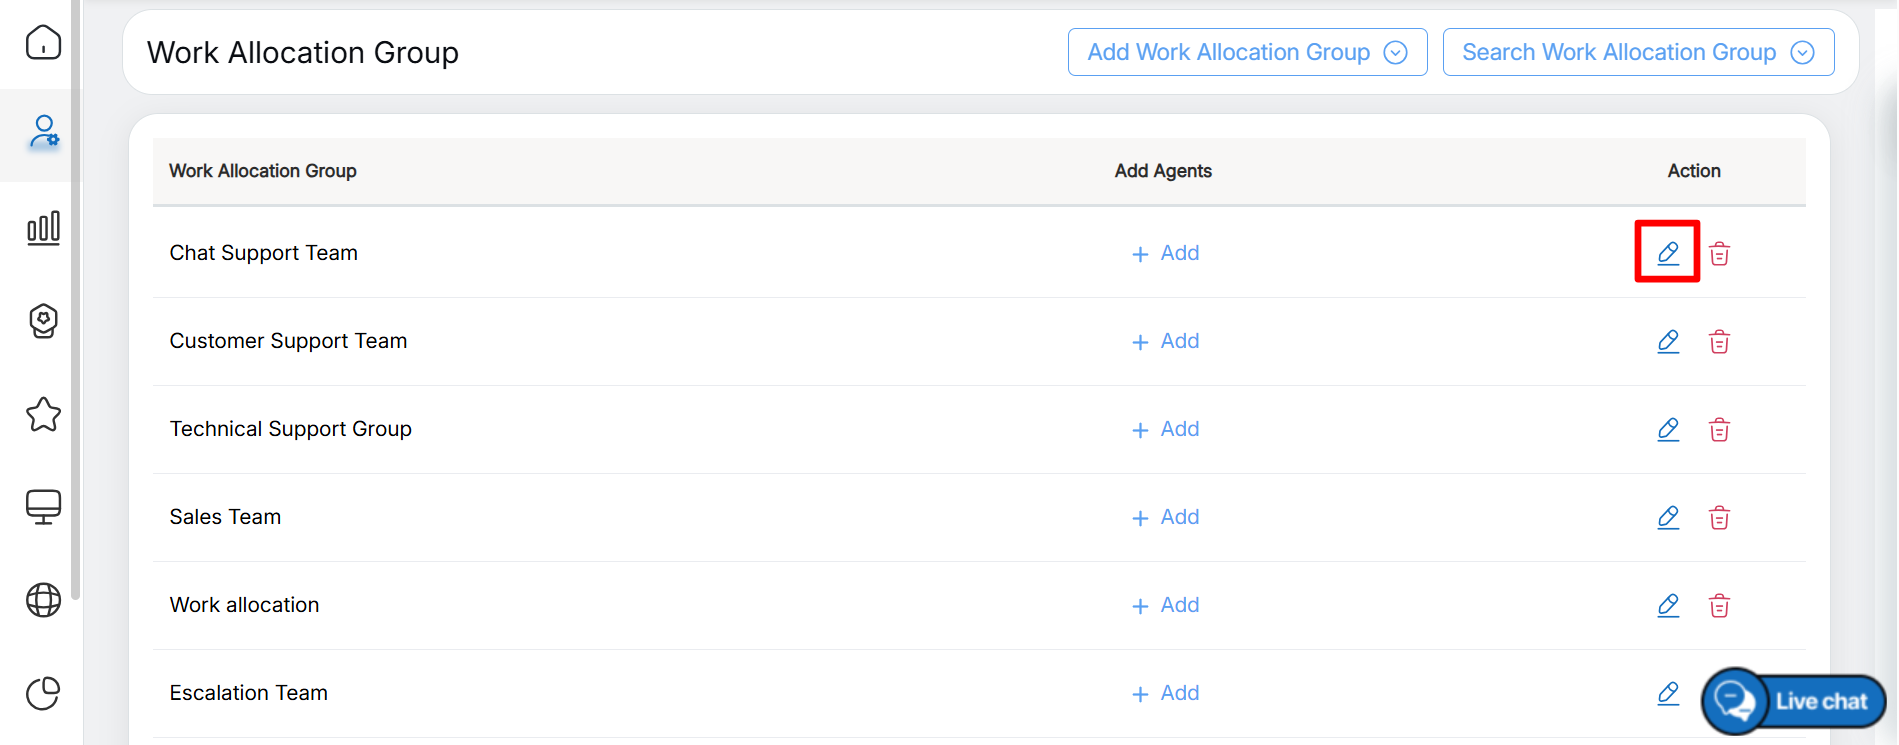
Edit
The Edit Work Allocation Group pop-up window is displayed, as shown in the following screen. After updating the Work Allocation Group Name, click the Update button to save the changes.
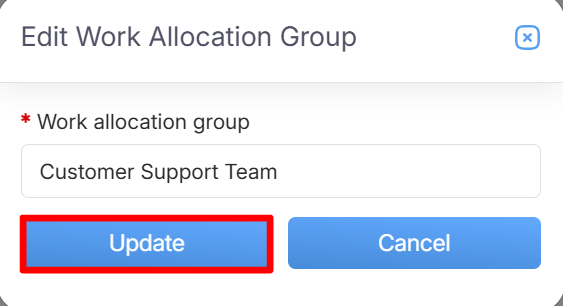
Update
After the changes are updated successfully, the system displays an acknowledgment message, as shown in the following screen.
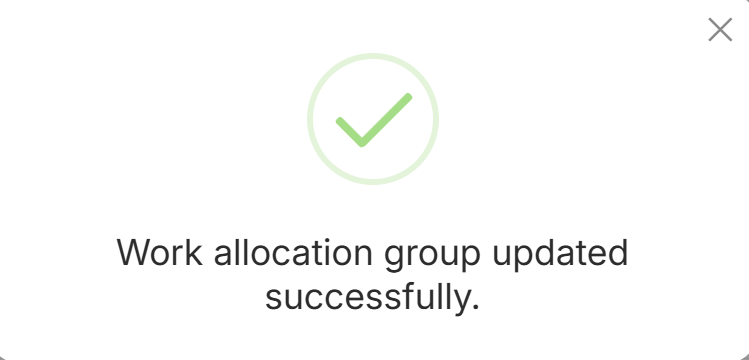
Acknowledgement Message
Delete Work Allocation Group
To delete an existing work allocation group, click the Delete icon in the Action column corresponding to the required group on the Work Allocation Group page.
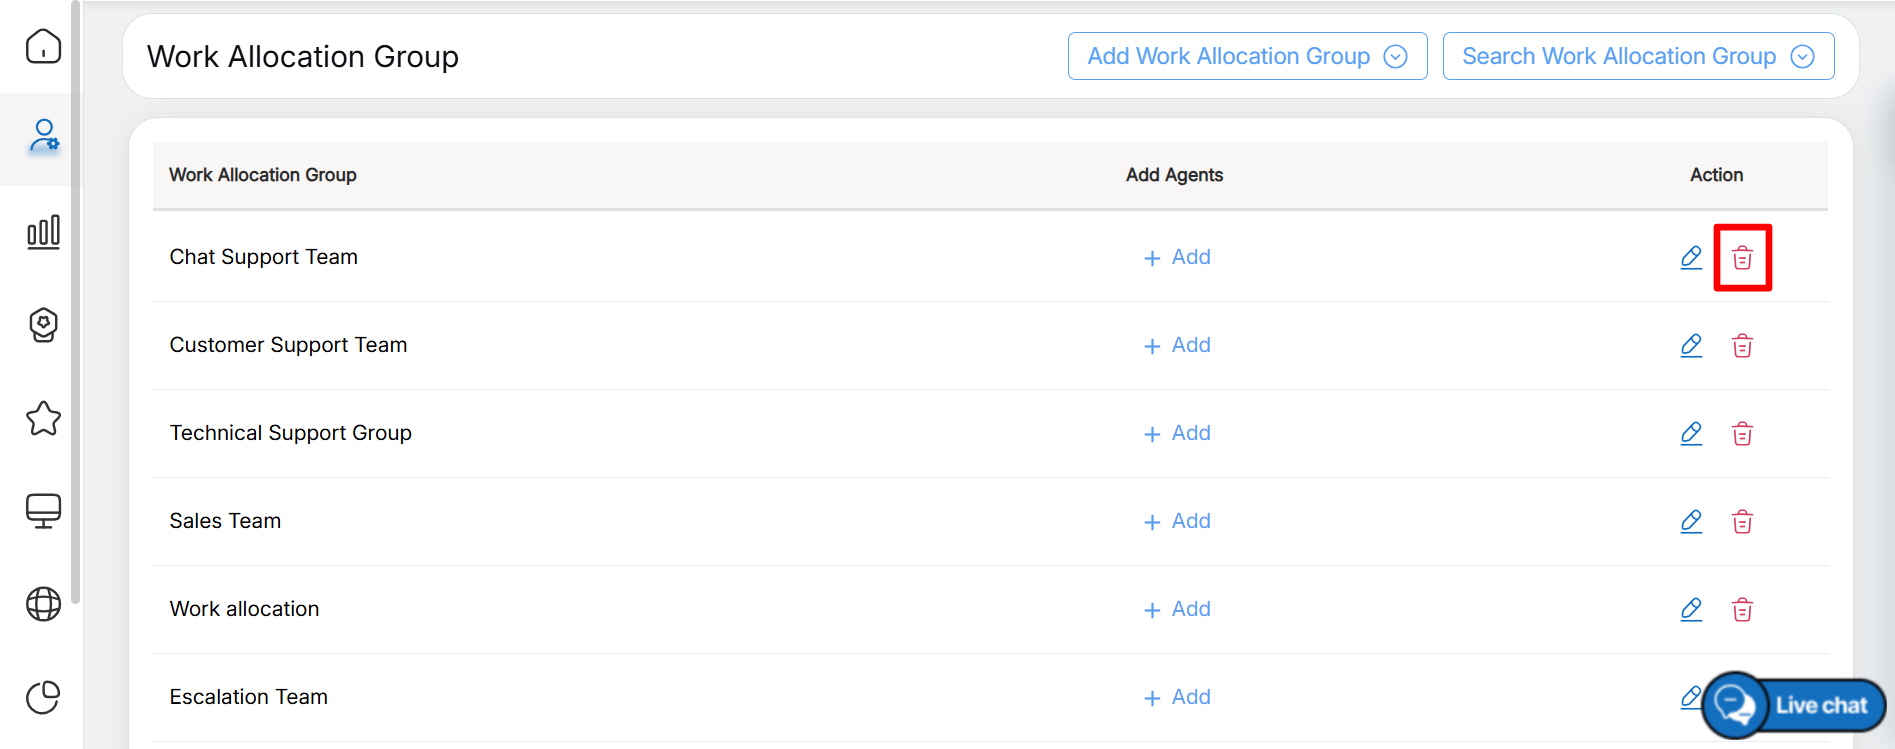
Delete
A confirmation message is displayed, as shown in the following screen.
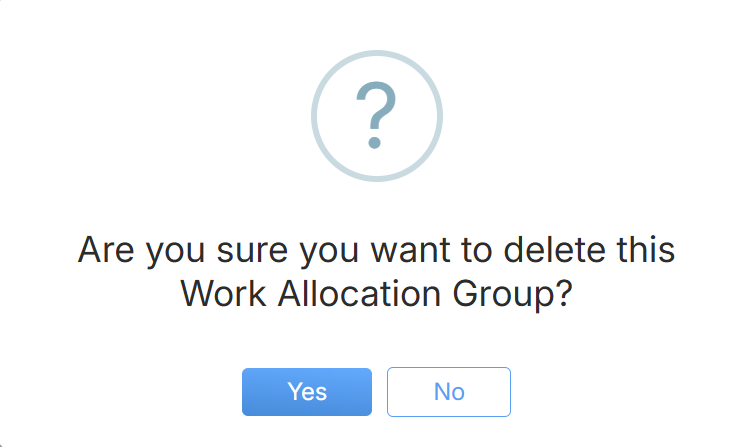
Confirmation Dialog Box
To delete the work allocation group, click Yes in the confirmation pop-up. To cancel the deletion and retain the group, click No.
After the work allocation group is deleted successfully, the system displays an acknowledgment message, as shown in the following screen.
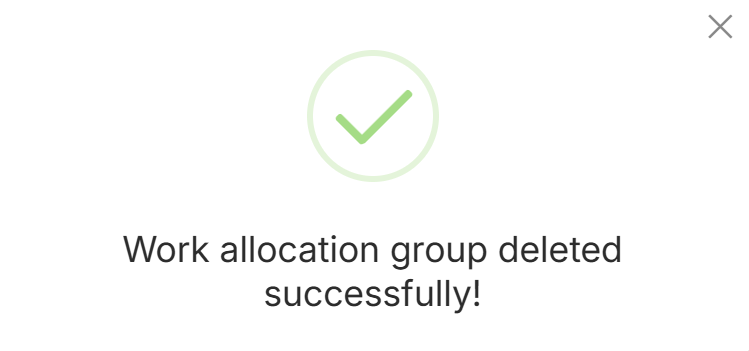
Acknowledgement Message
Using the Edit and Delete options, users can easily update the details of an existing work allocation group or remove it when it is no longer required.
Video