Table of Contents
Adding Agents
After creating a new work allocation group, click the + Add link in the Add Agents column corresponding to the required group. The Add Agents window is displayed, as shown in the following screen.
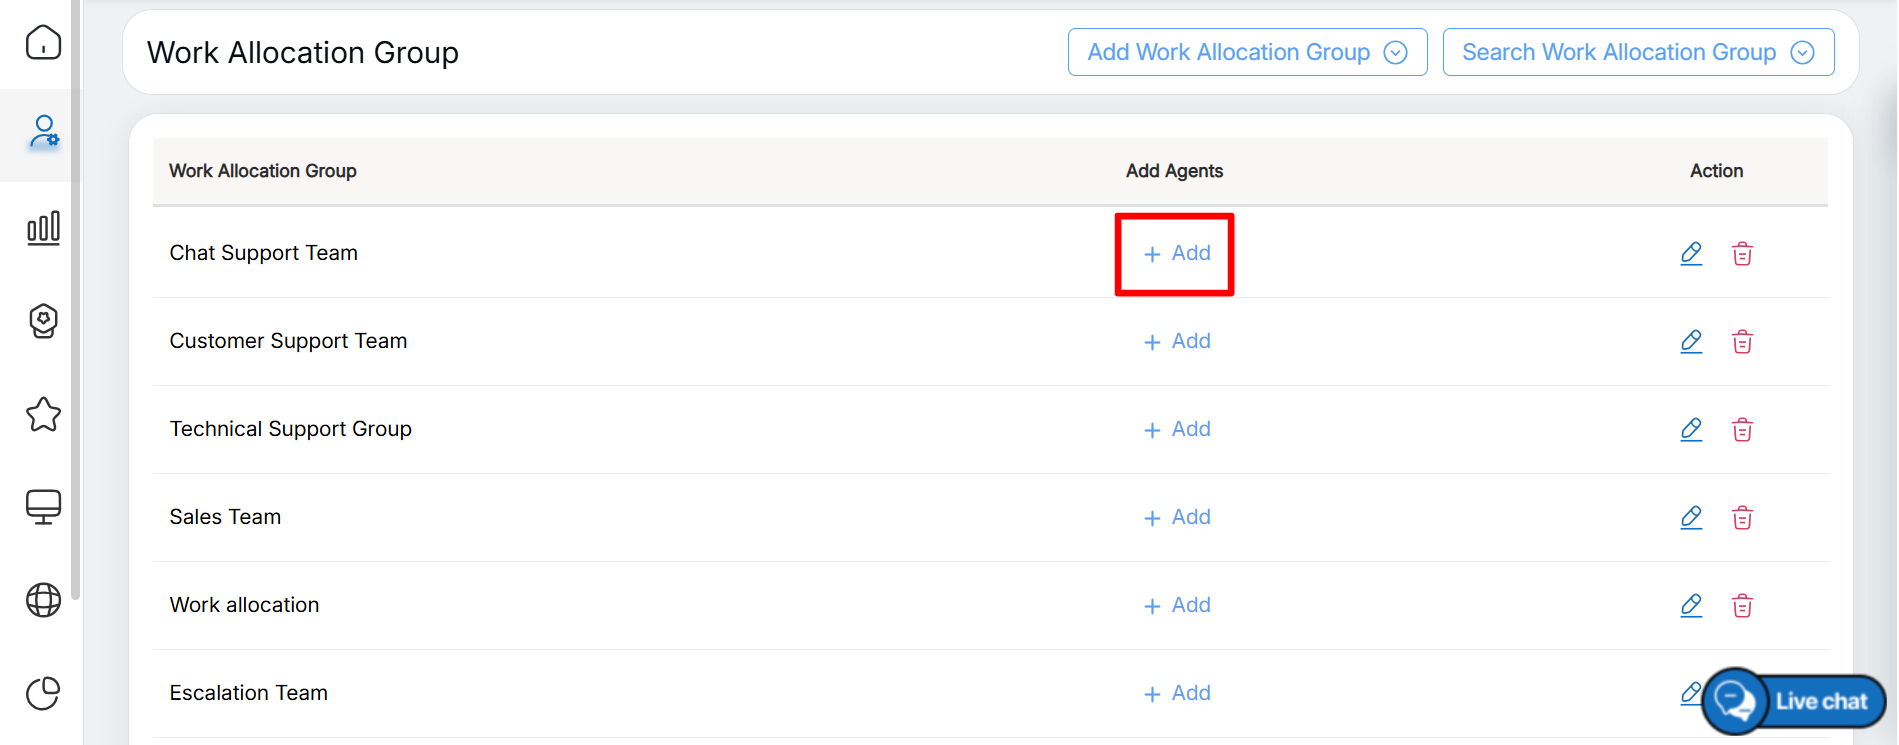
Add Agents
The Agent List pop-up window is displayed, as shown in the following screen.
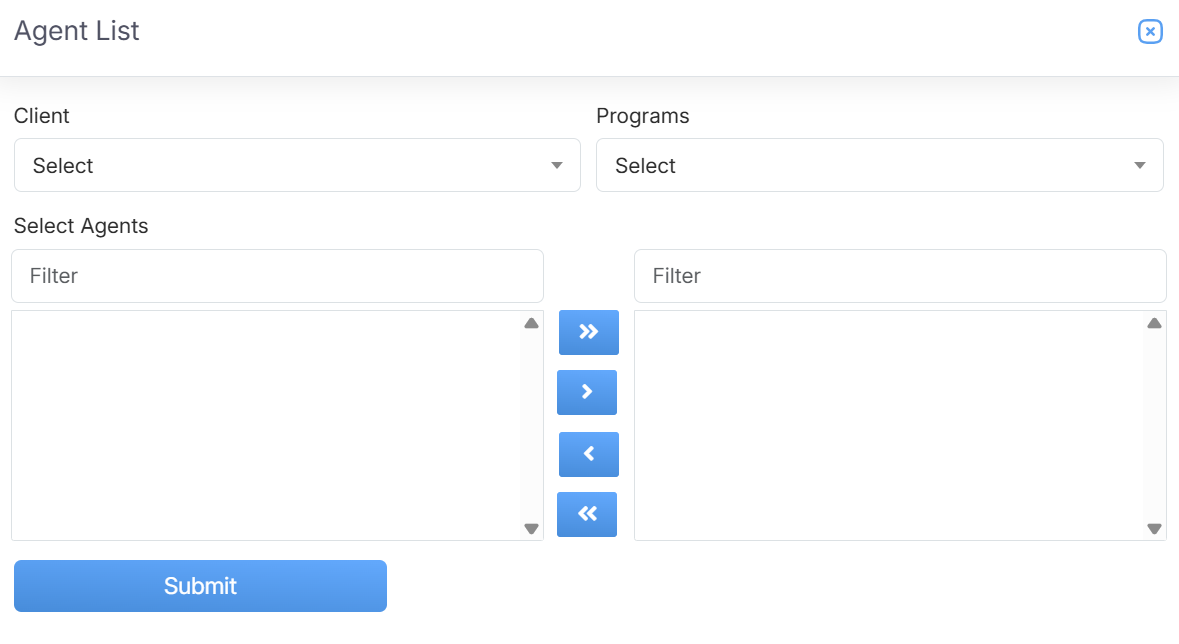
Agent List
In the Agent List pop-up window, configure the following fields to assign agents to the selected work allocation group:
- Client – Select the required client from the drop-down list.
- Programs – After selecting a client, choose the required program from the available list.
- Select Agents – Based on the selected client and program, the system displays the list of available agents. Select one or more agents to assign them to the work allocation group, as shown in the following screen.
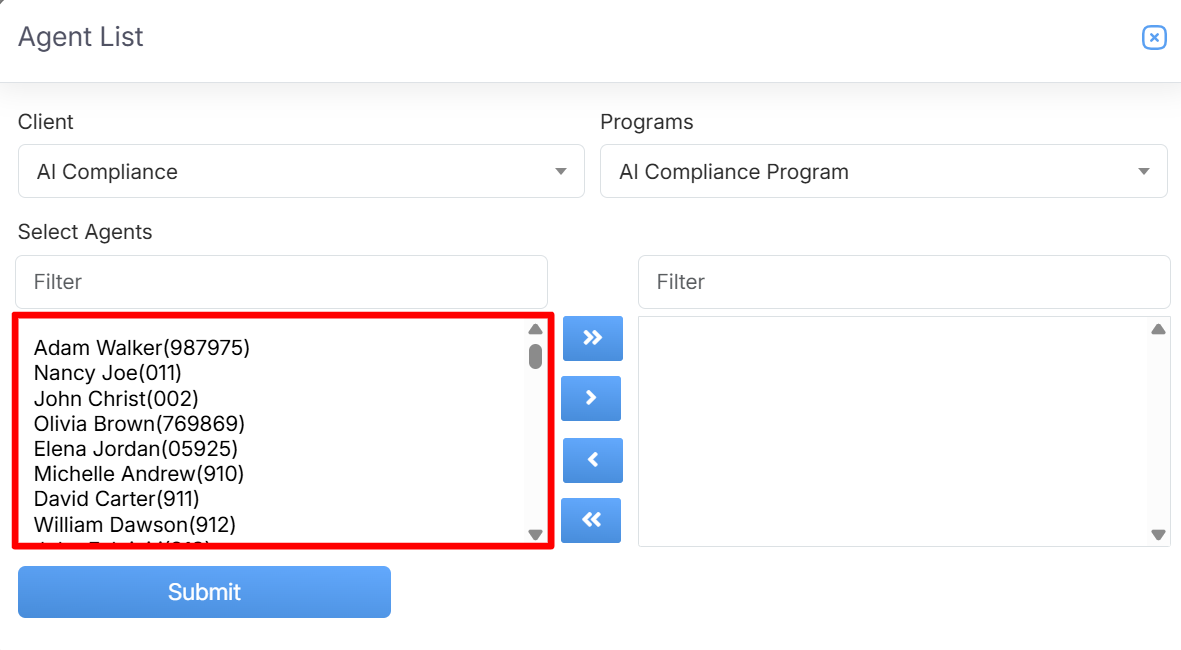
Agent List
Select the required agents from the Available Agents list.
Note: To select multiple agents, press and hold the Ctrl key on your keyboard while clicking the names of the required agents in the Available Agents list.
You can search for a specific agent by entering the agent’s name in the Filter field. The list of available agents is automatically filtered to display matching results, as shown in the following screen.
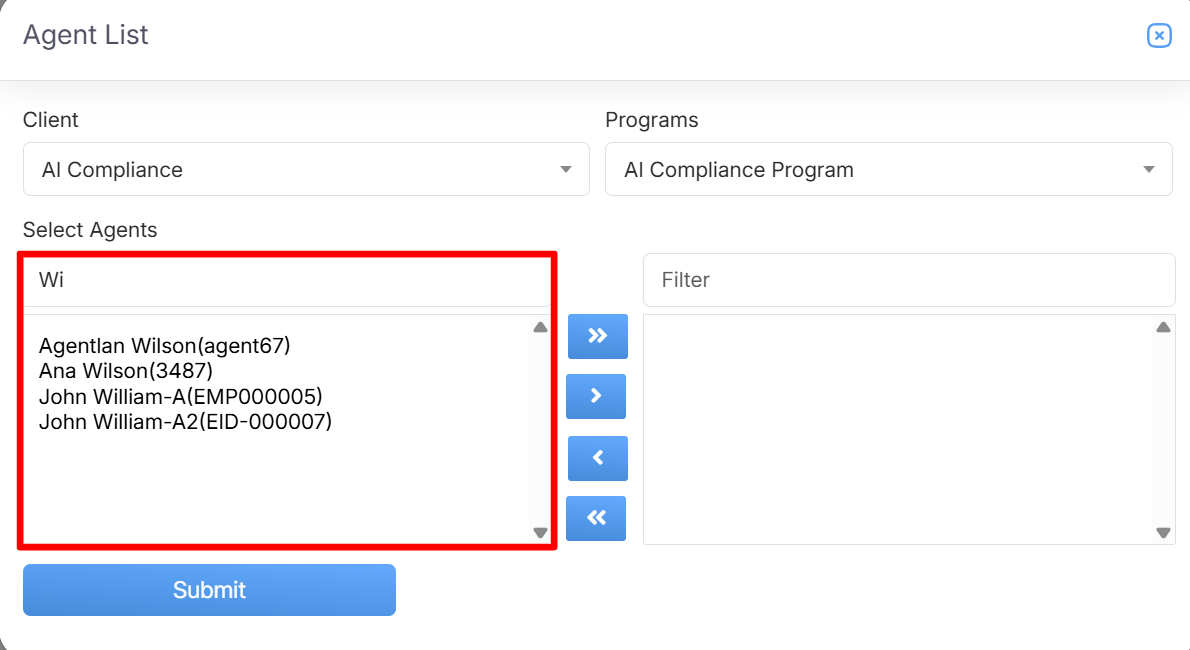
Search Agents
After selecting the required agent(s), click the Right Arrow (>) button. The selected agent(s) are moved from the Available Agents list to the Selected Agents list, as shown in the following screen.
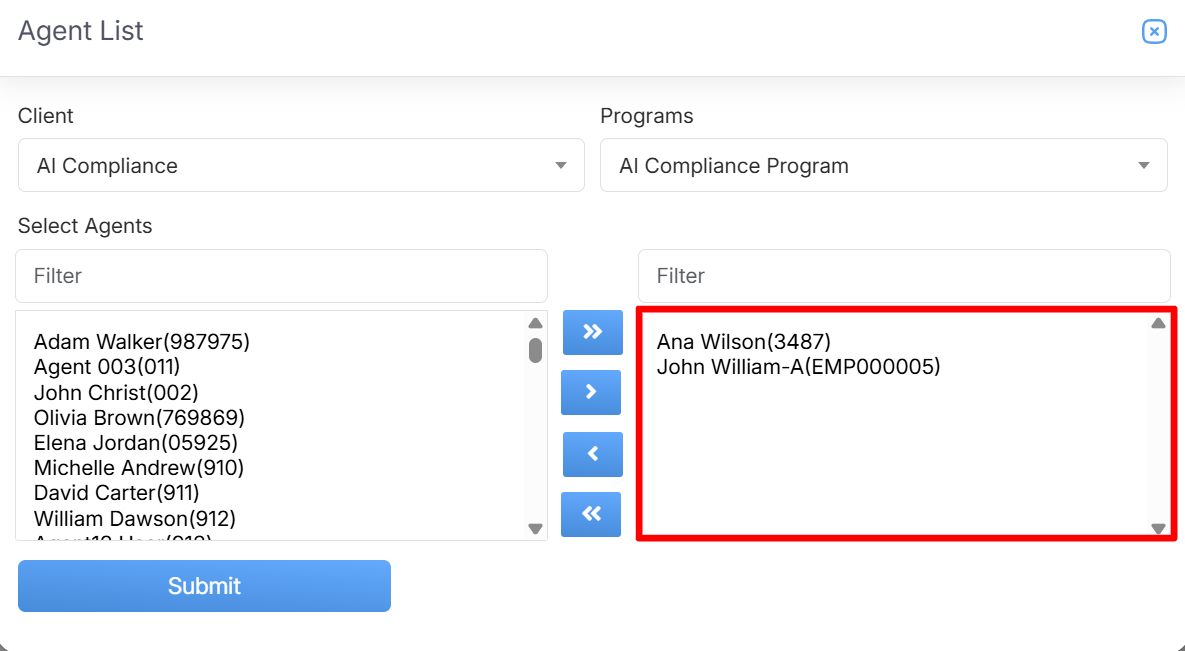
Selected Agents
To move all agents from the Available Agents list to the Selected Agents list in a single action, click the Move All (>>) button.
To remove specific agents from the Selected Agents list, select the required agent(s) and click the Left Arrow (<) button. The selected agent(s) are moved back to the Available Agents list.
Note: To select multiple agents, press and hold the Ctrl key on your keyboard while clicking the names of the required agents.
To remove all agents from the Selected Agents list back to the Available Agents list in a single action, click the Remove All (<<) button.
After configuring the required team of agents, click Submit to save the changes and assign the selected agents to the work allocation group.
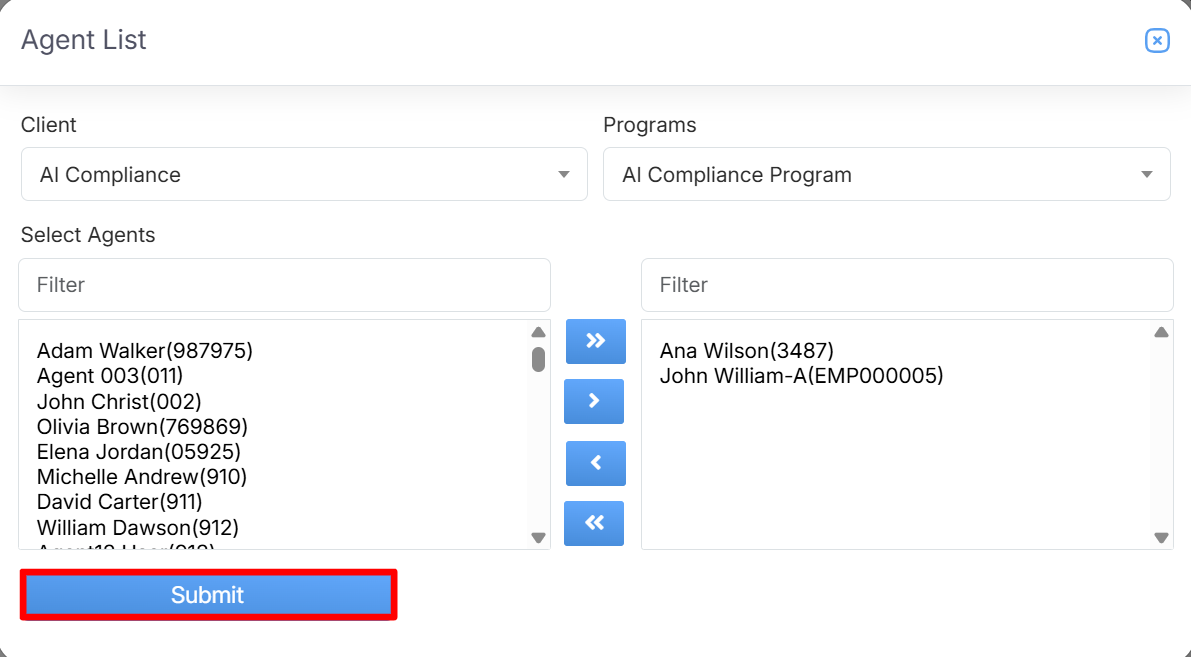
Submit
After the agents are assigned successfully, the system displays a confirmation message. The selected agents are then added to the specified Work Allocation Group.

Acknowledgement Message
After the agents are assigned successfully, the system redirects the user to the Work Allocation Group page. To view or modify the agents assigned to a specific work allocation group, click the + Add link in the Add Agents column for the required group. The Agent List pop-up window opens and displays the agents that are already assigned to that work allocation group.
After the work allocation group and its associated agents are configured, users can assign and manage the workload by allocating a specific number of evaluations to the selected group of agents. For more information, refer to Manage Work Allocation.
Video