Table of Contents
- Introduction
- Search Users
- Calibration
- Add Calibration
- Master Calibration Process
- Calibration Process
Introduction
Calibration in QEval allows users to compare the line items evaluated by multiple calibrators with those evaluated by a Master Calibrator. A user must have at least QA Supervisor access to act as a calibrator, and the Admin assigns the required access rights. The module also provides reports to track and review the calibration process.
Search Users
To start the calibration process, the user must have the required access rights. The Admin can assign these rights from the Manage Users page.
To access the page, select Manage > User from the left panel. The Manage Users page is displayed.
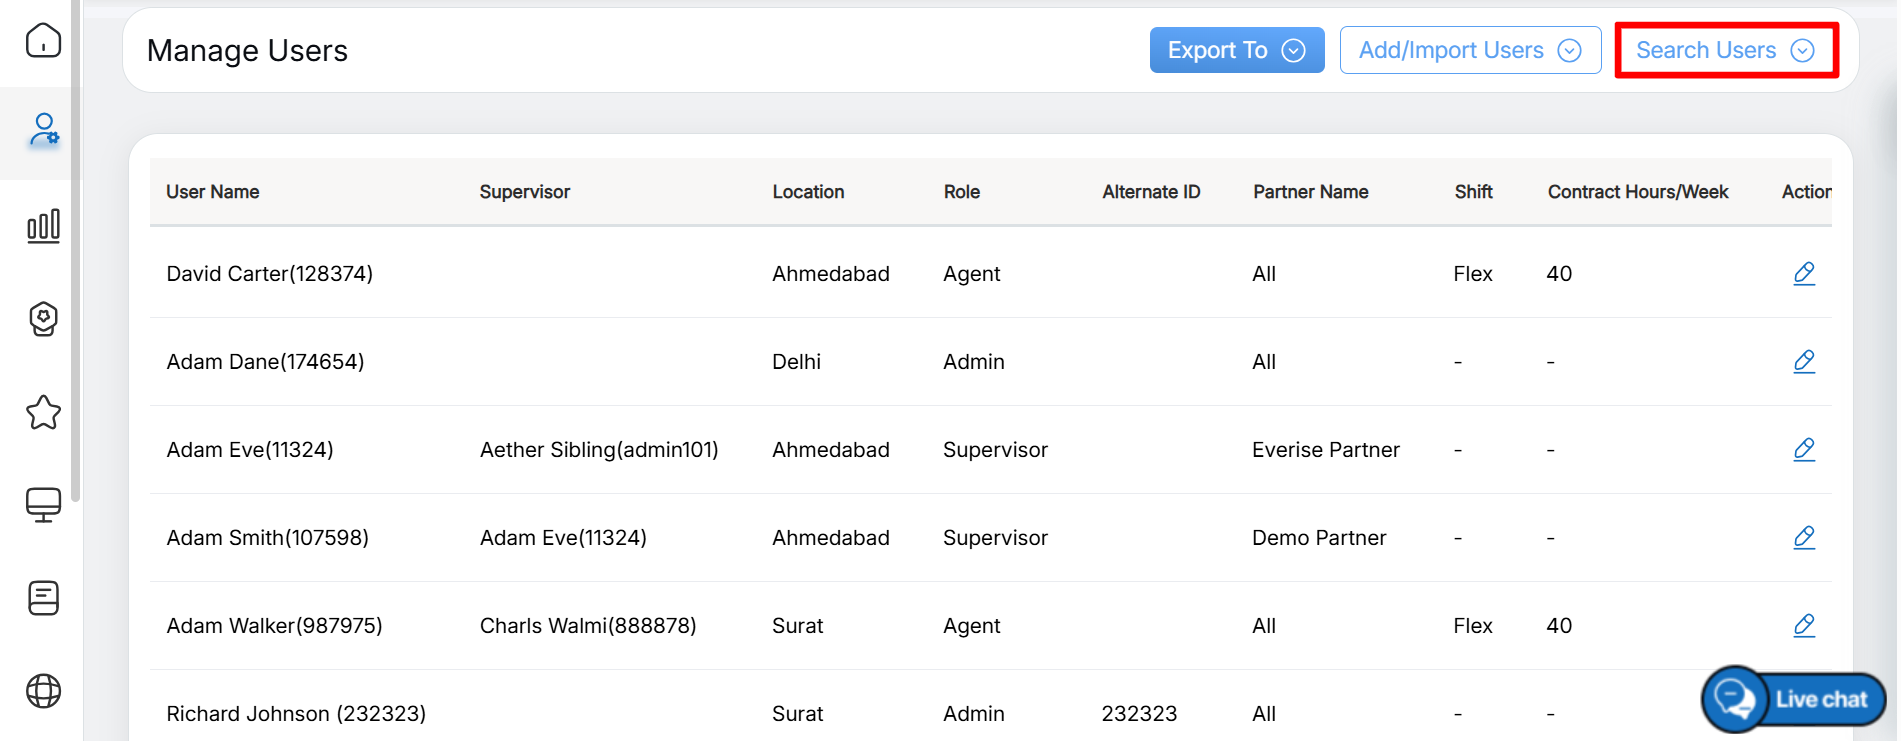
Search Users
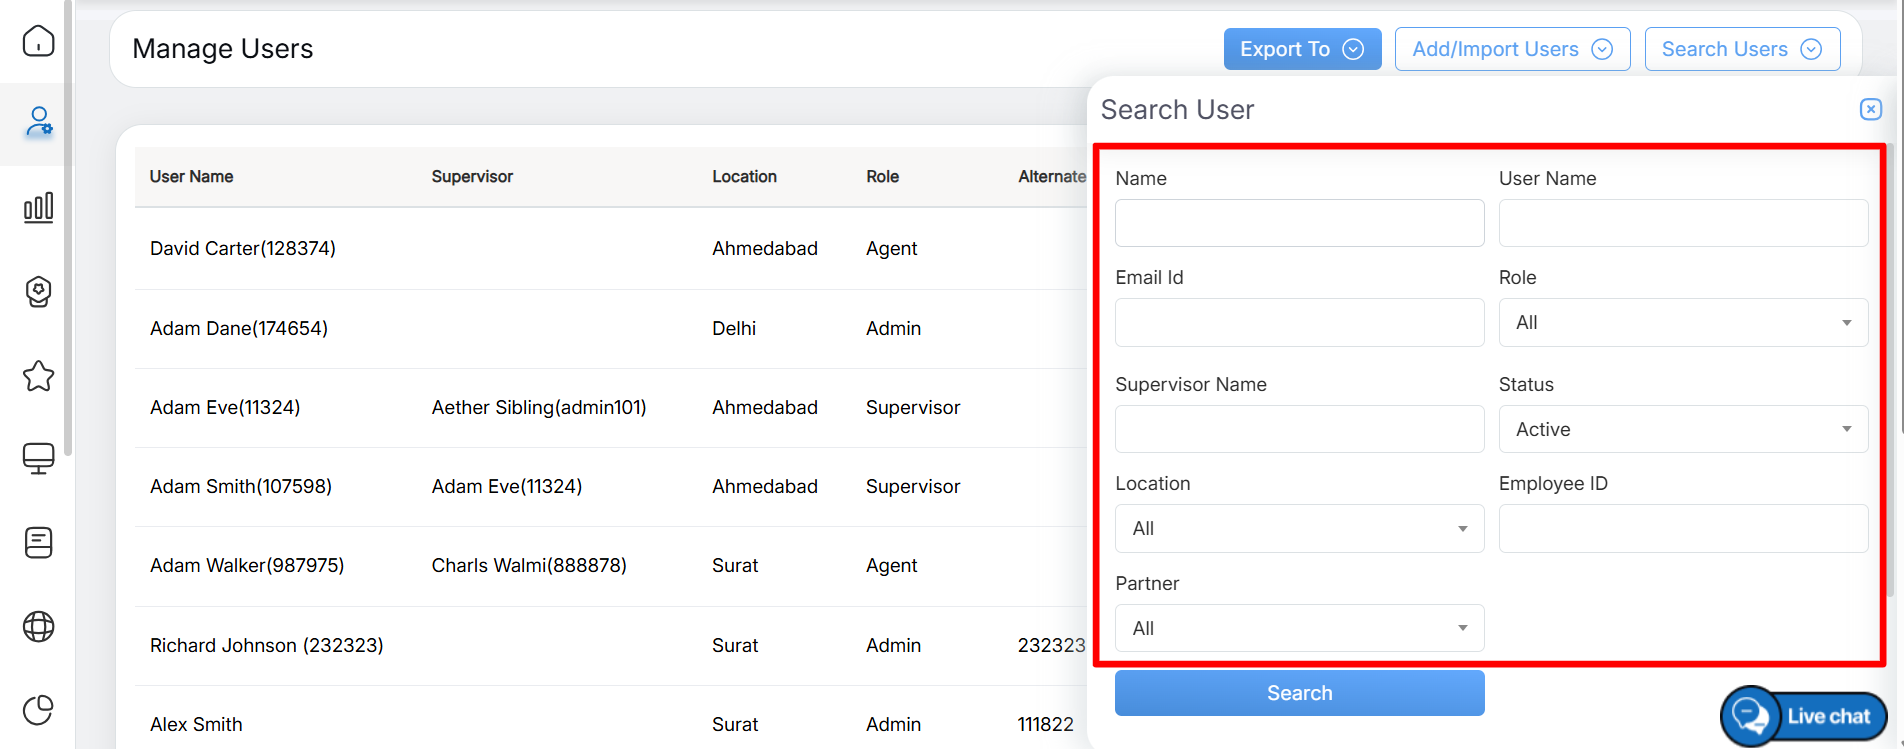
Search User Details
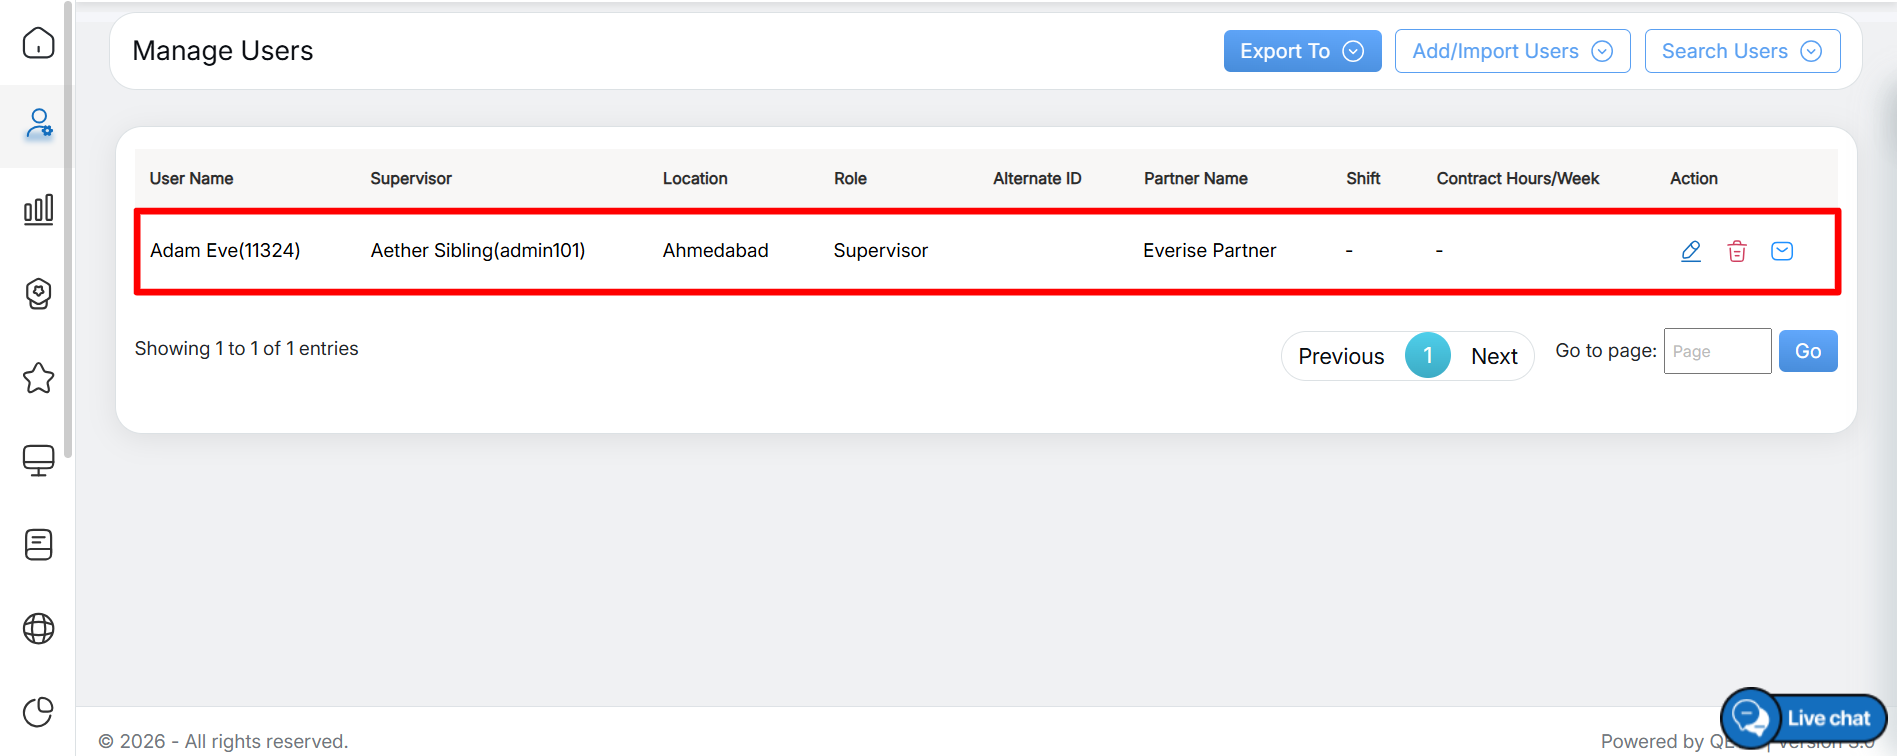
Search Results
Click the Edit icon under the Action column to edit the details of the required user. The Edit User window is displayed. In the Access Rights section, select the required checkbox(es) under Calibration Management, as shown below:
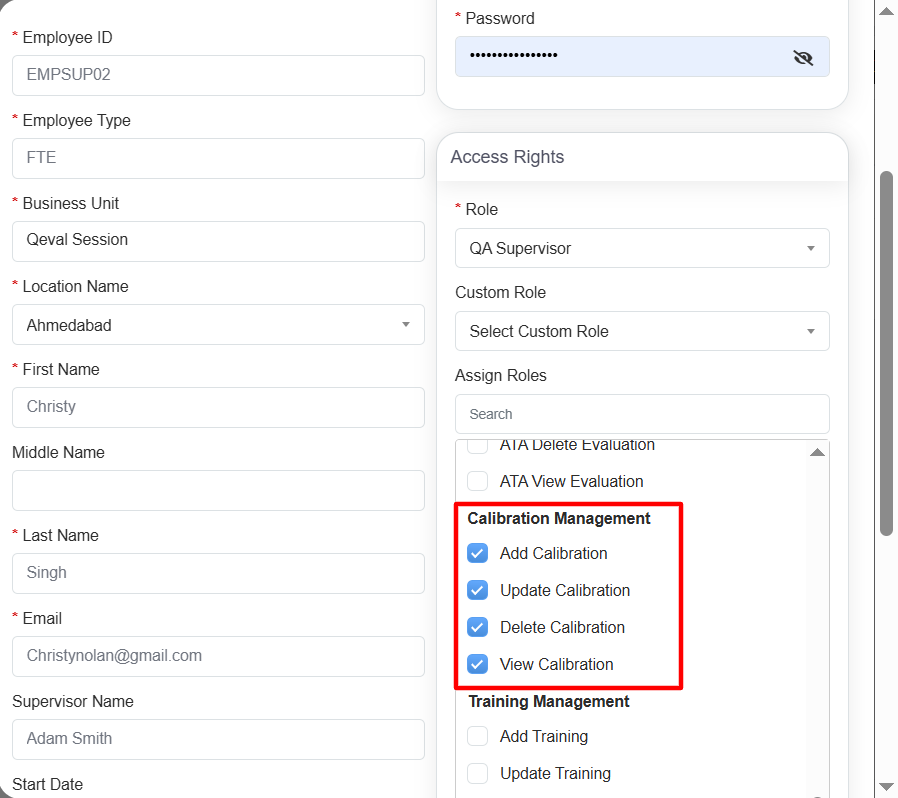
Once the required changes are made, click the Update button to save the changes.
Calibration
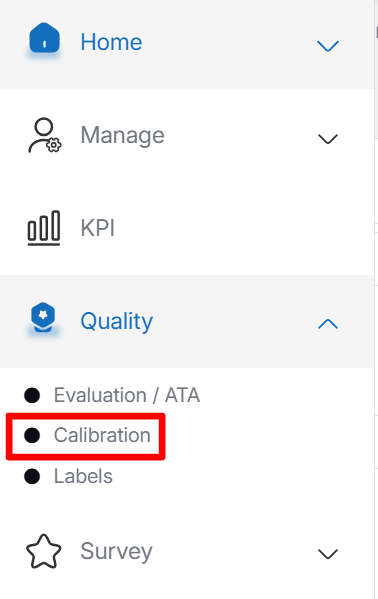
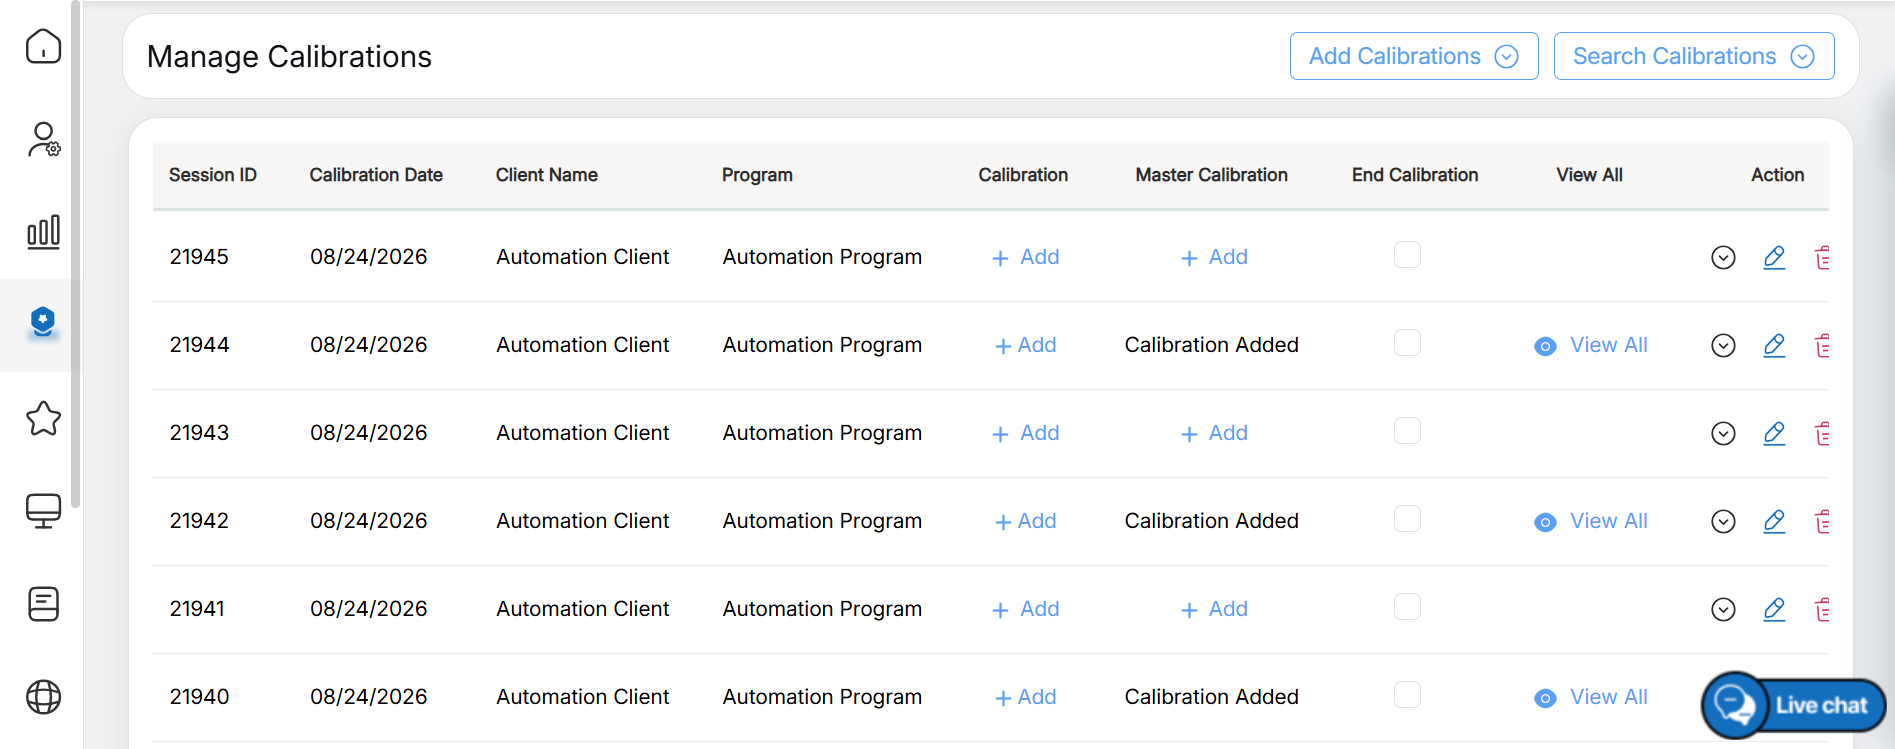
A user with calibration access can select Quality > Calibrations from the left panel, as shown below:
Calibration
Add Calibration
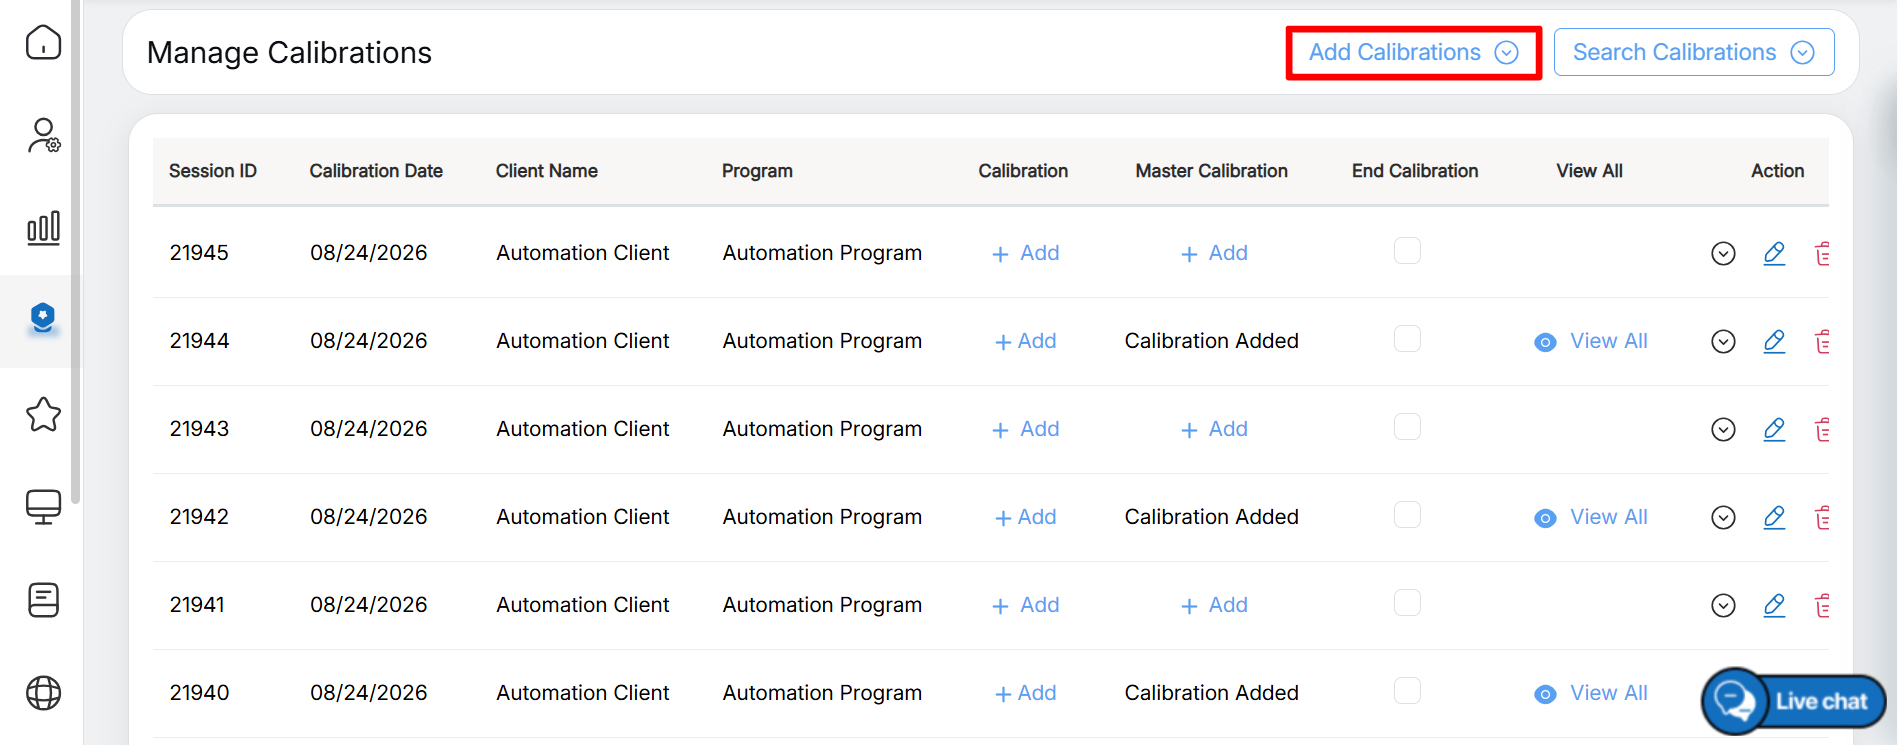
To add a calibration, follow the steps below:
Click the Add Calibration button.
Add Calibrations
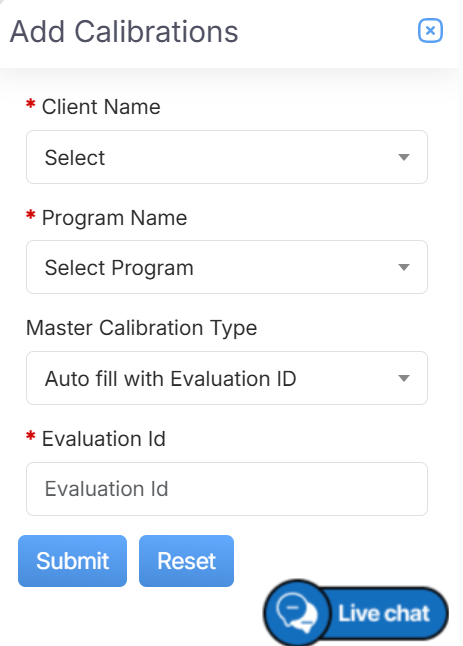
Add Calibrations Details
The Add Calibration pop-up contains the following fields:
|
Screen Elements |
Description |
|---|---|
|
Client Name |
Select the Client Name from the dropdown list. |
|
Program Name |
Select the Program name from the dropdown list which will display the Program Names as per the selection of the Client Name. |
|
Master Calibration Type |
Select the appropriate master calibration type from the available options: “Auto Fill with Evaluation ID” or “Manual.” |
|
Evaluation ID |
The Evaluation ID field will be enabled if “Auto Fill with Evaluation ID” is selected as the master calibration type. If “Manual” is selected, the field will remain disabled. |
Click Submit to add the calibration, or click Reset to clear the entered details.
Once the calibration is added successfully, an acknowledgement message is displayed, as shown below.
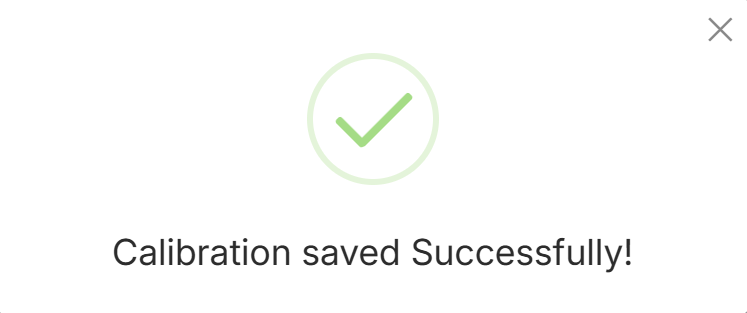
Acknowledgement Message
The newly added calibration is displayed on the Manage Calibrations page.
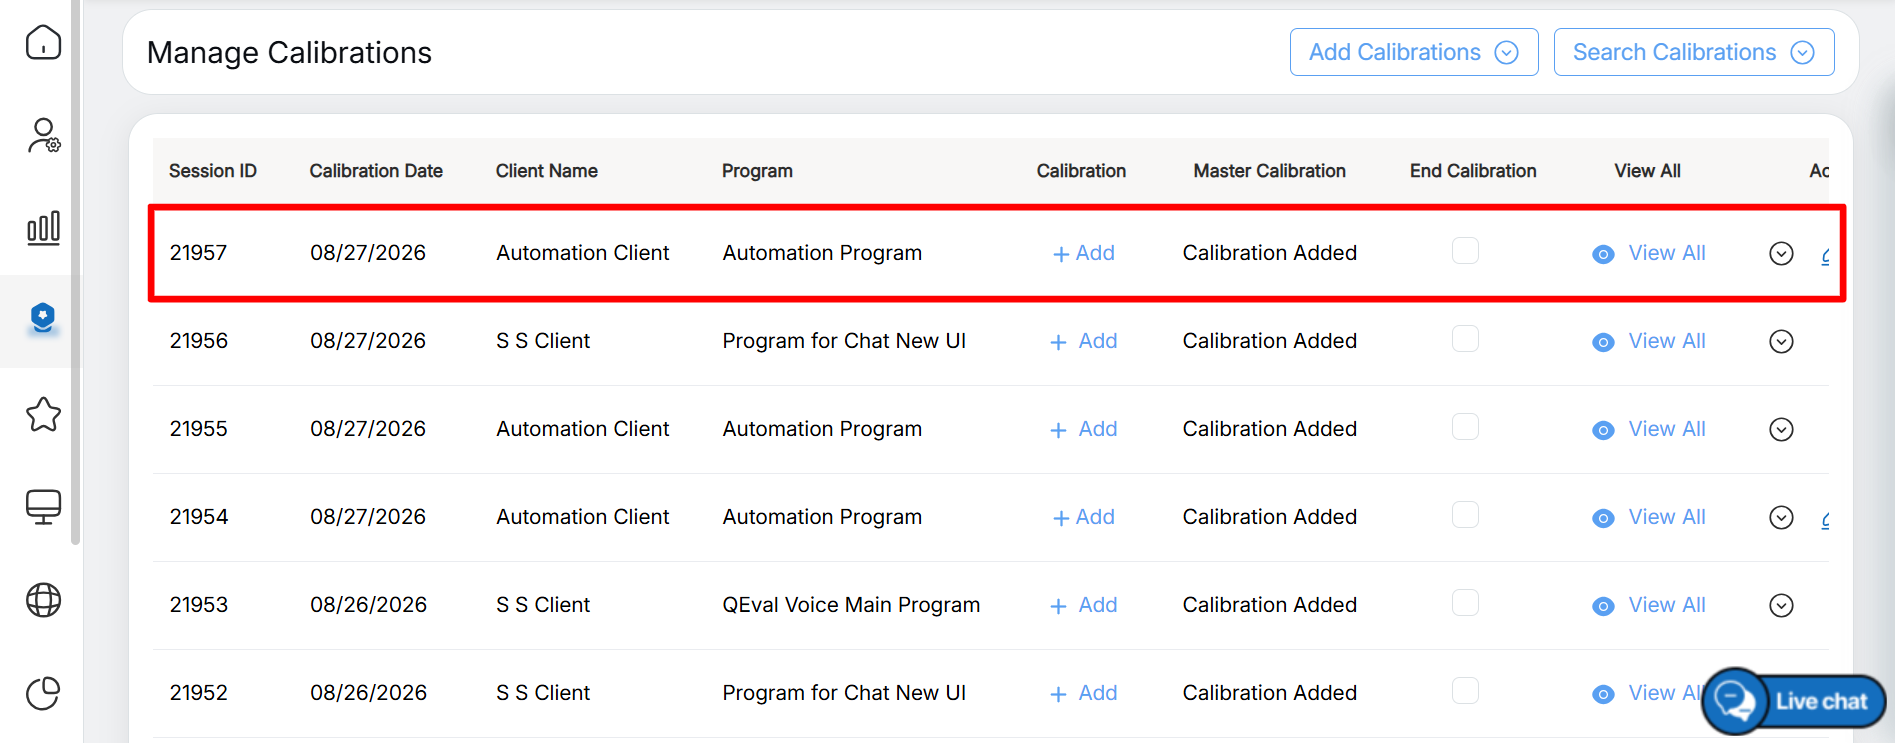
Newly Added Calibration
Master Calibration Process
To perform the master calibration, click Add under the Master Calibration column for the required calibration on the Manage Calibrations page, as shown below:
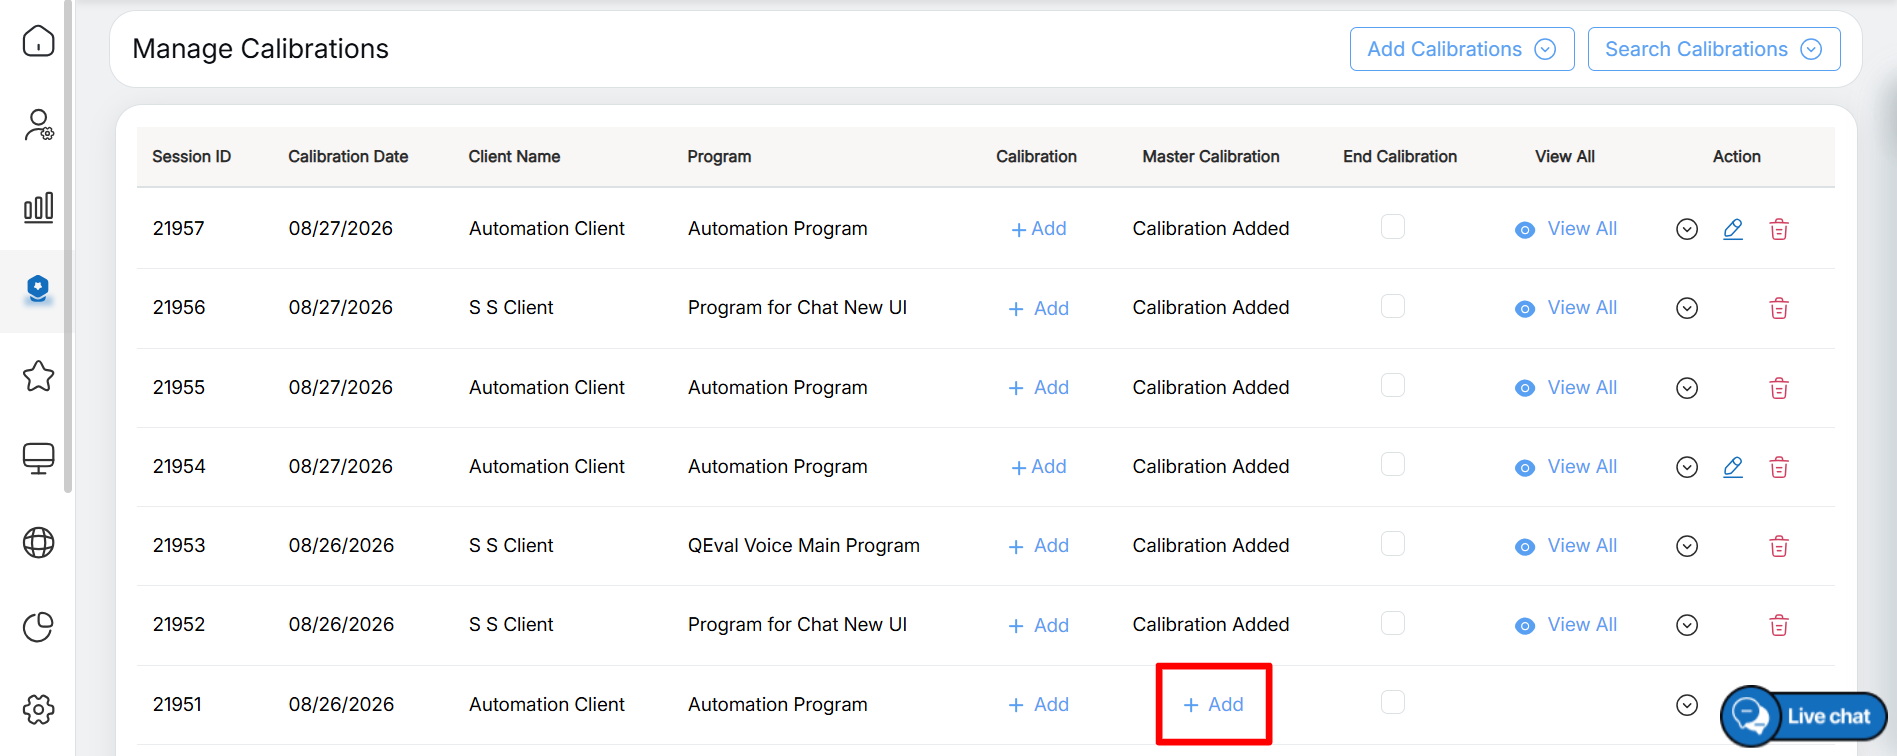
Add Master Calibration
Clicking the Add button opens a dropdown menu with two options: Manual and Evaluation, as shown below:
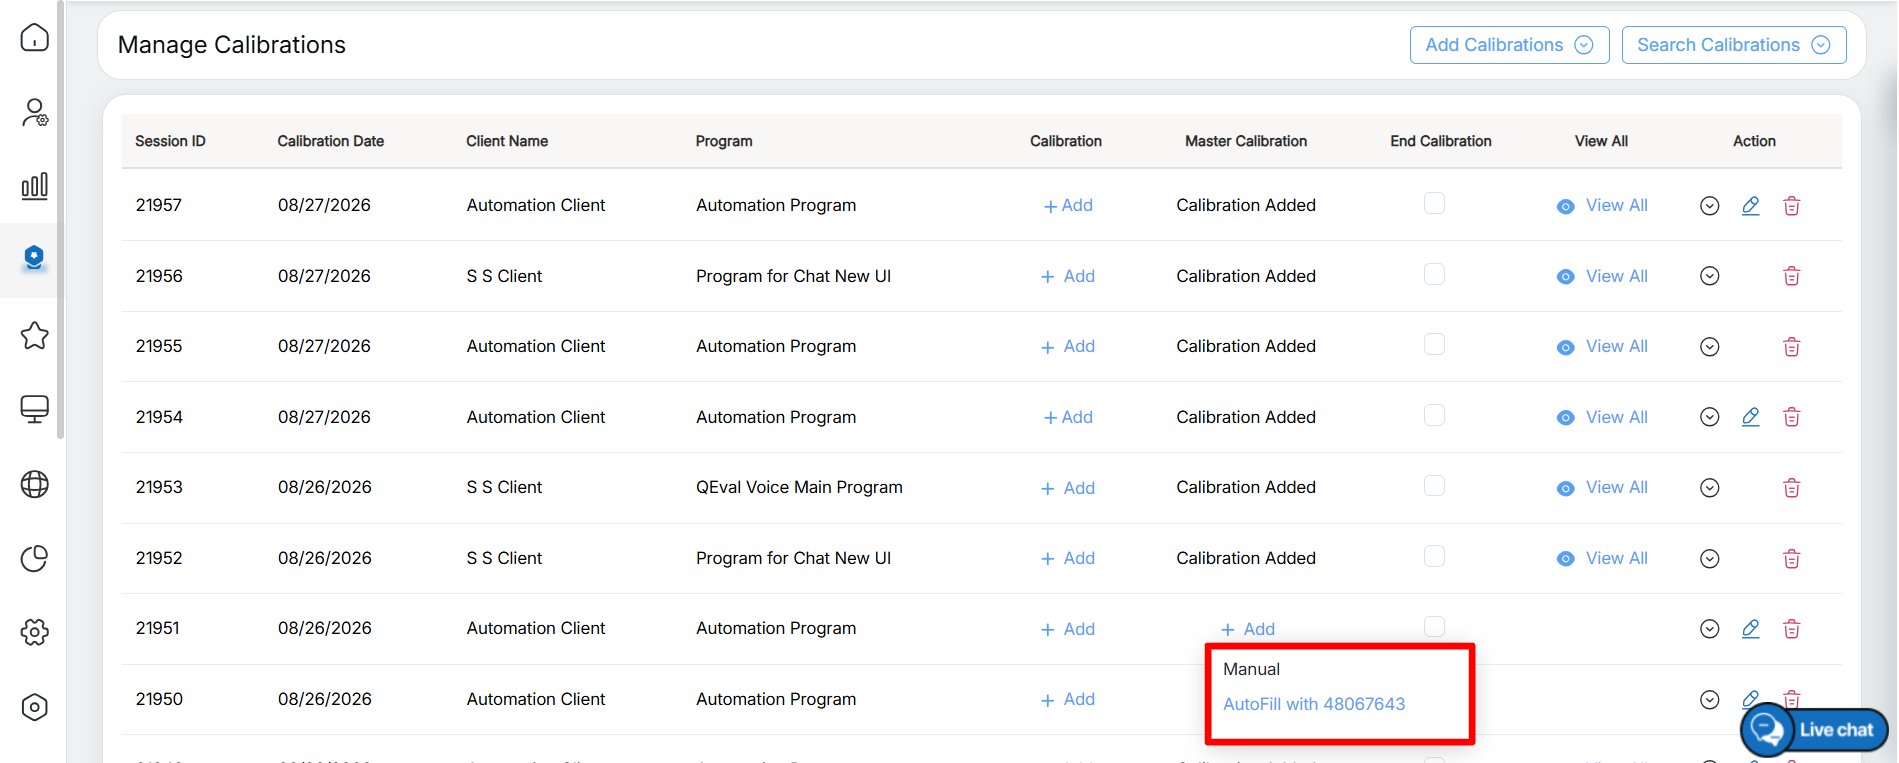
Master Calibration Options
Select Manual from the dropdown menu to enter the master calibration details manually in the system.
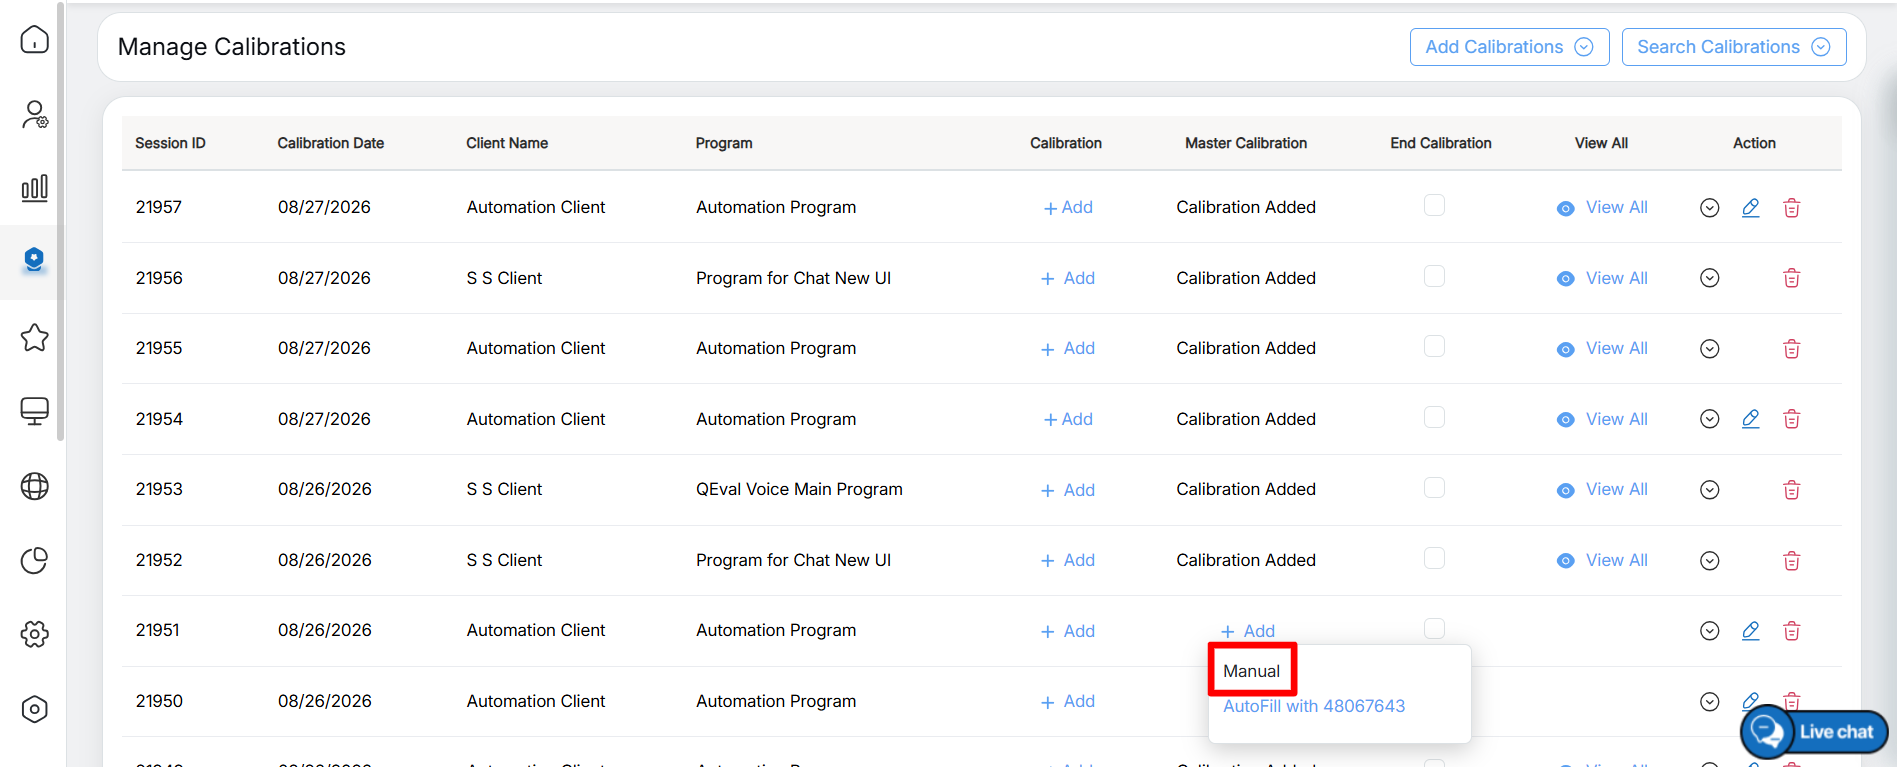
Manual Option
Upon selecting Manual, the evaluation form for the specified client and program is displayed, as shown below:
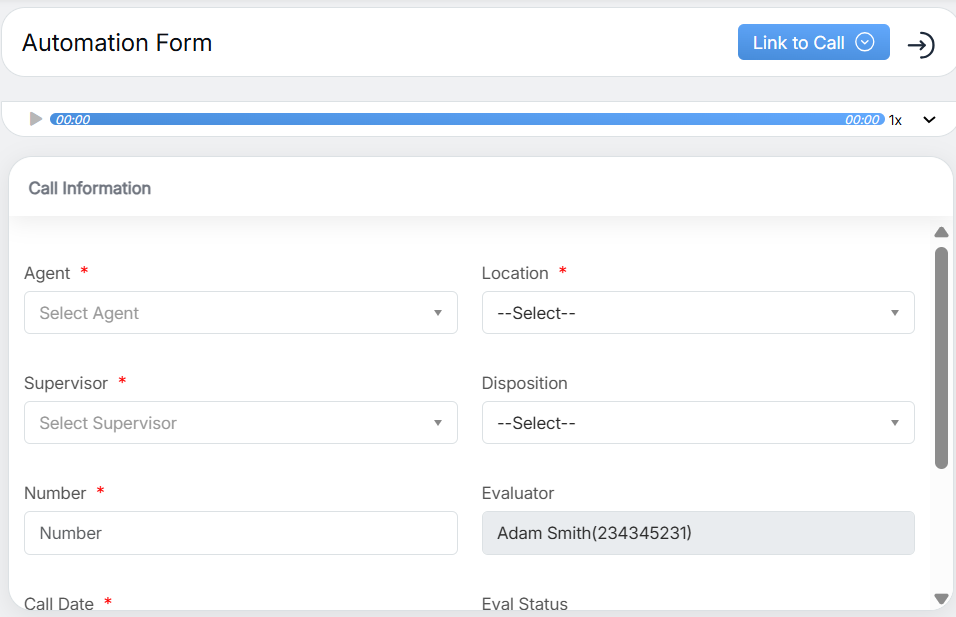
Evaluation Form
Once all required details are entered in the evaluation form, click the Submit button. For more information about evaluation form configurations, refer to Evaluation/ATA.
A confirmation message is displayed, as shown below:
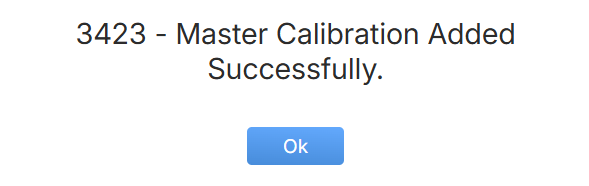
Acknowledgement Message
Click OK. The user is redirected to the Manage Calibrations page, where Calibration Added is displayed under the Master Calibration column for the selected client and program.
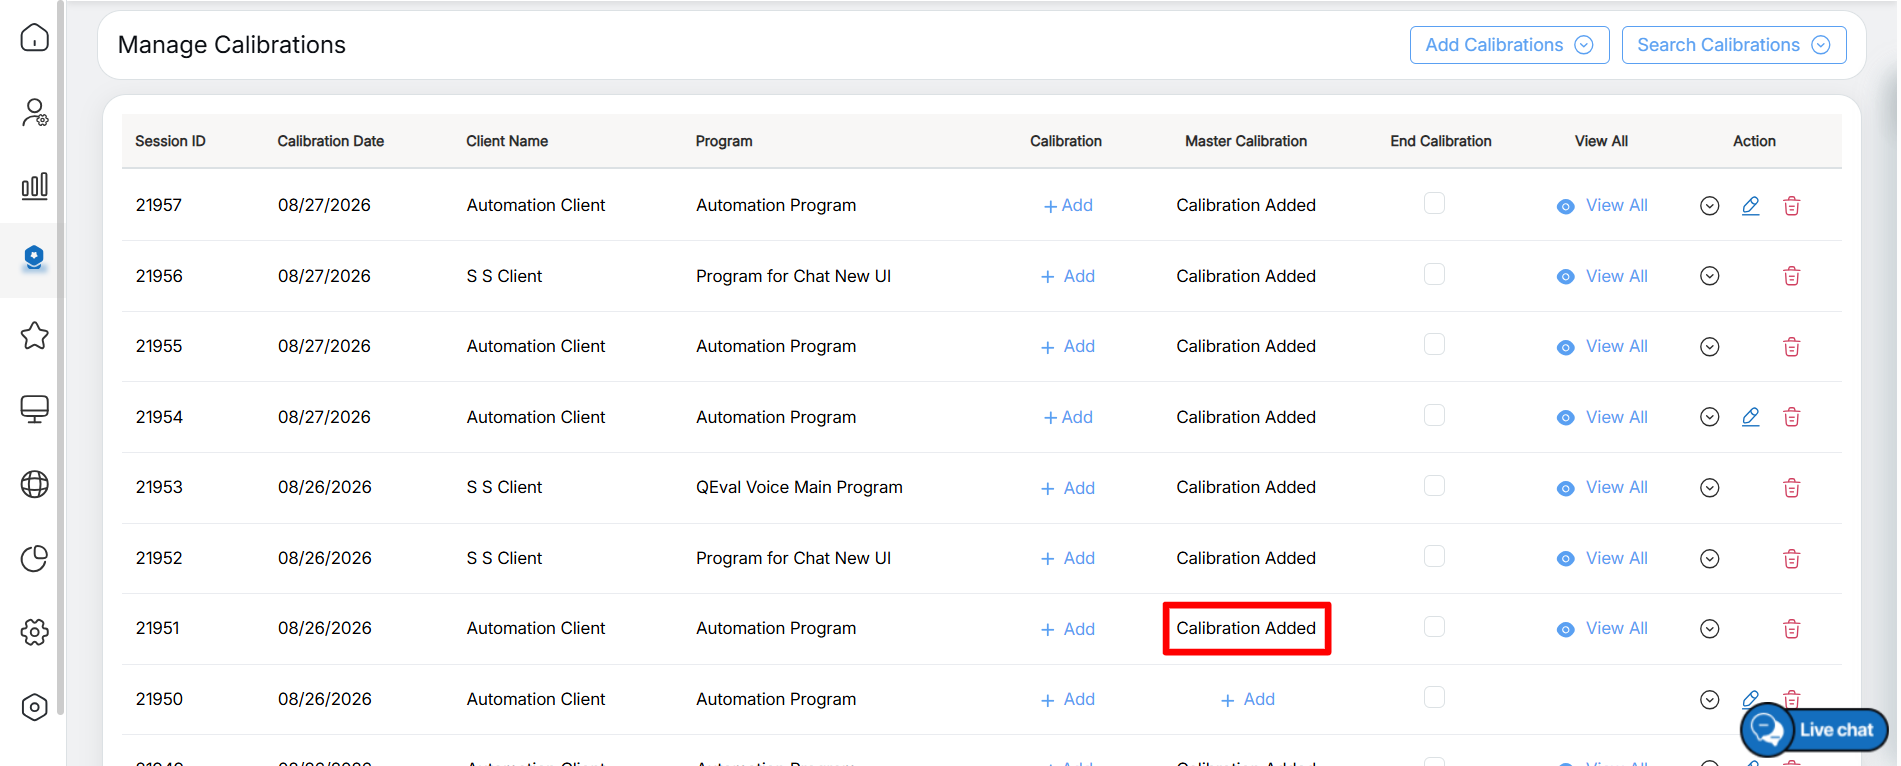
Calibration Added
Users can also initiate Master Calibration by selecting the Autofill with Evaluation ID option.
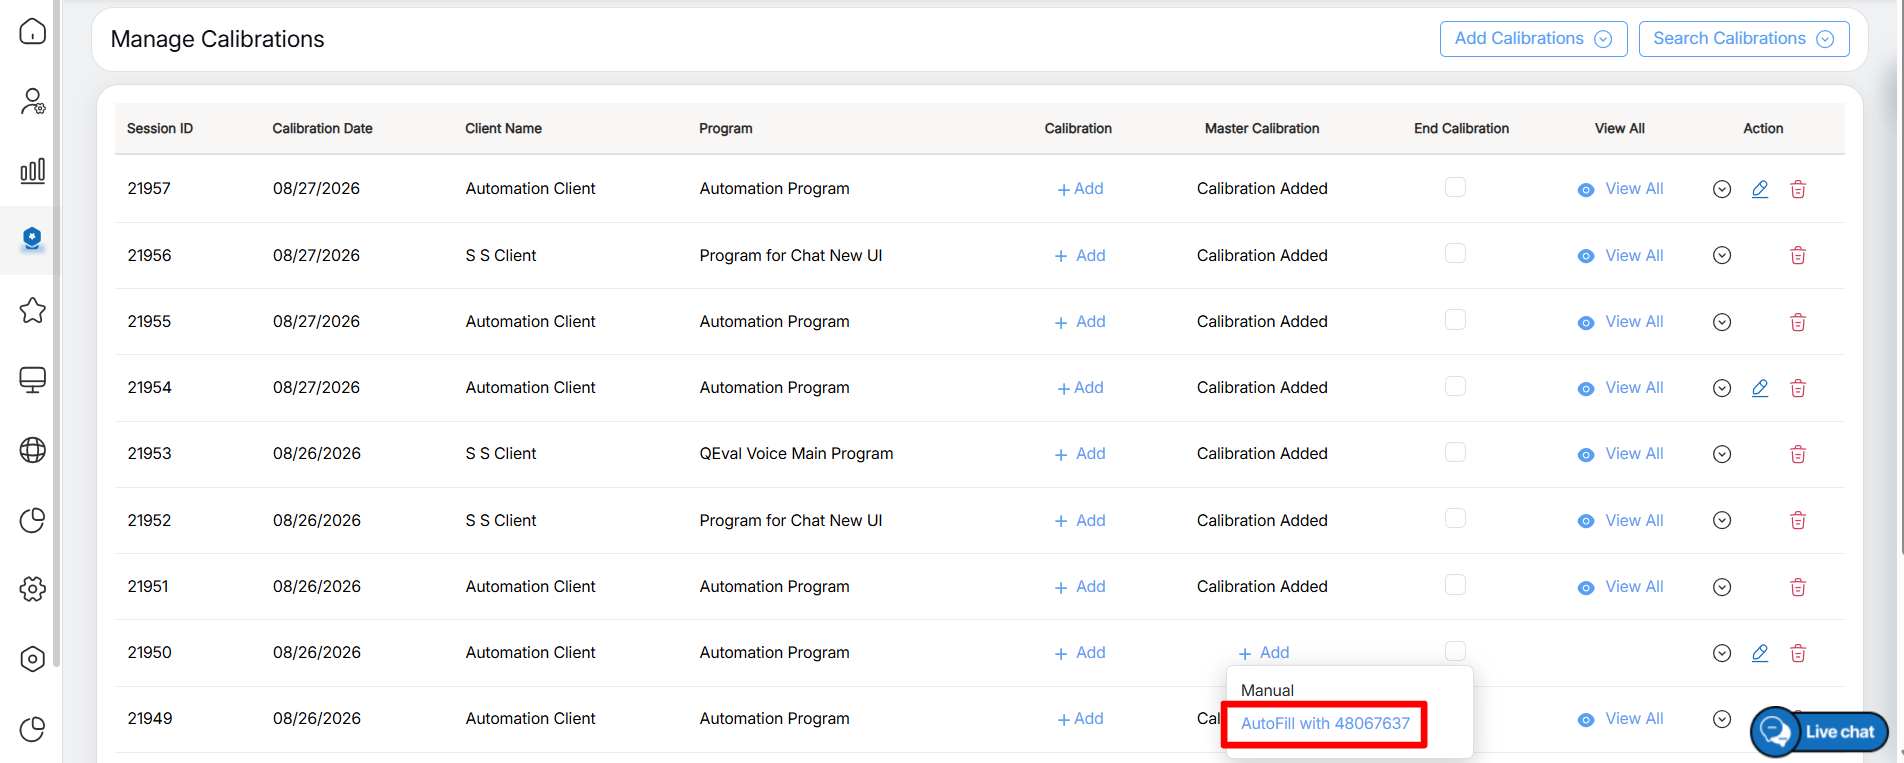
Autofill with Evaluation ID
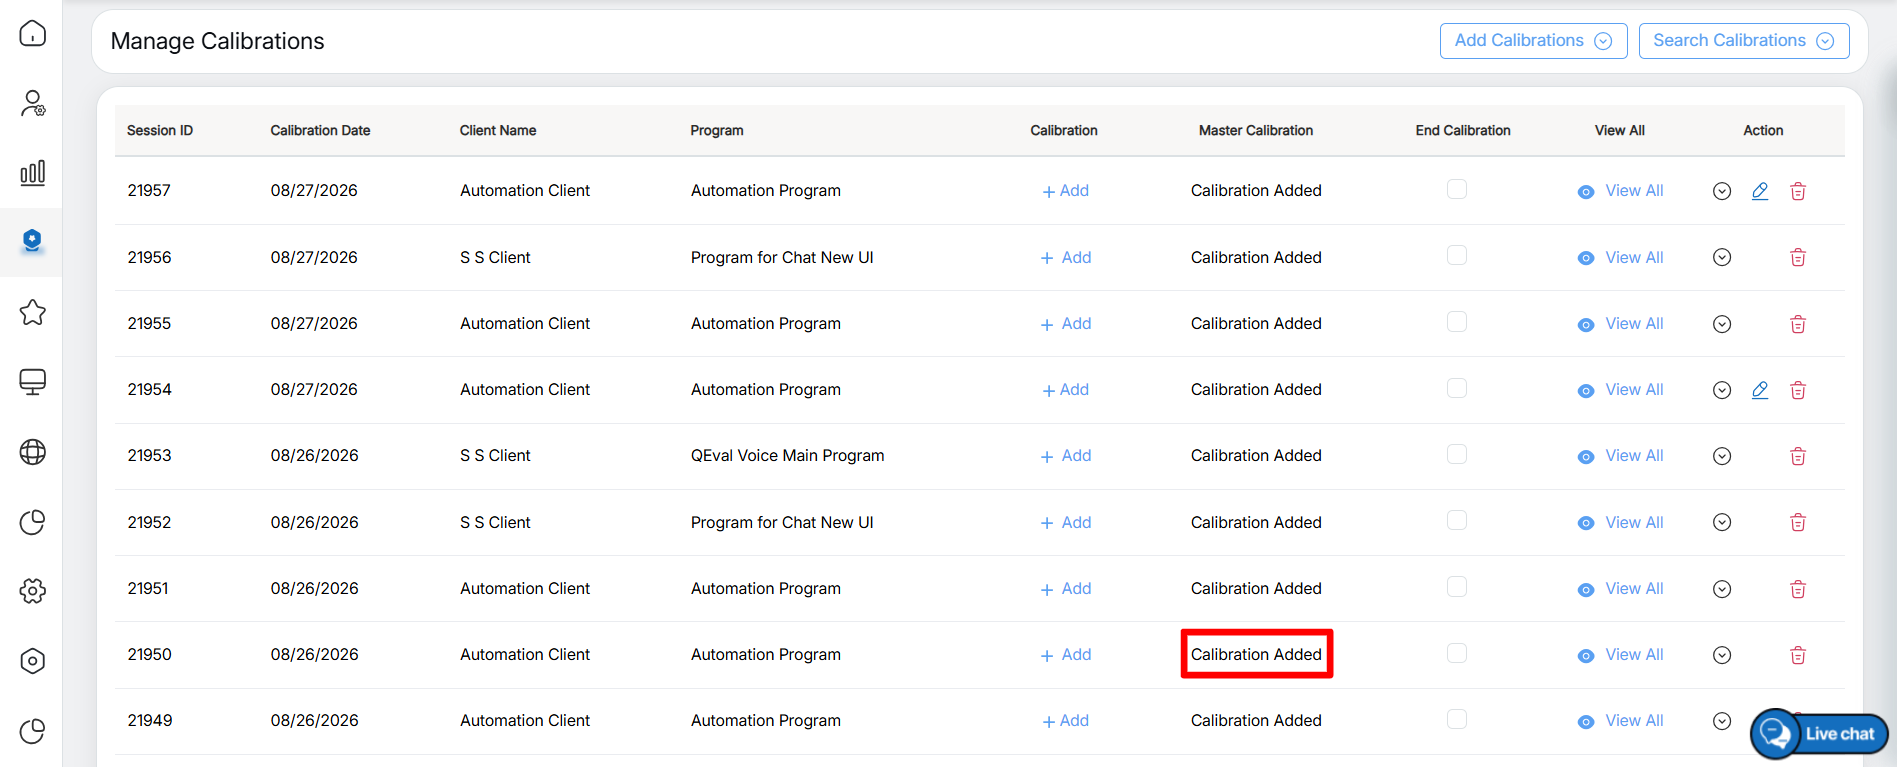
Calibration Added
Calibration Process
The next step is to initiate the calibration process.
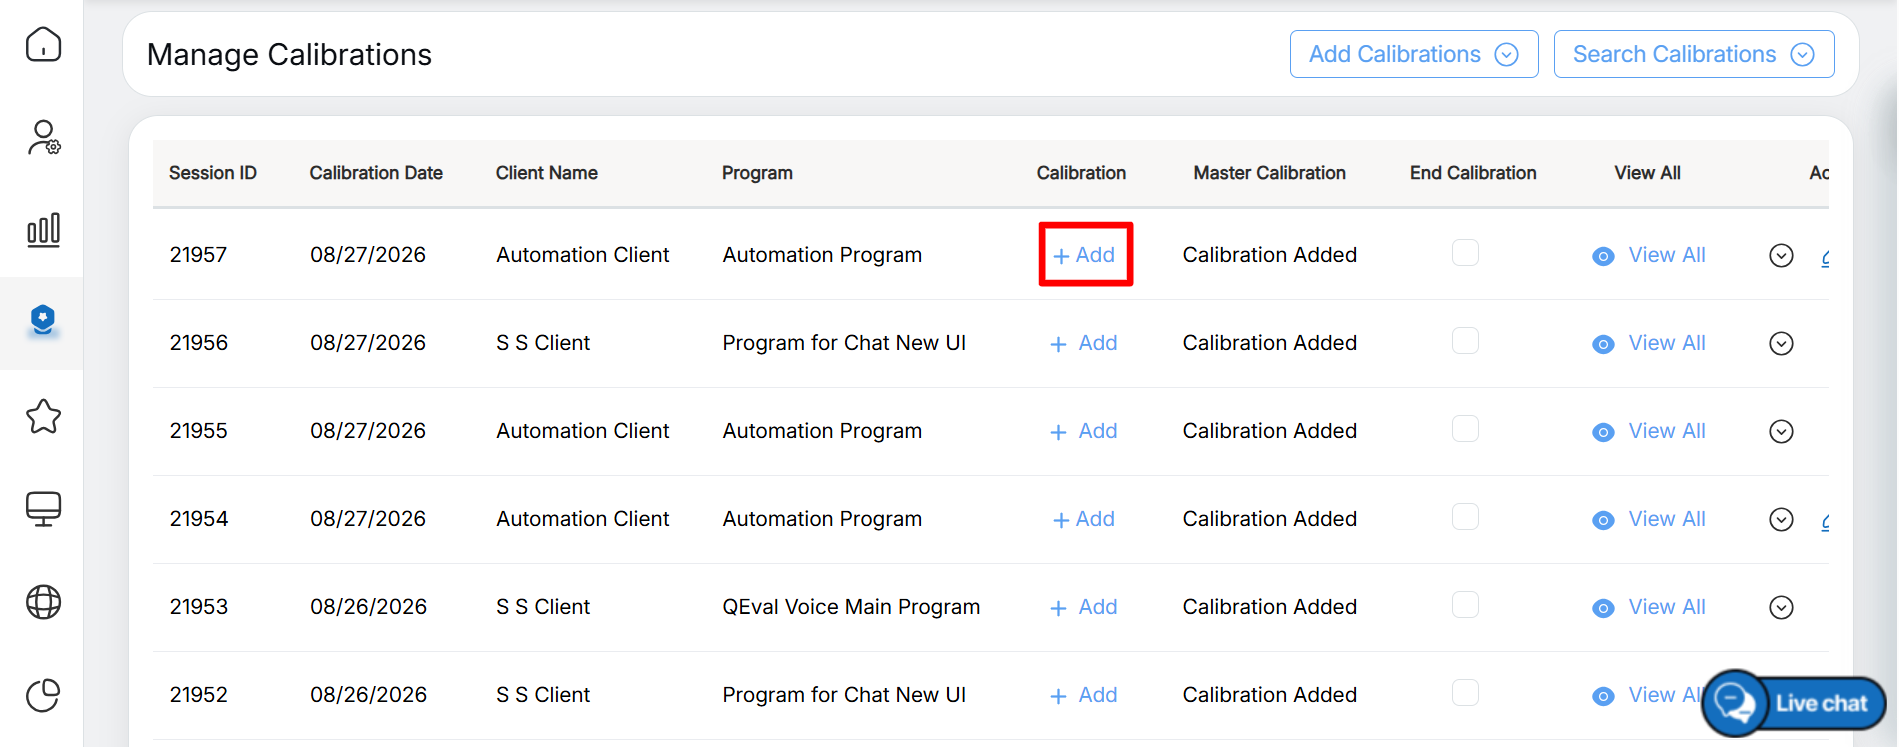
Add Calibration
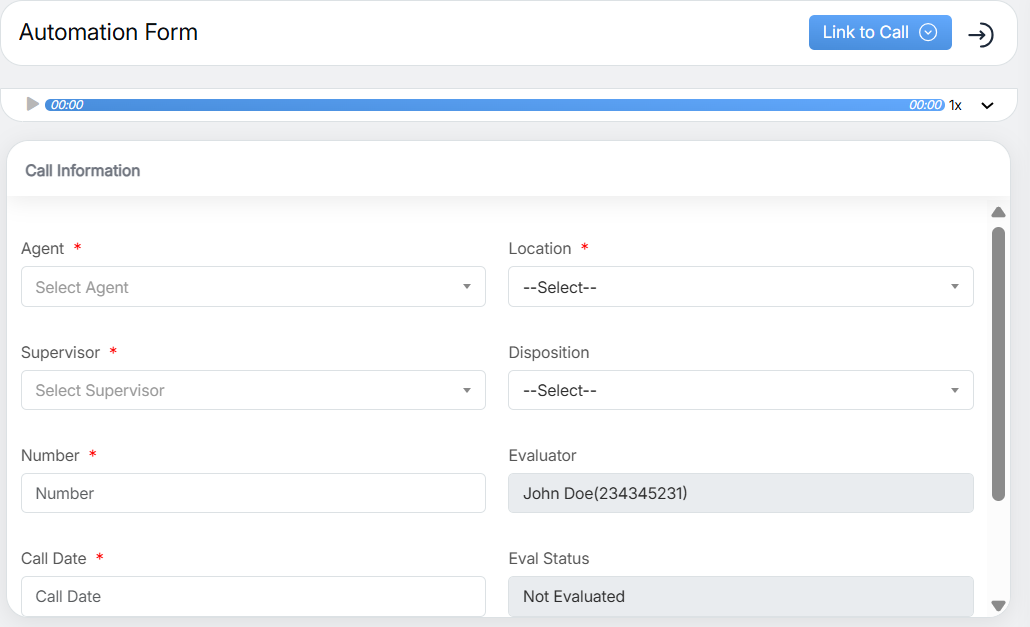
Once all required details are entered in the Evaluation Form, click the Submit button to complete the calibration process.
A confirmation message is displayed, as shown below:
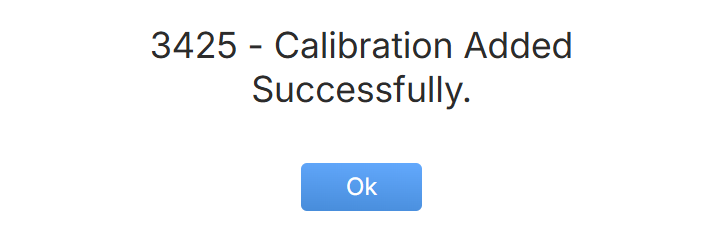
Acknowledgement Message
Click OK. The user is redirected to the Manage Calibrations page, where Calibration Added is displayed under the Calibration column for the selected client and program.
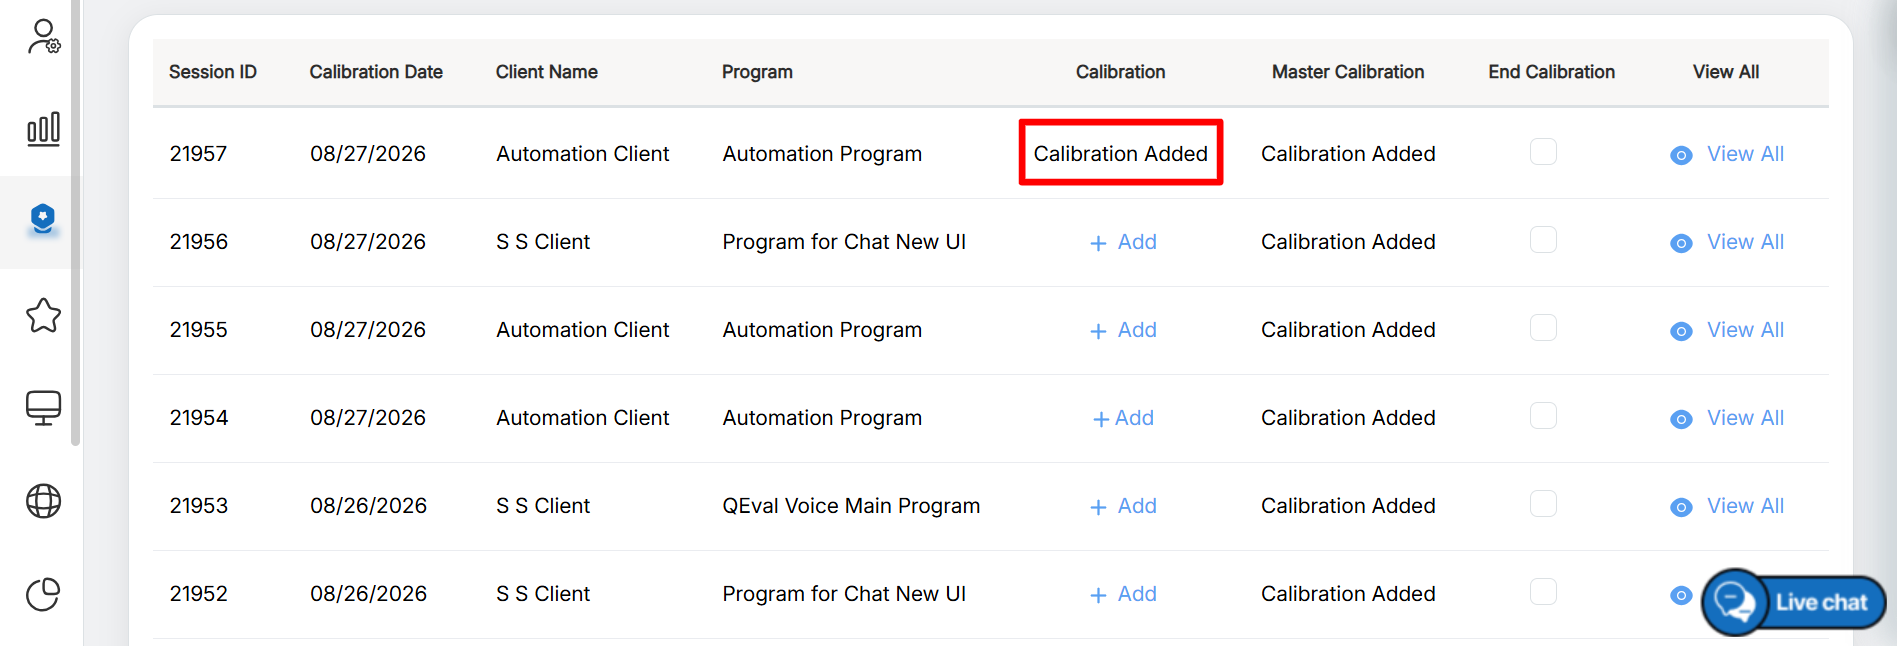
Calibration Added
Once the Calibration and Master Calibration processes are completed for a client and program, users can view, update, or delete the calibration details and end the calibration. Users can also search for a specific calibration from the Manage Calibrations page. For more information about these functionalities, refer to Manage Calibration.
To view the detailed information for a specific calibration, click View All, as shown in the screenshot below:
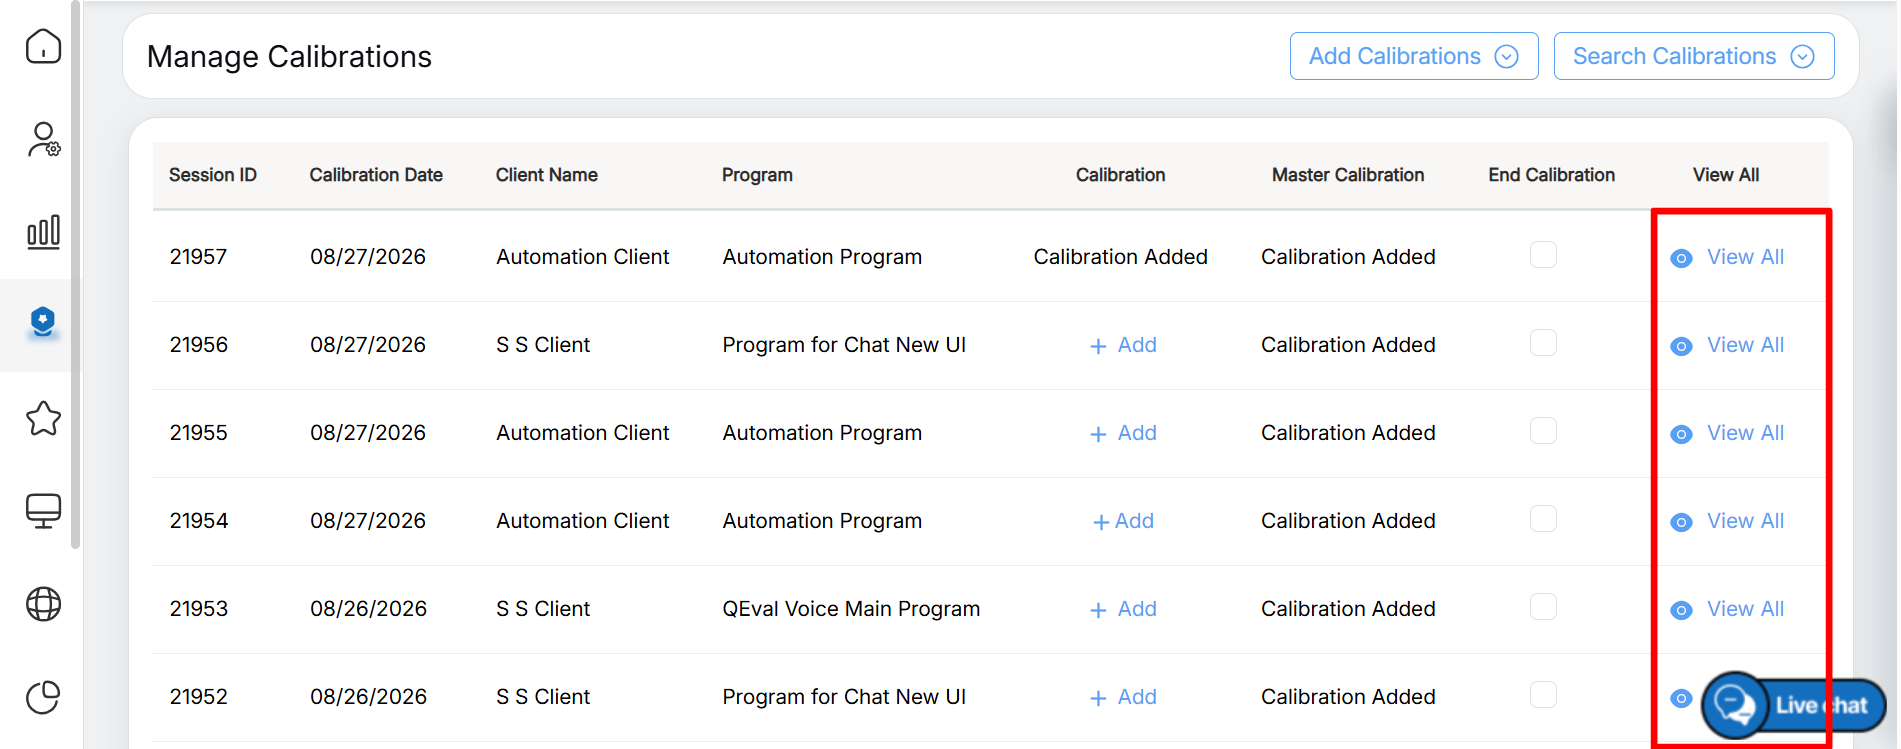
View All
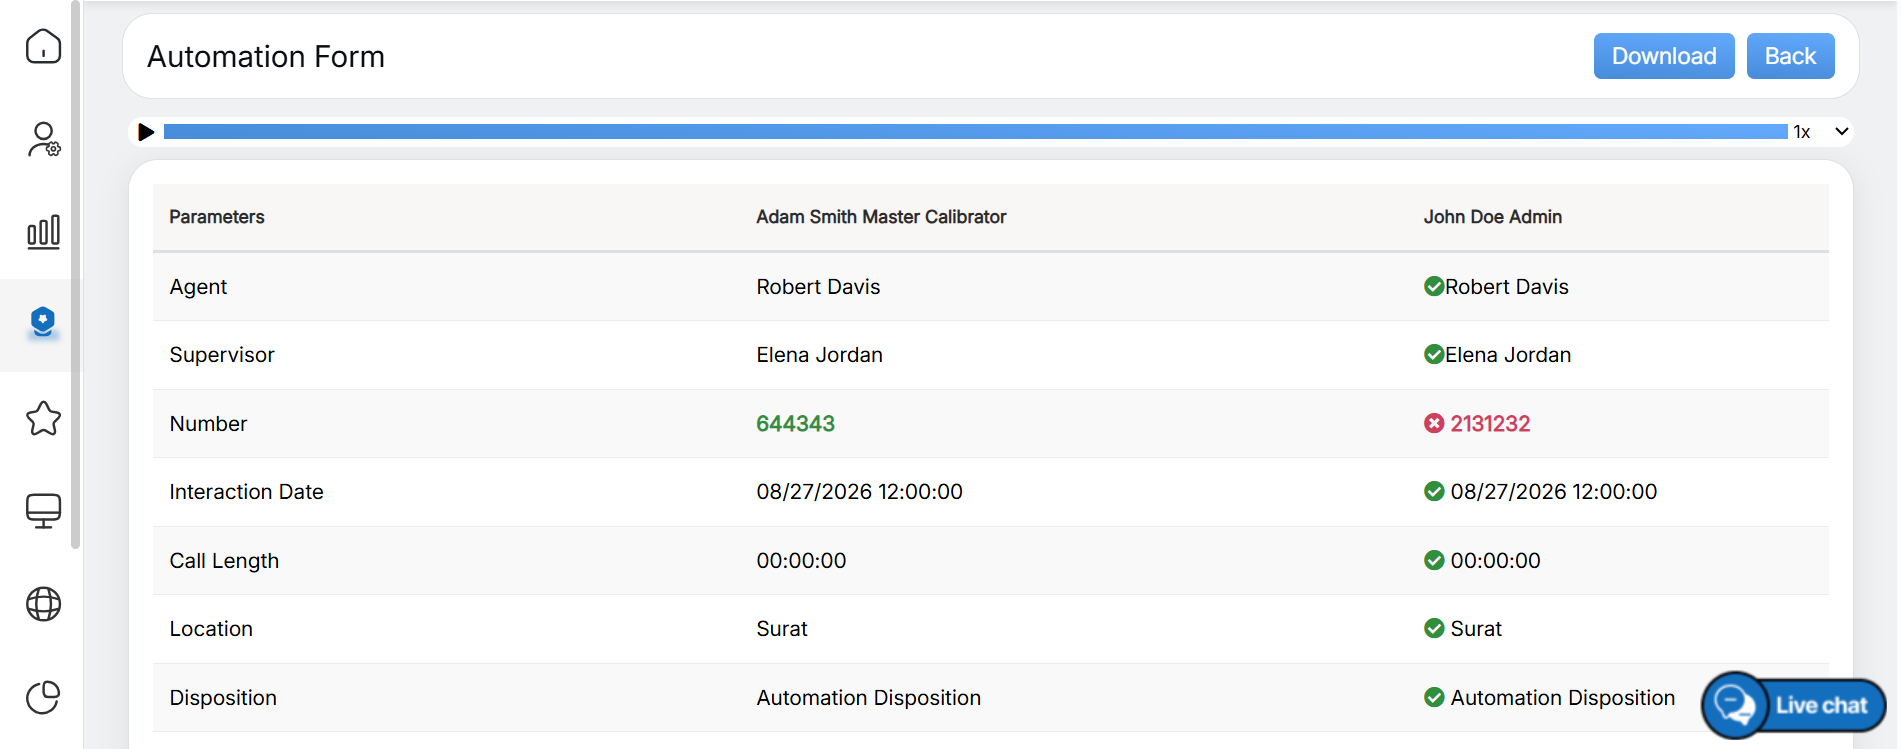
Category Score Page
The selected calibration details are downloaded to the local system for easy access and review.
Video