Table of Contents
Configure Auto-Population
To enable this functionality for any program, select the Manage > Program Configuration > Program and the Manage Program page will be displayed as shown below:
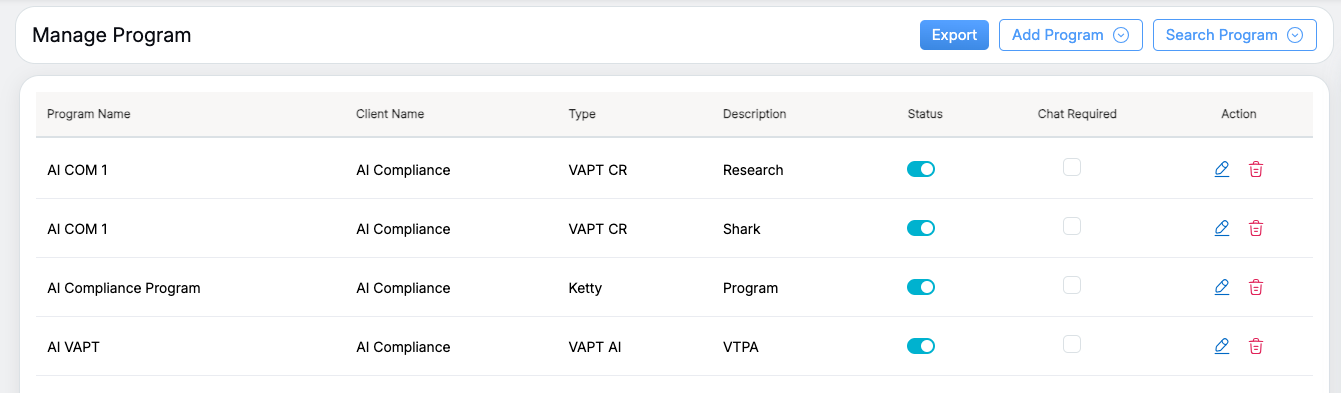
Manage Program
New Program
To assign this functionality to a new program, click on the Add Program button.
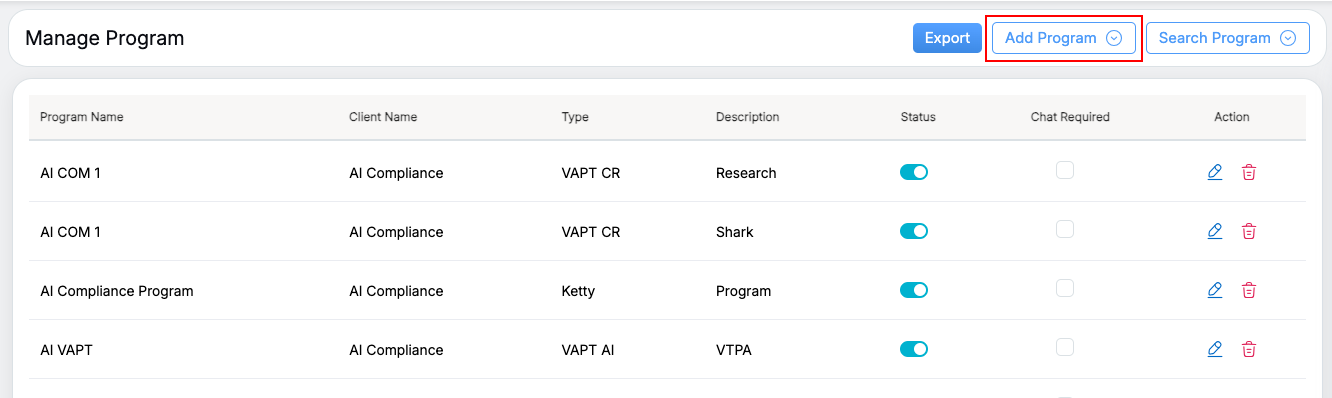
Manage Program
The following screen appears.
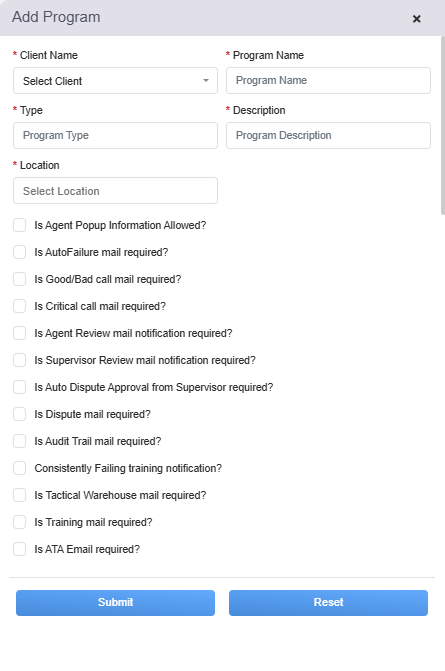
Add Program Tab
Provide all the necessary details of the new program along with the selection of Is Agent Popup Information Allowed? checkbox to provide access to the auto-population functionality.
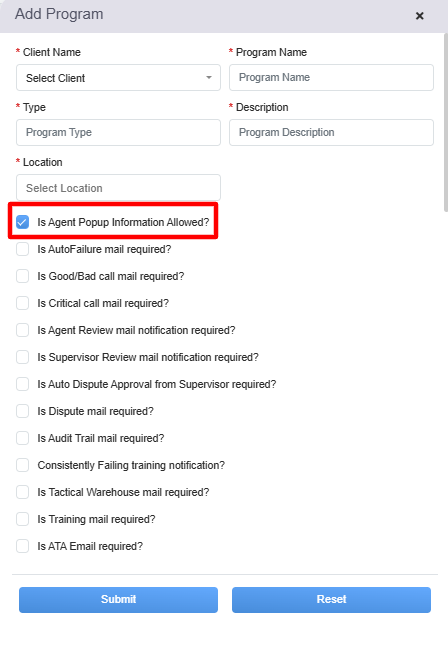
Add Program Tab
Submit the details and the program will be created.
Update Program Settings (Existing Program)
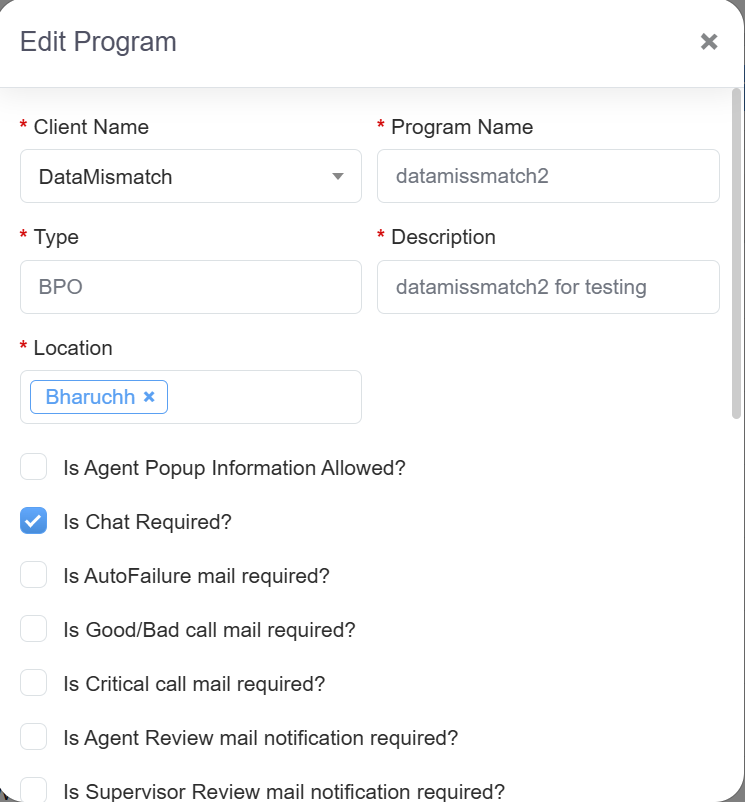
To assign this functionality to an existing program, click on the Edit icon displayed under the Action column to edit a particular program and the Edit Program window will be displayed as shown below:
Edit Program Tab
Select the Auto population of supervisor location required option highlighted in the following screen:

Edit Program Tab
Once, the changes are made click on the Update button.
Once access to the auto-population functionality is provided to a program, the evaluation form can be created for this particular program. To know the process of creating an evaluation form for any program, refer to Create Evaluation Form.
Perform Evaluation
Once the evaluation form is created for any program of the client, the QA Verifier can conduct the evaluation process through the particular evaluation form of that specific program.
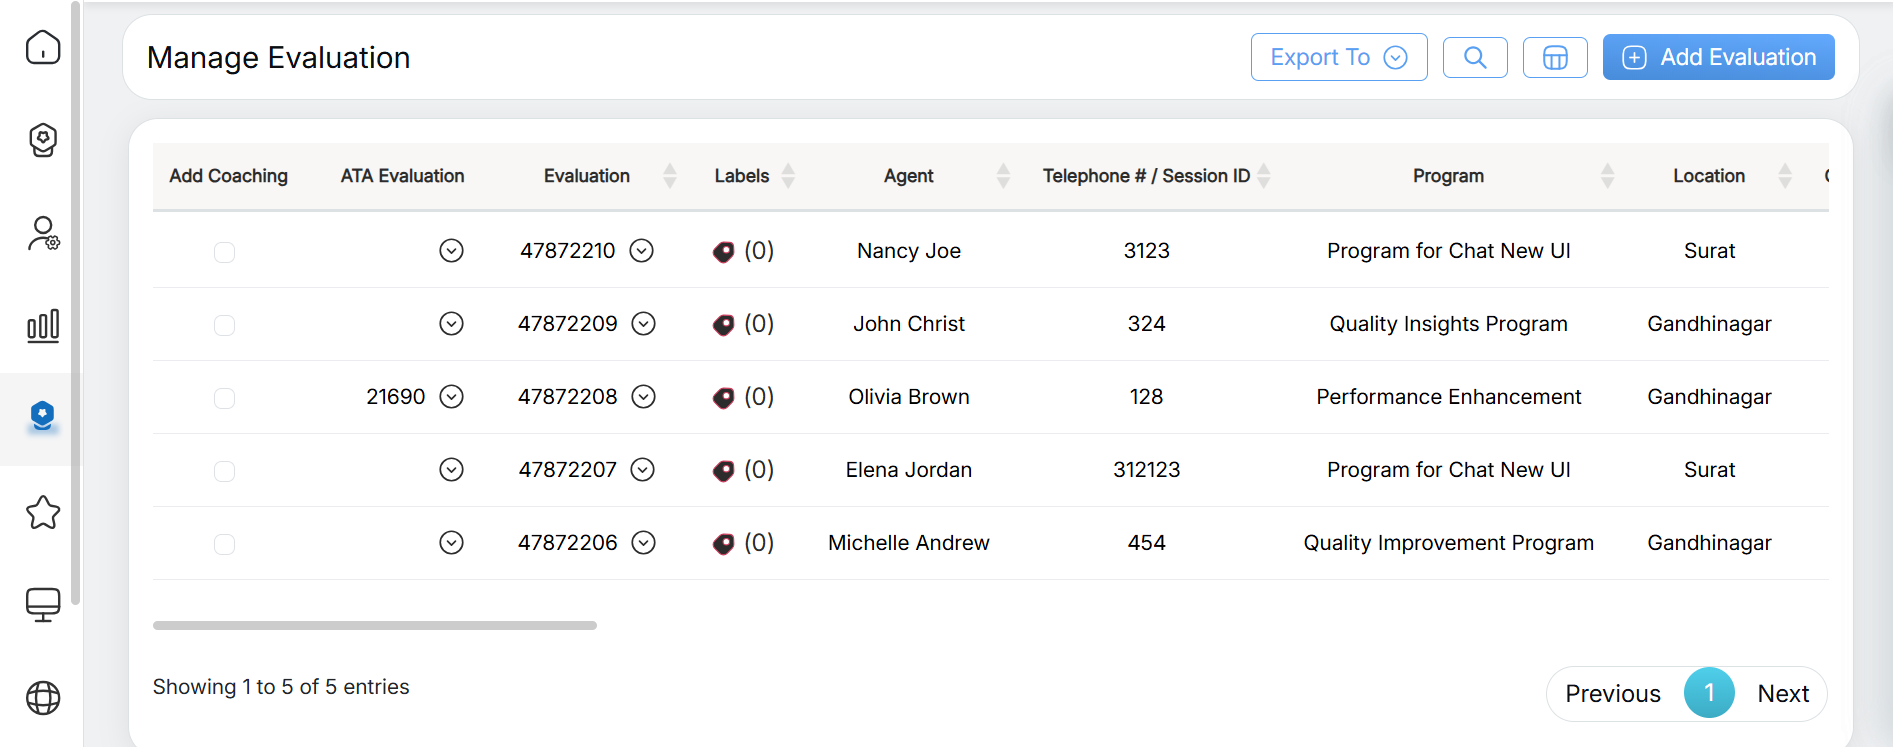
To perform the evaluation process, select Quality > Evaluation/ATA, and the Manage Evaluation screen will be displayed.
Manage Evaluation
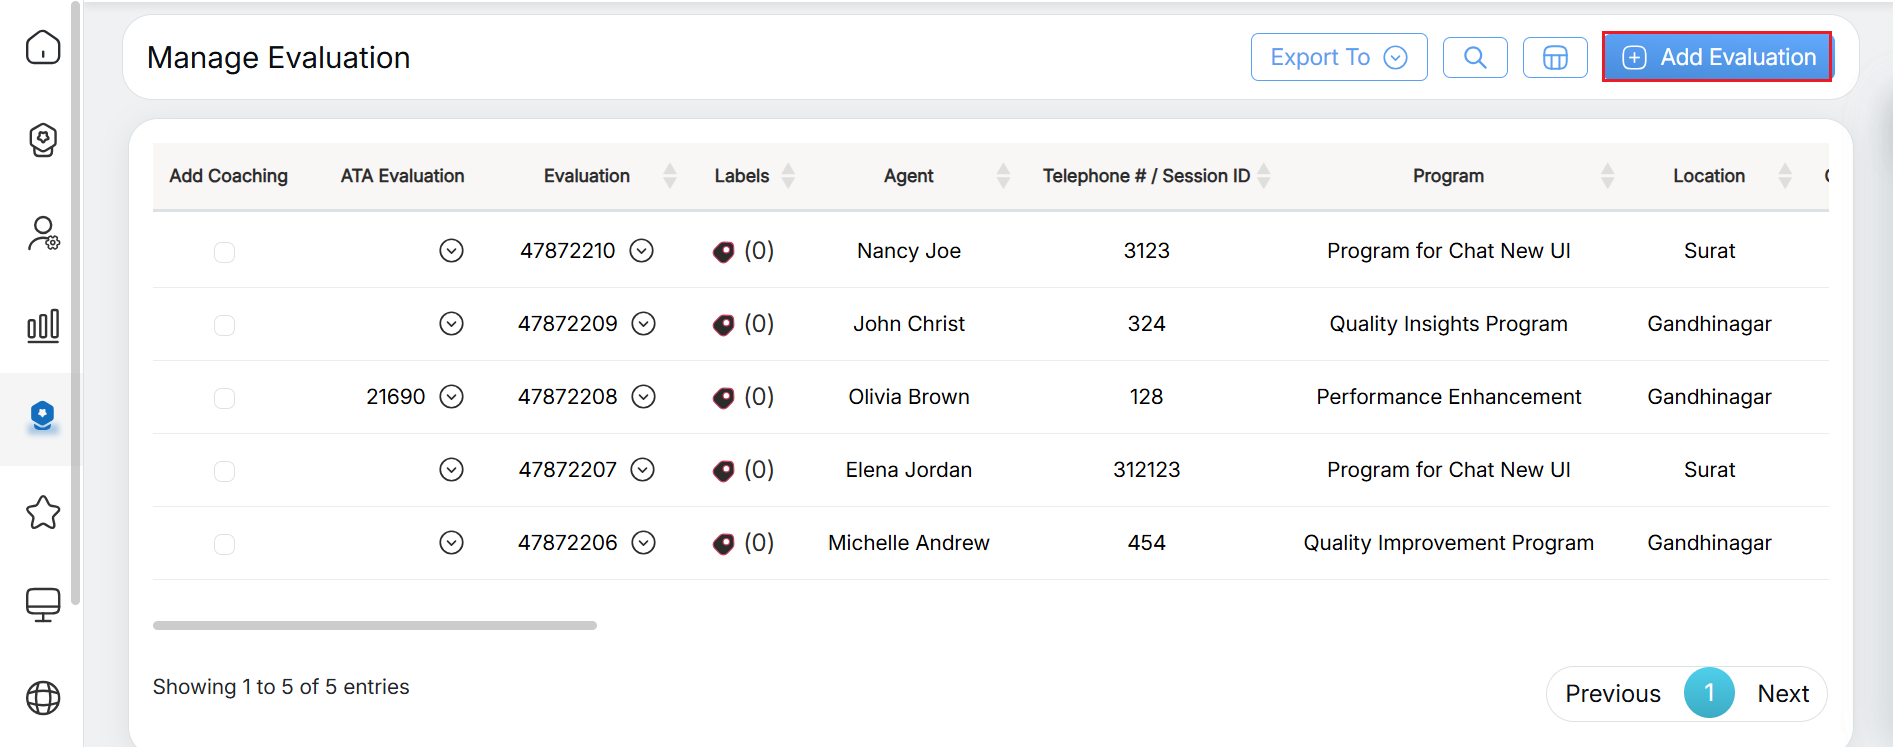
One can add a new evaluation for any agent. To do so, click on the Add Evaluation button.
Add evaluation button
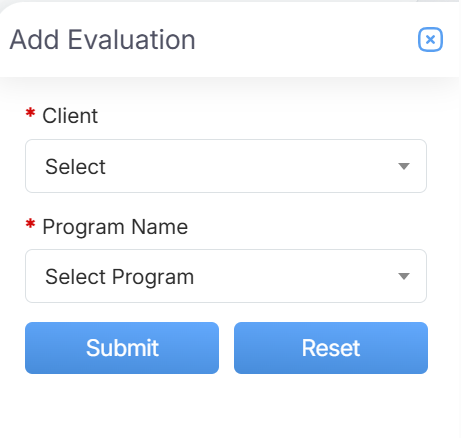
The following screen will be displayed:
Add evaluation
Select the Client Name and Program Name from the respective dropdown list. Then click on the Submit button to proceed with the evaluation.
Once submitted, the user will be directed to the Evaluation Form created for the selected client and its program as shown below:

Evaluation Form
View Auto-Populated Data
Select the required agent from the dropdown list. To search any specific agent, enter the keywords of that agent and the matching agent names will be displayed in the list.
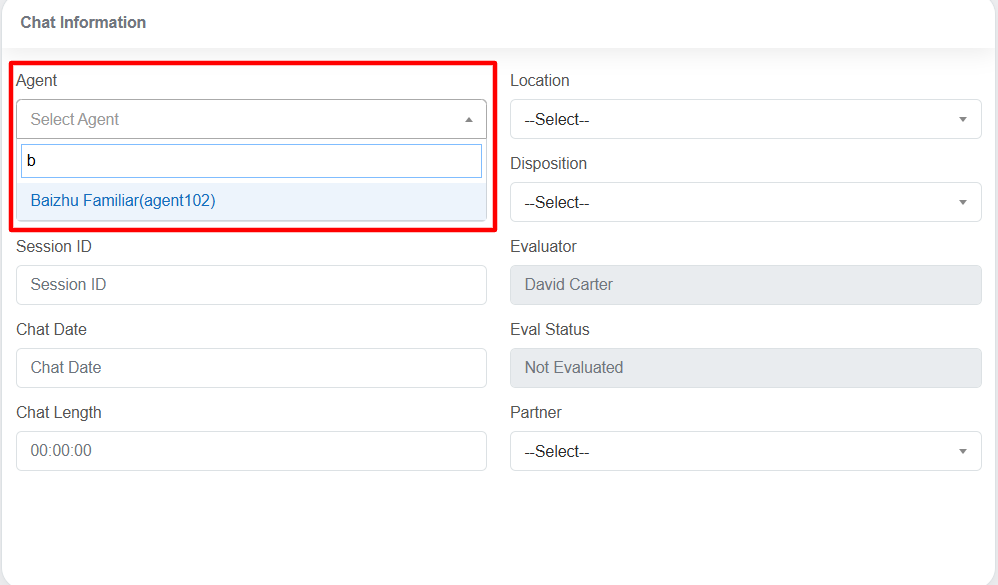
Evaluation Form
As soon as the agent’s name is selected, the respective Location and Supervisor’s name will be auto-populated.

Evaluation Form
To know more about the evaluation process, refer to Evaluation / ATA.
Video